In the ever-evolving world of vlogging, mastering smooth transitions is key to creating engaging and professional-looking videos. Transitions are more than just a way to move from one scene to another; they can enhance storytelling, maintain viewer interest, and elevate the overall production quality of your content. Here, we’ll explore essential camera techniques that will help you achieve seamless transitions in your vlogs.
Plan Your Shots
Smooth transitions begin with good planning. Before you start filming, outline the key scenes of your vlog and consider how you want to transition between them. Planning your shots allows you to visualize the flow of your video and identify opportunities for creative transitions. Storyboarding or sketching a rough sequence of scenes can be incredibly helpful in this process.
Use In-Camera Transitions
In-camera transitions are executed while filming and don't require post-production effects. They can add a dynamic touch to your vlogs. Here are a few techniques:
Whip Pan:Quickly move the camera from one direction to another, creating a motion blur. Start the next shot with a similar movement to create a seamless transition.
Match Cut:Align objects or shapes in two different scenes to match their position and movement. For instance, ending one scene with a door closing and starting the next with another door opening.
Camera Blocking:Move the camera behind an object, such as a wall or a person, to obscure the view. Begin the next scene with the camera emerging from behind a similar object.
Leverage Editing Software
While in-camera transitions are effective, editing software can elevate your transitions to the next level. Programs like Adobe Premiere Pro, Final Cut Pro, and DaVinci Resolve offer a range of tools to create smooth transitions.
Cross Dissolve:This classic technique fades out one clip while fading in the next, creating a smooth blend between scenes.
L-Cut and J-Cut:These involve overlapping audio and video. An L-Cut has audio from the next scene start before the video, while a J-Cut has the video from the next scene start while the audio from the previous scene continues.
Masking Transitions:Use masking to create creative transitions by revealing one scene over another. This requires precise editing but can result in visually stunning effects.
Get Steady: The Importance of Stabilizers
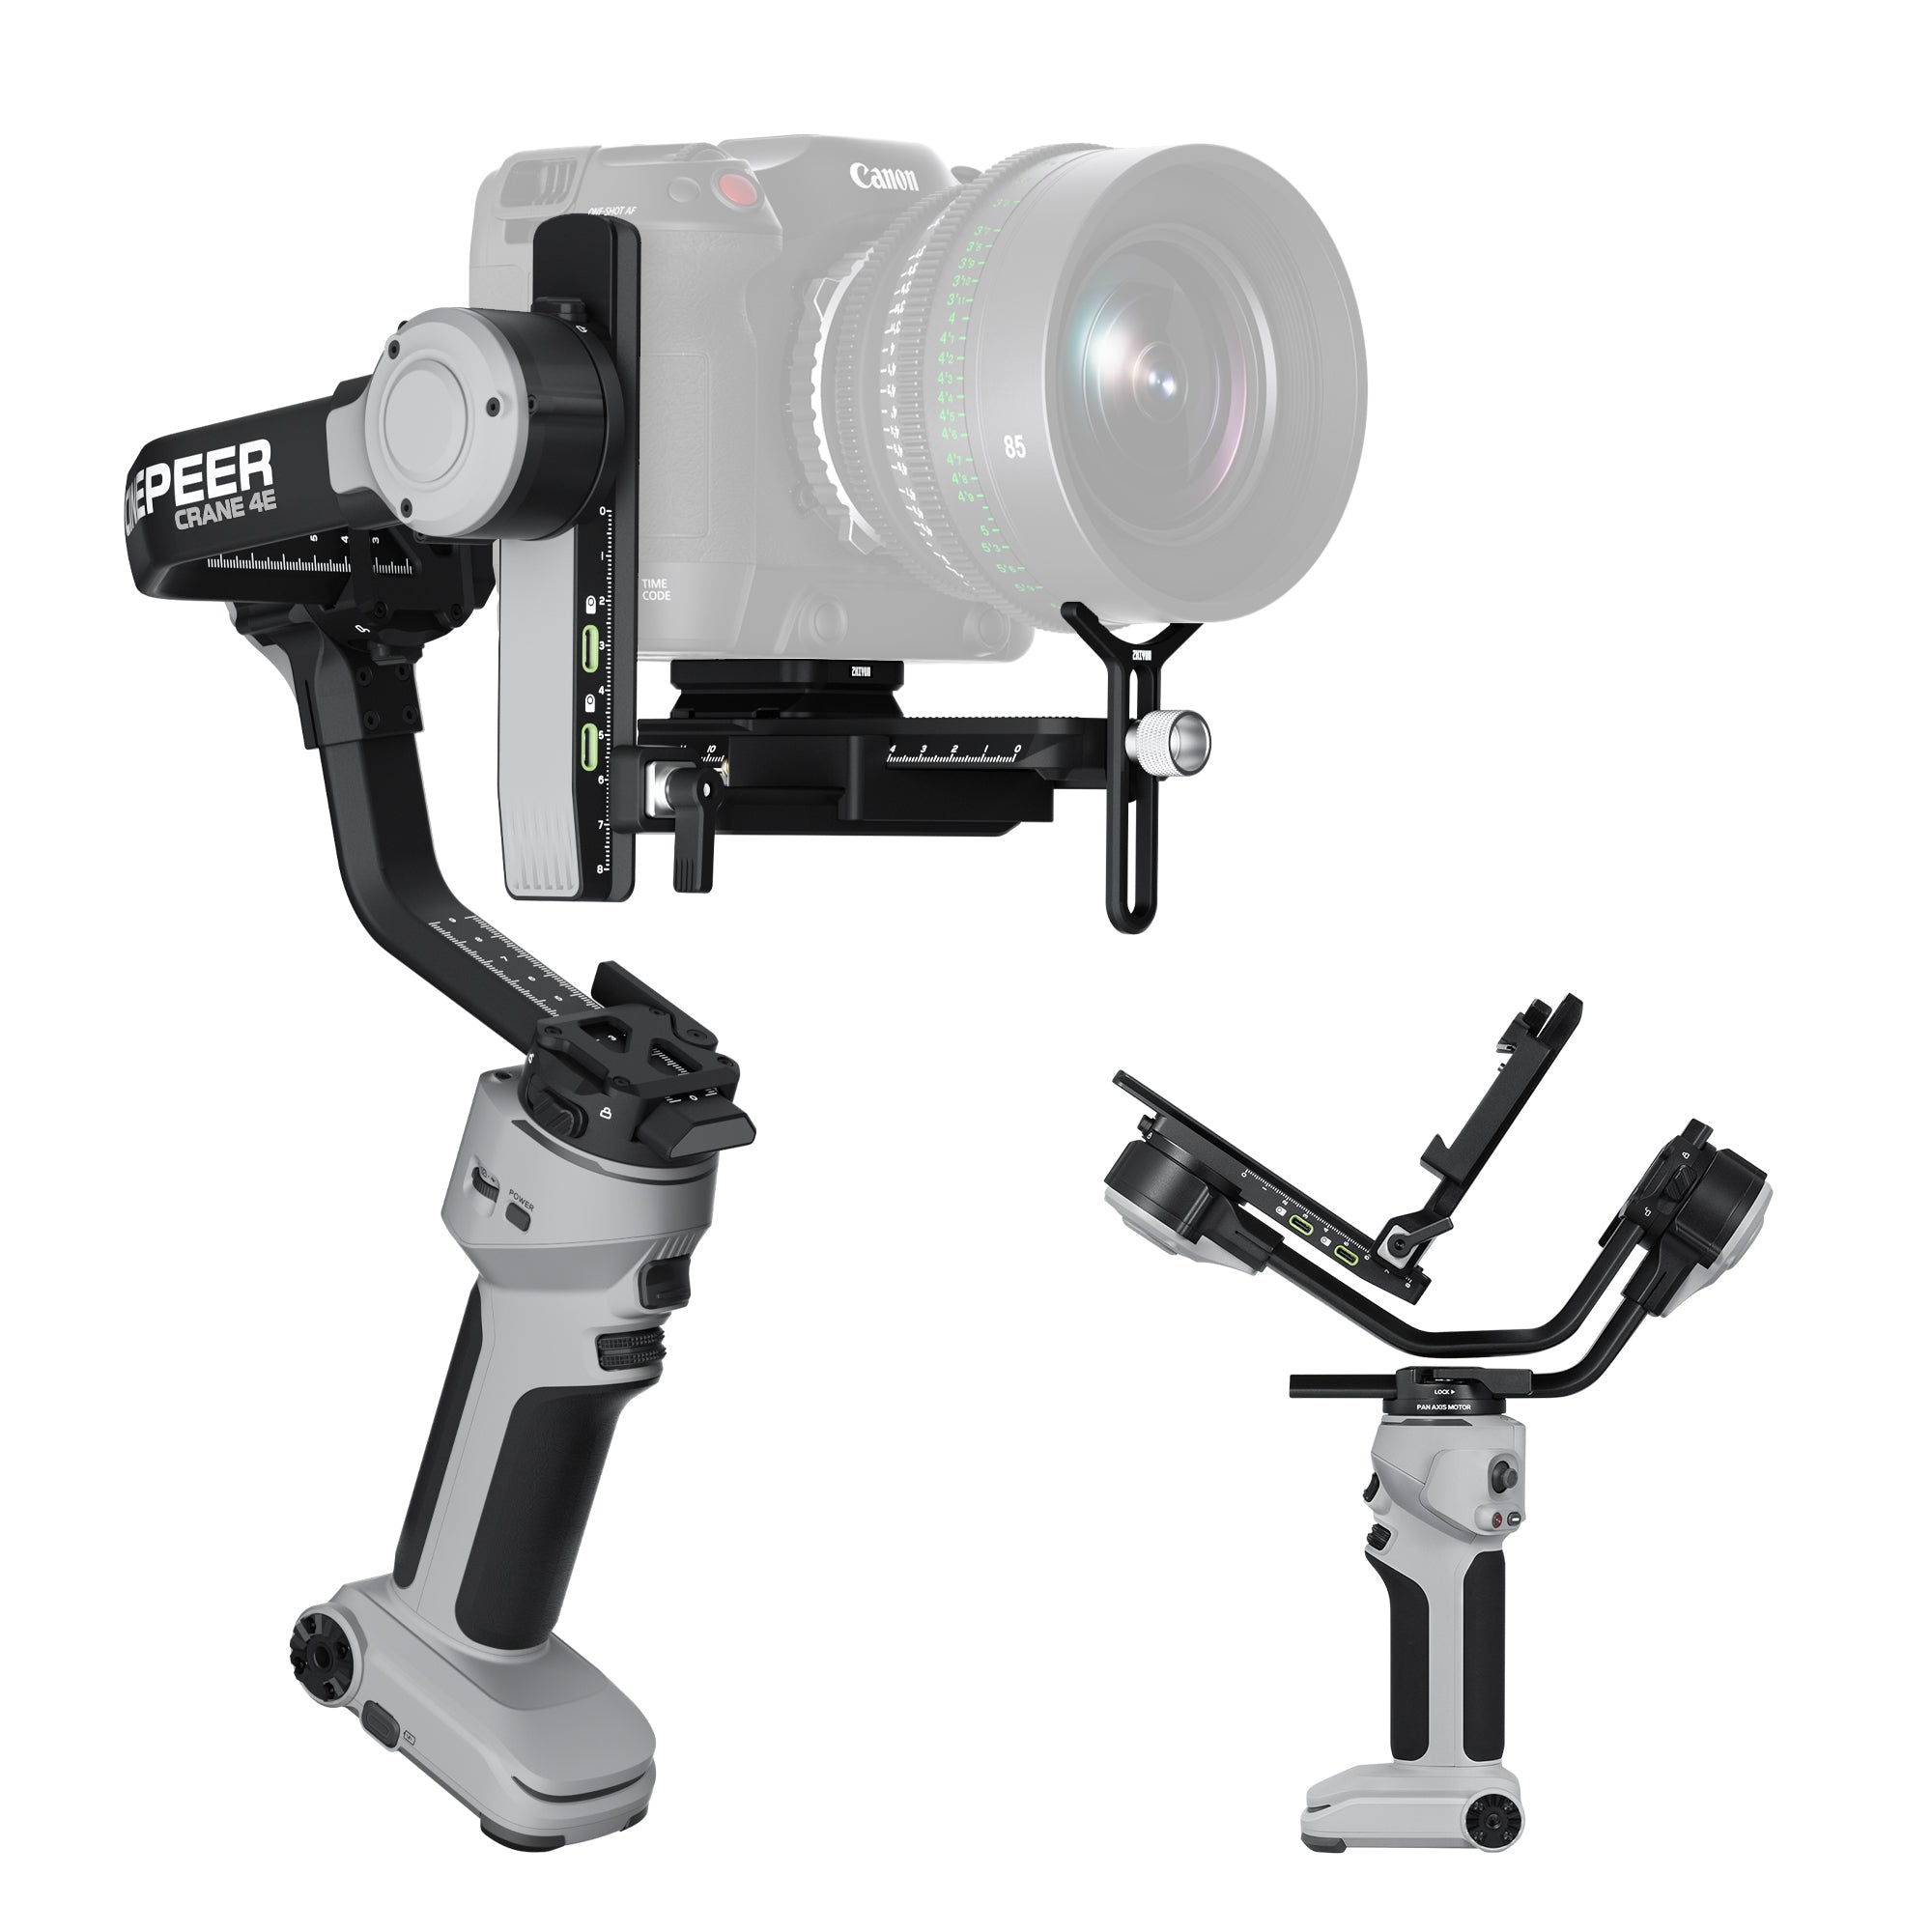
Imagine capturing the sun-kissed beaches, vibrant markets, and breathtaking landscapes of your travels without a hint of shake or blur. That's where stabilizers come in, seamlessly transforming every step, turn, and leap into a fluid narrative. Whether it’s beach photography, lifestyle photography, or vlogging, a stabilizer ensures that your footage remains stable and crystal clear, capturing every magic moment in its purest form. Step up your game with ZHIYUN Crane 4 camera stabilizers, the lightweight warrior designed to conquer even the most demanding vlog challenges. Lightweight, sturdy, and powerful, it boasts Bluetooth shutter control for fluid filming and a long-lasting battery with PD fast charge.
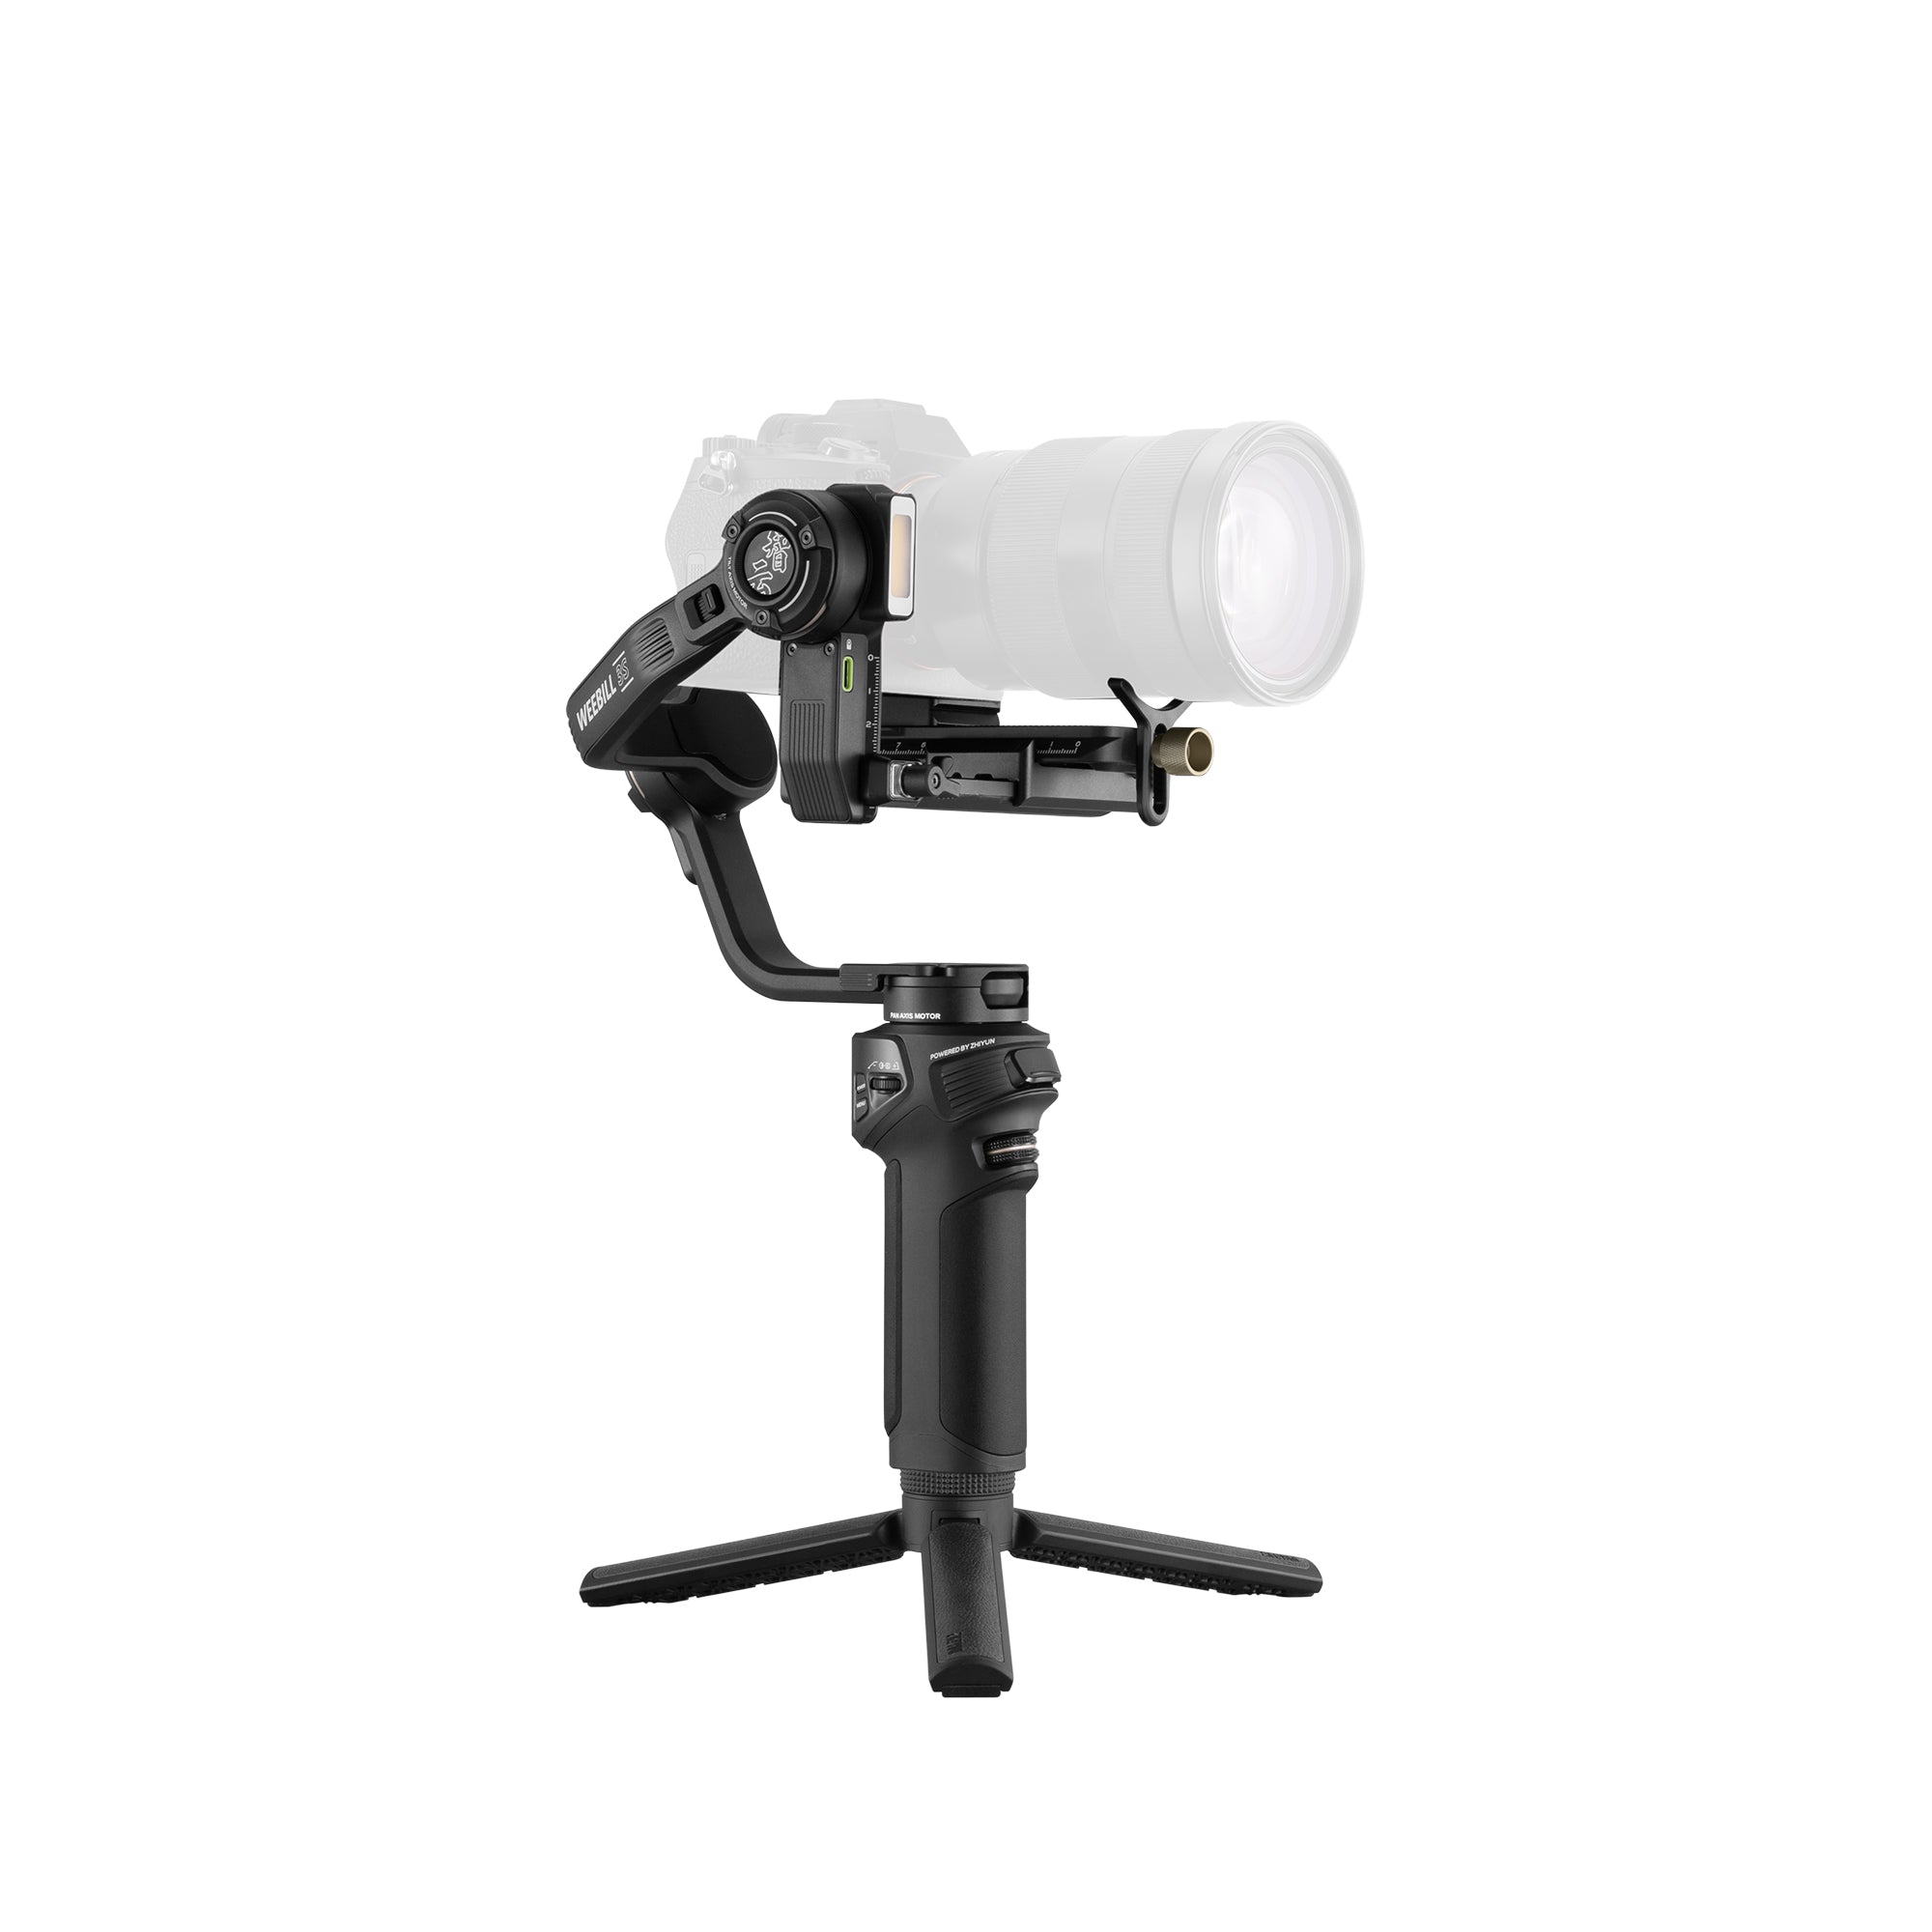
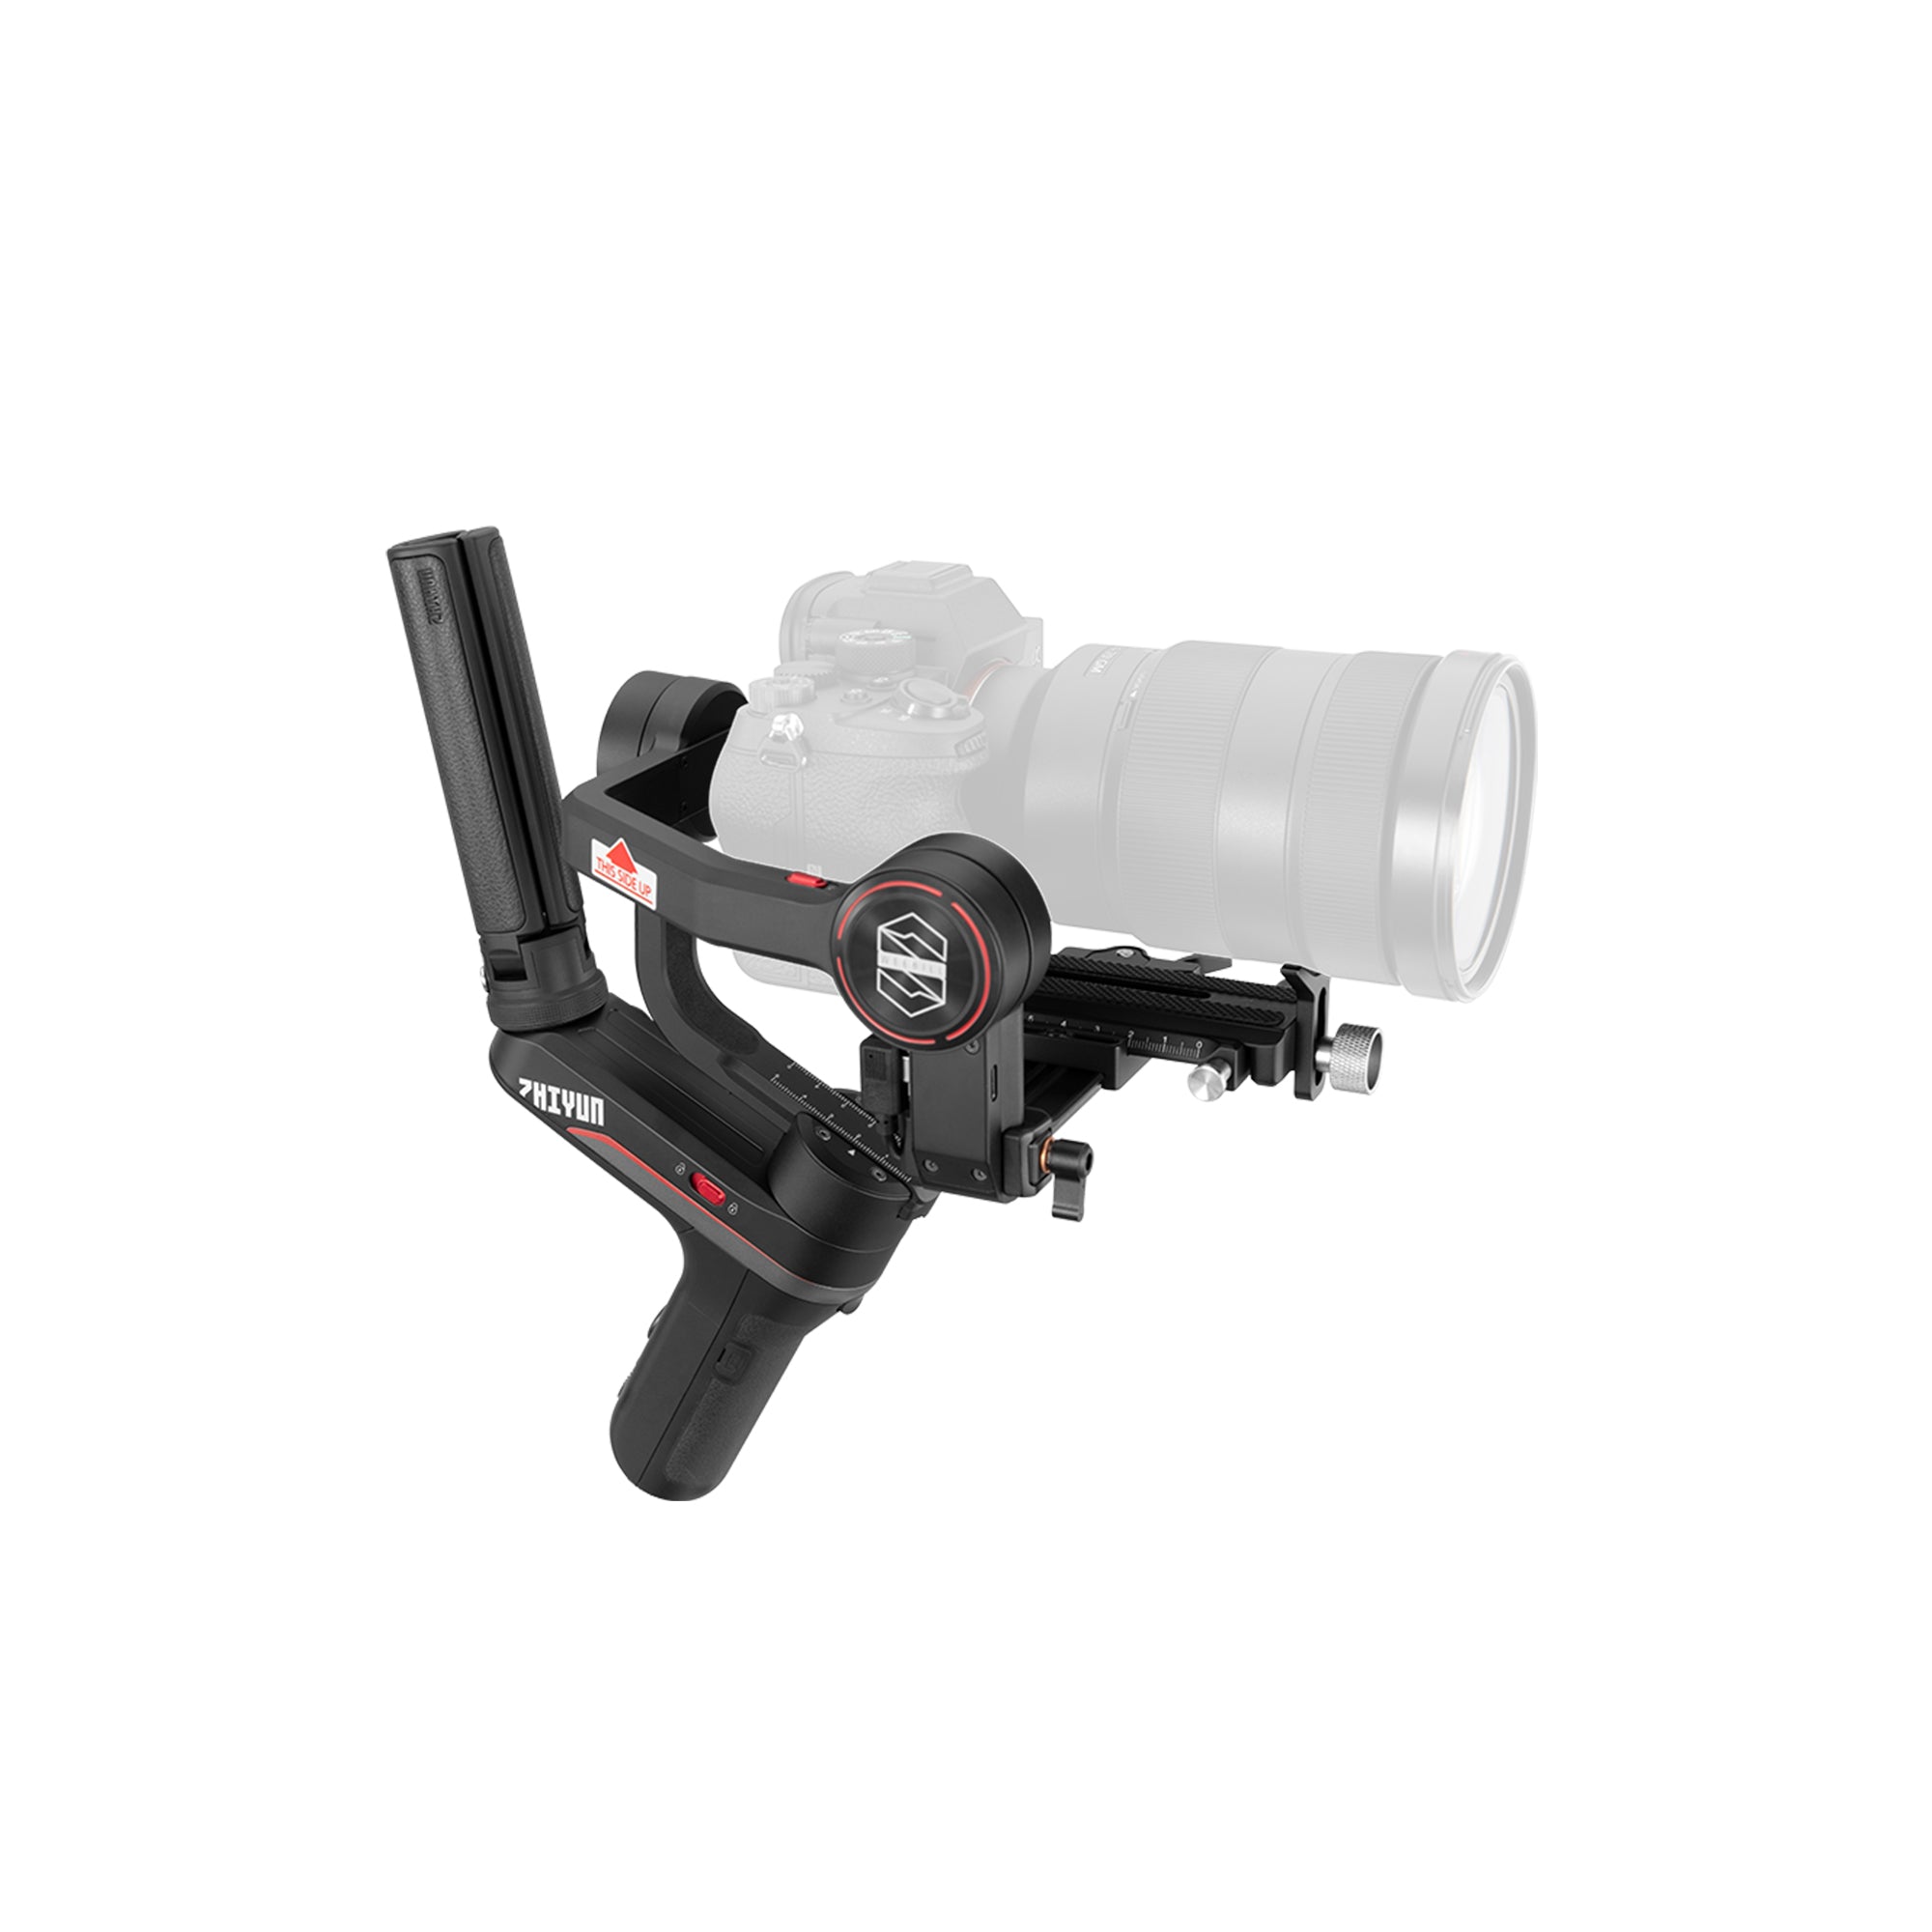
For an ultra-compact yet powerful solution, ZHIYUN CINEPEER WEEBILL 3E is the ultimate travel companion. Its sleek design and featherweight build make it easy to slip into your backpack without adding unnecessary bulk. With Bluetooth shutter control at your fingertips and Sling Mode 2.5 reducing fatigue during extended shoots, you’ll be able to capture every twist and turn of your journey with ease.
Use Natural Elements
Incorporating natural elements into your transitions can add a professional touch. Here are some ideas:
Zoom Transitions:Start by zooming in on an object to fill the frame, and begin the next shot by zooming out from a similar object.
Sky or Ground Transitions:Point the camera toward the sky or ground to end a scene and begin the next shot from the same perspective.
Water Transitions:Utilize water splashes, waves, or reflections to transition between scenes, creating a fluid effect.
Maintain Continuity
Continuity is crucial for smooth transitions. Ensure that lighting, color balance, and motion direction are consistent between shots. This helps maintain the illusion of a seamless transition. Pay attention to the small details, such as the position of objects and the direction of movement, to avoid jarring the viewer.
Experiment with Speed Ramping
Speed ramping involves changing the speed of a clip to create a smooth transition. This technique can be particularly effective for action sequences or dynamic scenes. Gradually speeding up or slowing down the footage can create a seamless blend between different scenes.
Slow Motion:Use slow-motion shots to create a dramatic effect and smooth out transitions.
Fast Forward:Speed up mundane activities to move quickly from one scene to another, maintaining viewer interest.
Utilize Light and Color
Light and color can be powerful tools for creating smooth transitions. Here’s how:
Color Matching:Ensure that the color tones of consecutive shots are similar. This can be achieved through color grading in post-production.
Lighting Transitions:Use changes in lighting to transition between scenes. For instance, ending a scene with a dim light and starting the next with a bright light.
Lens Flares:Incorporate lens flares to create a visually appealing transition, especially when moving between outdoor scenes.
Practice and Experiment
Mastering smooth transitions requires practice and experimentation. Don't be afraid to try new techniques and push your creative boundaries. Watch other vlogs and films for inspiration, and practice replicating the transitions you admire. Over time, you'll develop your unique style and a repertoire of transition techniques that work best for your content.
Conclusion
Smooth transitions are a vital component of professional vlogging. By planning your shots, using in-camera techniques, leveraging editing software, incorporating natural elements, maintaining continuity, experimenting with speed ramping, utilizing light and color, and ensuring stability with tools like the ZHIYUN Crane 4 and ZHIYUN CINEPEER WEEBILL 3E, you can create engaging and seamless transitions that elevate your vlogs. Remember, the key to mastering transitions is practice and experimentation. So, grab your camera, start filming, and take your vlogs to the next level with smooth, professional transitions.
FAQs:
Q: How can I use natural elements to create transitions?
A: Natural elements like zooming in and out, pointing the camera toward the sky or ground, or utilizing water splashes can create visually appealing transitions. These methods can add a professional touch to your vlogs and help maintain viewer interest.
Q: What are some tips for maintaining continuity between scenes?
A: To maintain continuity, ensure consistent lighting, color balance, and motion direction between shots. Pay attention to small details, such as the position of objects and the direction of movement, to avoid jarring transitions that can distract viewers.