










Photography Tips for Beginners: A Practical Guide to Better Photos
by Leegglaya on Nov 17, 2026Better photography begins with understanding photography lighting basics, controlling a few essential camera settings, and deciding what the viewer should notice first. Expensive equipment cannot correct unclear composition, missed focus, or unsuitable shutter speed. These photography tips for beginners explain the fundamentals and show how to apply them to portraits and travel.

Which Camera Settings Should Beginners Learn First?
Aperture, shutter speed, ISO, and focus work together, but each solves a different problem. Learn what one setting changes before adjusting several controls at once.
Set Aperture for the Depth of Field You Want
Aperture affects both exposure and the range of distances that appear acceptably sharp. A wide aperture, such as f/1.8 or f/2.8, can separate a person from the background. A narrower aperture, such as f/8, helps keep more of a landscape or group in focus.
Do not choose the widest aperture automatically. Very shallow depth of field can leave part of a face, product, or group out of focus.
Choose a Shutter Speed That Matches the Subject
Shutter speed determines how motion appears. A faster setting can freeze a moving person, while a slower exposure can show movement intentionally.
If a stationary subject looks blurry, the camera may have moved during the exposure. Increase the shutter speed, stabilize the camera, or use a tripod when the scene allows it.
Adjust ISO to Balance Brightness and Image Quality
ISO controls how strongly the camera amplifies the captured signal. Raising it can help maintain a usable shutter speed in low light, but very high settings may increase noise and reduce detail.
Choose the aperture and shutter speed based on the photograph first. Then increase ISO only as much as needed to produce a workable exposure.
Focus on the Most Important Part of the Frame
Focus should support the subject. Use single autofocus for stationary scenes, continuous autofocus for movement, and eye detection when photographing people or animals.
After taking the picture, enlarge the image briefly to confirm critical focus. The normal screen view can make a slightly soft photograph appear sharper than it is.
|
Setting |
What It Changes |
When to Adjust It |
Common Beginner Mistake |
|
Aperture |
Exposure and depth of field |
When you need more or less background detail |
Using the widest aperture for every subject |
|
Shutter Speed |
Motion blur and camera shake |
When the subject or camera is moving |
Selecting a shutter speed that is too slow |
|
ISO |
Image brightness and visible noise |
After setting aperture and shutter speed |
Keeping ISO too low and producing a blurred photo |
|
Focus Mode |
How the camera follows and sharpens the subject |
When switching between still and moving subjects |
Allowing the camera to select the wrong focal point |
How Can Beginners Improve Lighting and Composition?
Camera settings determine how light is recorded, while composition determines how the photograph is understood. Before taking the picture, identify the subject and study how the available light shapes it.
Pay Attention to the Direction and Softness of Light
Front light reveals detail but can make a subject appear flat. Side light produces shape and texture, while backlight can create separation or a silhouette. Soft light from a window, overcast sky, or large diffused source usually creates smoother shadow transitions.
Natural light is the simplest place to begin. When it is too weak or inconsistent, continuous photography lights allow the effect to be evaluated before the picture is taken. The goal is not to add equipment automatically, but to gain control when existing light cannot provide the intended result.
Build the Frame Around One Clear Subject
Decide what the photograph is about before adjusting the camera. Move closer, change the focal length, or simplify the background until the subject becomes easy to identify.
A wider view should add meaningful context. If an object does not support the subject or story, consider removing it from the frame.
Use the Rule of Thirds and Leading Lines as Starting Points
The rule of thirds can help beginners avoid placing every subject in the center. Leading lines, such as roads, walls, railings, or shadows, can direct attention through the image.
These techniques are starting points rather than requirements. Centered composition, symmetry, and negative space may work better when they support the subject.
Check the Background and Frame Edges Before You Shoot
Bright signs, tree branches, clutter, and partially cropped objects can pull attention away from the subject. Scan the entire viewfinder rather than watching only the center.
A small change in camera height or position can often remove a distraction without changing the location or equipment.
Portrait Photography Tips for Beginners

Portrait photography combines technical choices with communication. Portrait lighting, focus, posing, and background should work together to keep attention on the person.
Focus on the Eye Closest to the Camera
For a portrait taken at an angle, focus on the eye nearest the lens. Eye-detection autofocus can help, but the result should still be checked after the photograph.
When several people are included, avoid an aperture so wide that only one face remains sharp. Arrange the group on a similar focal plane or increase the depth of field.
Use Soft, Directional Light for More Flattering Portraits
Place the subject near a window or in open shade, then turn the face until the light creates a balanced pattern of highlights and shadows. Avoid placing the subject directly beneath harsh overhead lighting when possible.
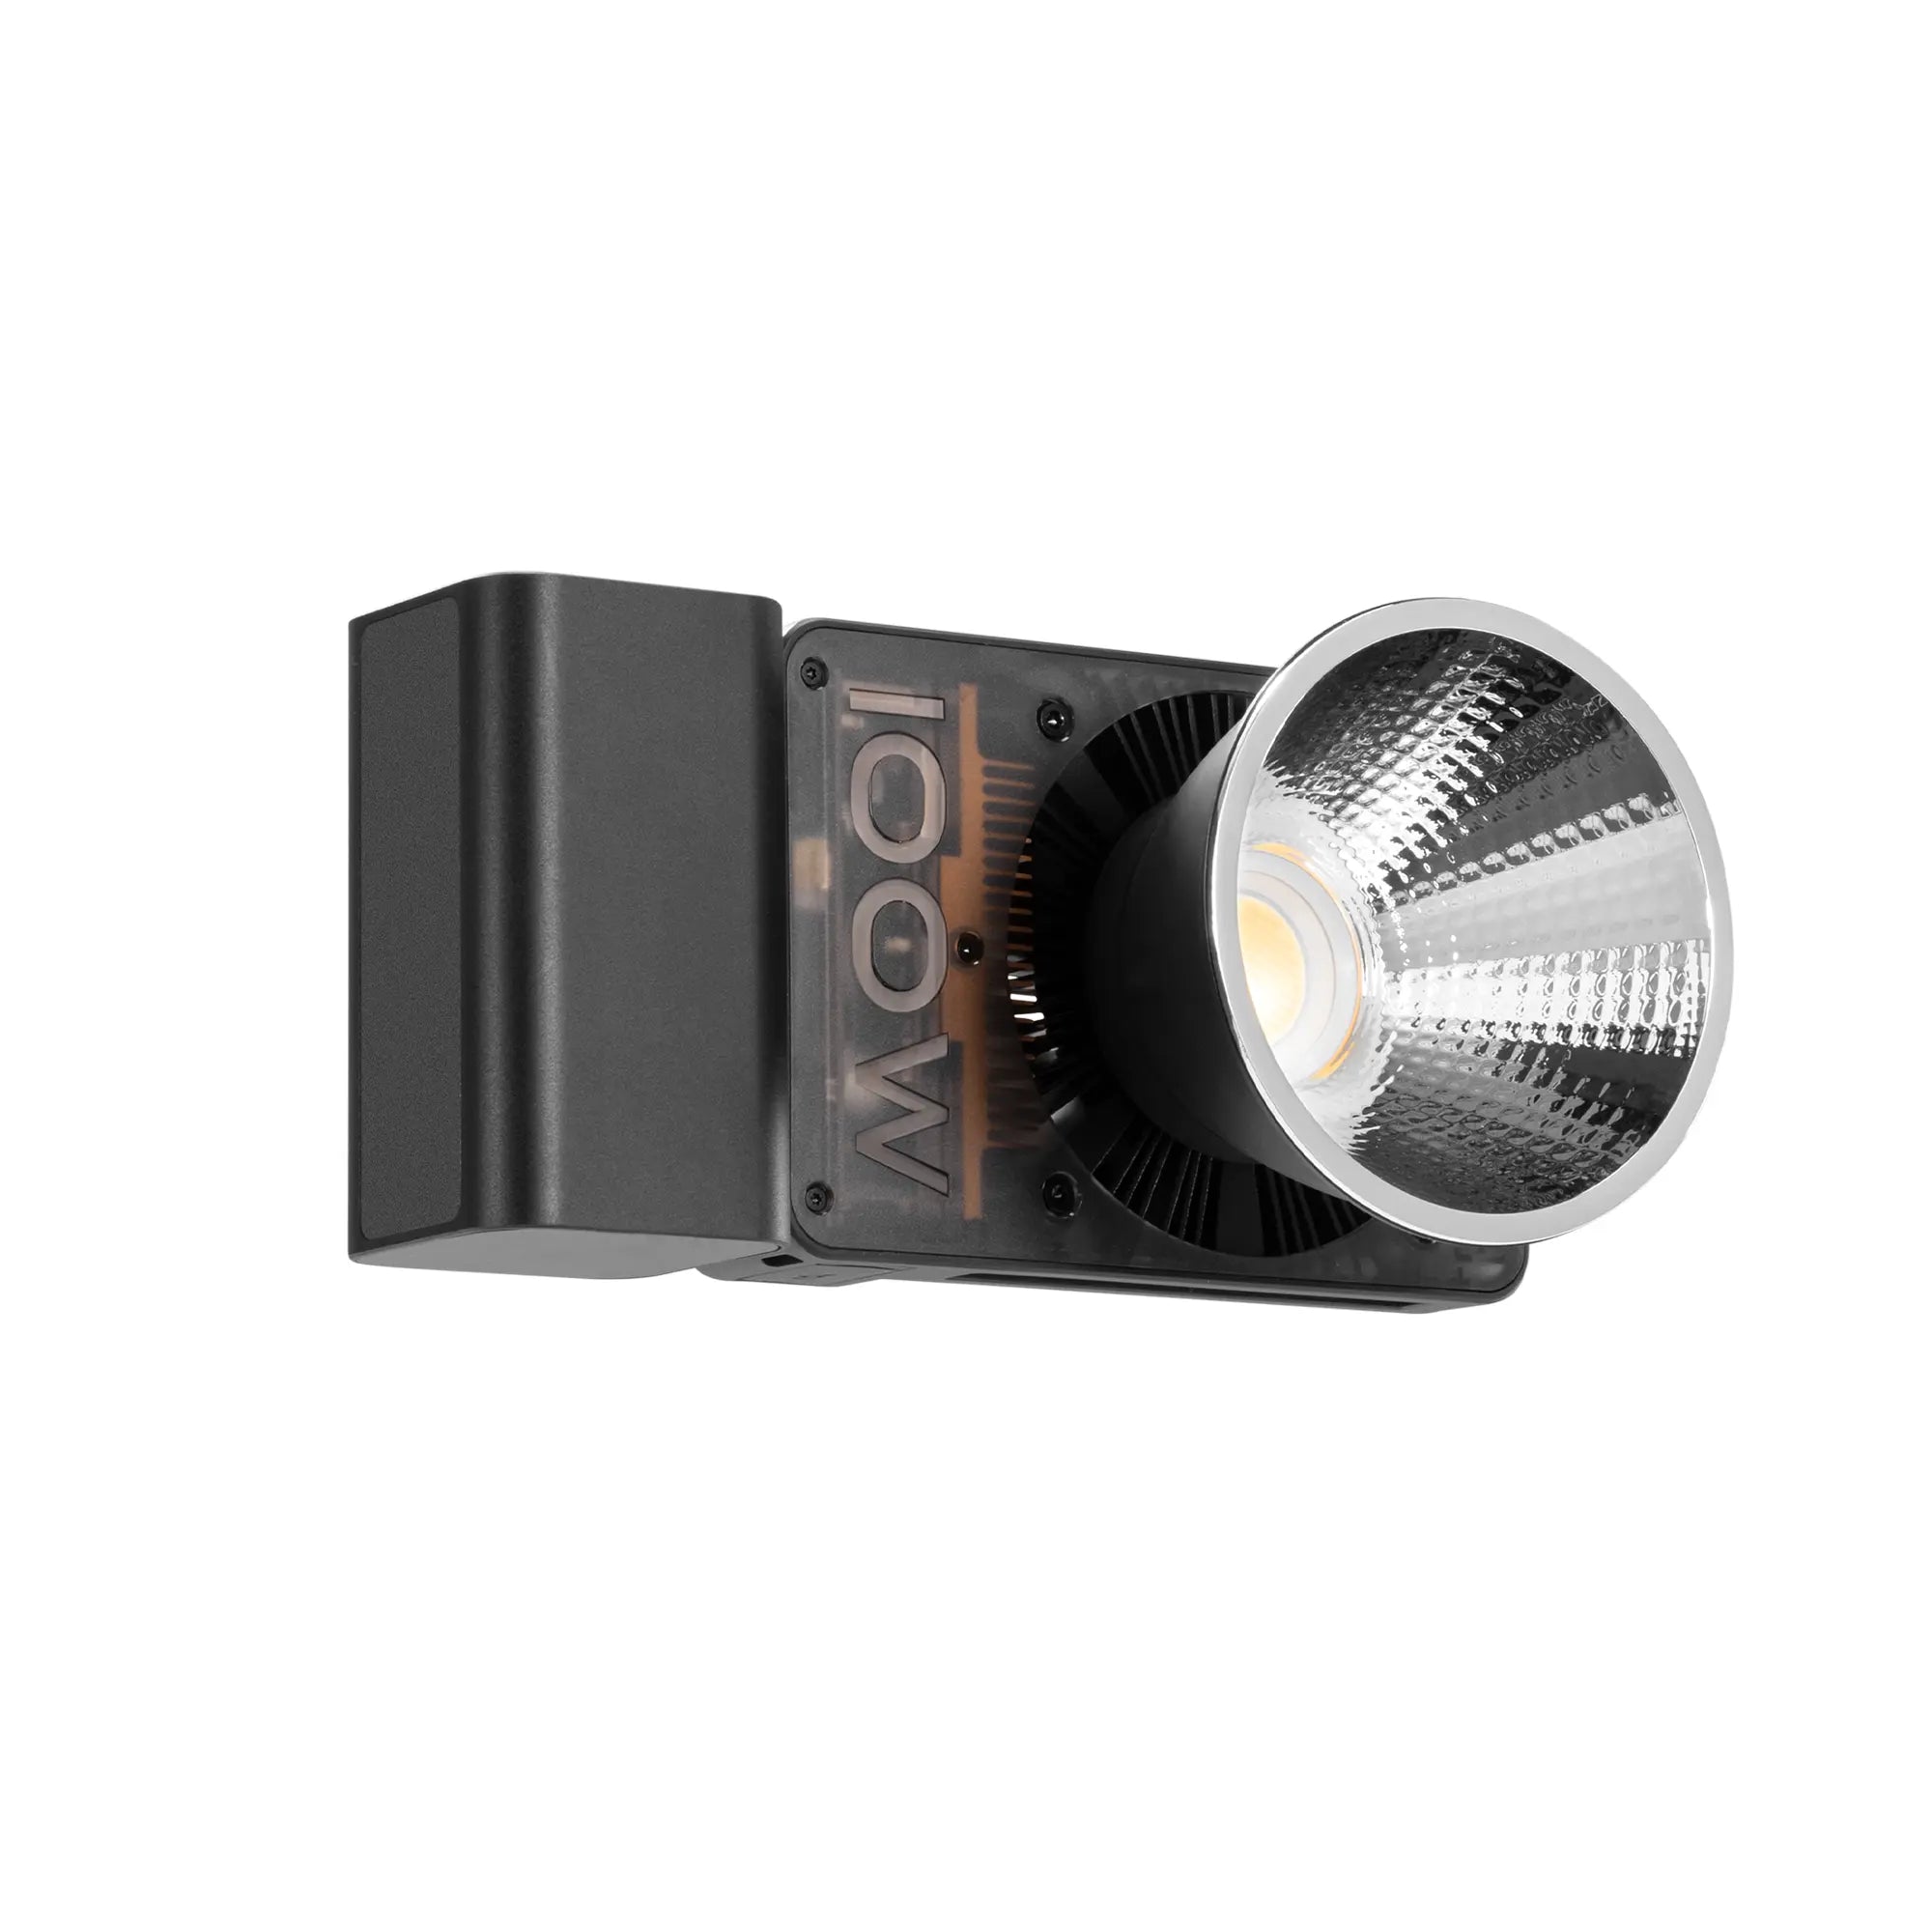
When natural light changes throughout a longer indoor session, a continuous source can provide greater consistency. The ZHIYUN MOLUS X100 RGB combines 100W full-color output with an adjustable 2700K to 10000K range and support for compatible light modifiers. Used with a softbox, it allows the photographer to preview facial highlights and shadow depth before taking the picture. The RGB controls can also add a restrained background accent when the portrait requires more separation.
Give Simple Posing Direction That Feels Natural
Instead of asking someone to “pose,” provide a small action. Have the subject shift weight to one leg, turn slightly away from the camera, adjust a sleeve, or look toward the light.
Watch the hands, shoulders, and chin. Simple adjustments usually appear more natural than trying to control every part of the body at once.
Create Separation Between the Subject and Background
Move the subject farther from the background when space allows. This reduces distracting shadows and can create greater visual separation.
Contrast also helps. Light clothing stands out against a darker background, while a small rim or background light can define dark hair and clothing.
Travel Photography Tips for Beginners
Strong travel photographs show more than a famous location. They combine establishing views, people, details, and brief moments to communicate what the place felt like.
Plan Around the Location, Weather, and Best Light
Research sunrise and sunset times, access rules, weather, and the direction of light. Planning improves the chance of suitable conditions without eliminating opportunities for spontaneous photographs.
Clouds, rain, and fog can add atmosphere, so unfavorable weather does not always mean the camera should remain packed.
Tell the Story With Wide, Medium, and Detail Shots
Begin with a wide view that establishes the location. Add medium compositions showing people or activity, then photograph details such as food, signs, textures, and objects.
This variety creates a more complete visual record than returning with several similar wide-angle photographs.
Keep Your Camera Ready for Unexpected Moments
Use a practical starting mode such as aperture priority with Auto ISO and a suitable minimum shutter speed. This reduces setup time when light or subject movement changes quickly.
Before photographing people closely, consider local customs and ask permission when appropriate. Being ready should not come at the expense of respect or awareness.
Travel Light and Prepare for Low-Light Conditions

One camera and a versatile lens are often enough for a full day of travel photography. Spare batteries, memory cards, and basic weather protection usually provide more value than carrying accessories that may never leave the bag.
A portable light becomes useful when a restaurant, hotel room, or evening location provides enough illumination for exposure but not enough control over the subject. For these close-range situations, the ZHIYUN FIVERAY M60 Ultra combines 60W RGB output with a compact 430 g body and built-in battery. Its 2700K to 10000K color-temperature range can blend with warm interior lighting, cooler evening light, or a creative background accent. This makes it practical for nearby travel portraits, food, and small details in locations where supplemental lighting is permitted, while distant architecture and landscapes remain better suited to available light and careful camera settings.
What Are the Most Common Beginner Photography Mistakes?
Improvement often comes from correcting a few repeatable habits rather than purchasing new equipment.
- Changing several camera settings without observing what each one does.
- Using a shutter speed that is too slow for the subject.
- Raising ISO before checking aperture and camera stability.
- Allowing the camera to focus on the background.
- Ignoring distractions along the frame edges.
- Photographing every subject from standing eye level.
- Applying composition rules without considering the scene.
- Using excessive saturation, sharpening, or noise reduction.
- Taking only one photograph without changing distance or angle.
- Buying more equipment before learning the camera is already available.
Conclusion
The most useful photography hints and tips for beginners are built around repeatable decisions. Identify the subject, study the light, choose settings that control motion and depth of field, and check the entire frame before pressing the shutter. Practice one change at a time, review the result, and use additional equipment only when it solves a clear problem.
FAQ
What Are the Seven Basics of Photography?
A practical list includes exposure, focus, light, composition, timing, color, and editing. These areas overlap, but learning them gradually provides a useful foundation for most photography styles.
What Is the Best Way to Start Photography for Beginners?
Use a phone or camera you already own and complete small practice exercises. Photograph the same subject with different apertures, shutter speeds, light directions, and compositions so the effect of each change becomes visible.
What Is the Golden Hour in Photography?
Golden hour is the period shortly after sunrise or before sunset when the sun is low. The light is often warmer and more directional, creating longer shadows and lower contrast than midday sunlight.
What Is the Rule of Thumb in Photography?
Photography has many guidelines rather than one universal rule. A useful example is the reciprocal rule, which suggests using a shutter speed at least as fast as the reciprocal of the focal length for handheld photographs. Image stabilization, sensor resolution, and technique can change the practical limit.
How Do I Make My Face Look More Photogenic?
Use soft light slightly above and to one side of the face, keep the camera at a natural distance, and turn the body slightly rather than facing the lens squarely. A relaxed expression and clean background usually matter more than filters or heavy retouching.


