










How to Shoot Night Photography: Settings for Streets and the Night Sky
by Leegglaya on Nov 17, 2026Night photos often fail for predictable reasons: handheld blur, blown-out signs, noisy shadows, or stars that appear as short streaks. Successful night photography depends on matching shutter speed to subject movement, stabilizing the camera for longer exposures, and raising ISO only when necessary. This guide provides practical gear recommendations and starting settings for city streets, tripod-mounted cityscapes, and the night sky.
What Gear Do You Need for Night Photography?

Night photography does not require a specialized camera, but the right lens and support equipment make low-light photography easier to manage. Choose equipment according to whether you will work handheld, photograph stars, or build a planned night portrait.
A Camera and Fast Lens for Low-Light Scenes
Most recent mirrorless and DSLR cameras can produce usable night images when exposure is controlled carefully. A lens with a wide maximum aperture, such as f/1.8 or f/2.8, allows more light to reach the sensor and helps the camera maintain a faster shutter speed.
Wide-angle lenses are useful for cityscapes and night sky photography, while standard or short telephoto lenses provide more control over street details and portraits. Shoot in RAW when possible so exposure, color, and noise can be adjusted with greater flexibility.
A Night Photography Tripod and Remote Shutter

A stable night photography tripod is essential for multi-second exposures, star photographs, light trails, and low-ISO cityscapes. Extend the thickest leg sections first and avoid raising the center column unless the additional height is necessary.
Use a remote release or the camera’s two-second timer to prevent movement when pressing the shutter. When the camera is secured to a tripod, check the manufacturer’s guidance on image stabilization. Some camera and lens systems perform better with stabilization disabled during long exposures.
Spare Batteries and a Portable Photography Light
Long exposures, cold weather, bright screens, and frequent image review can drain batteries quickly. Carry at least one charged spare and keep it protected from low temperatures when shooting outdoors.
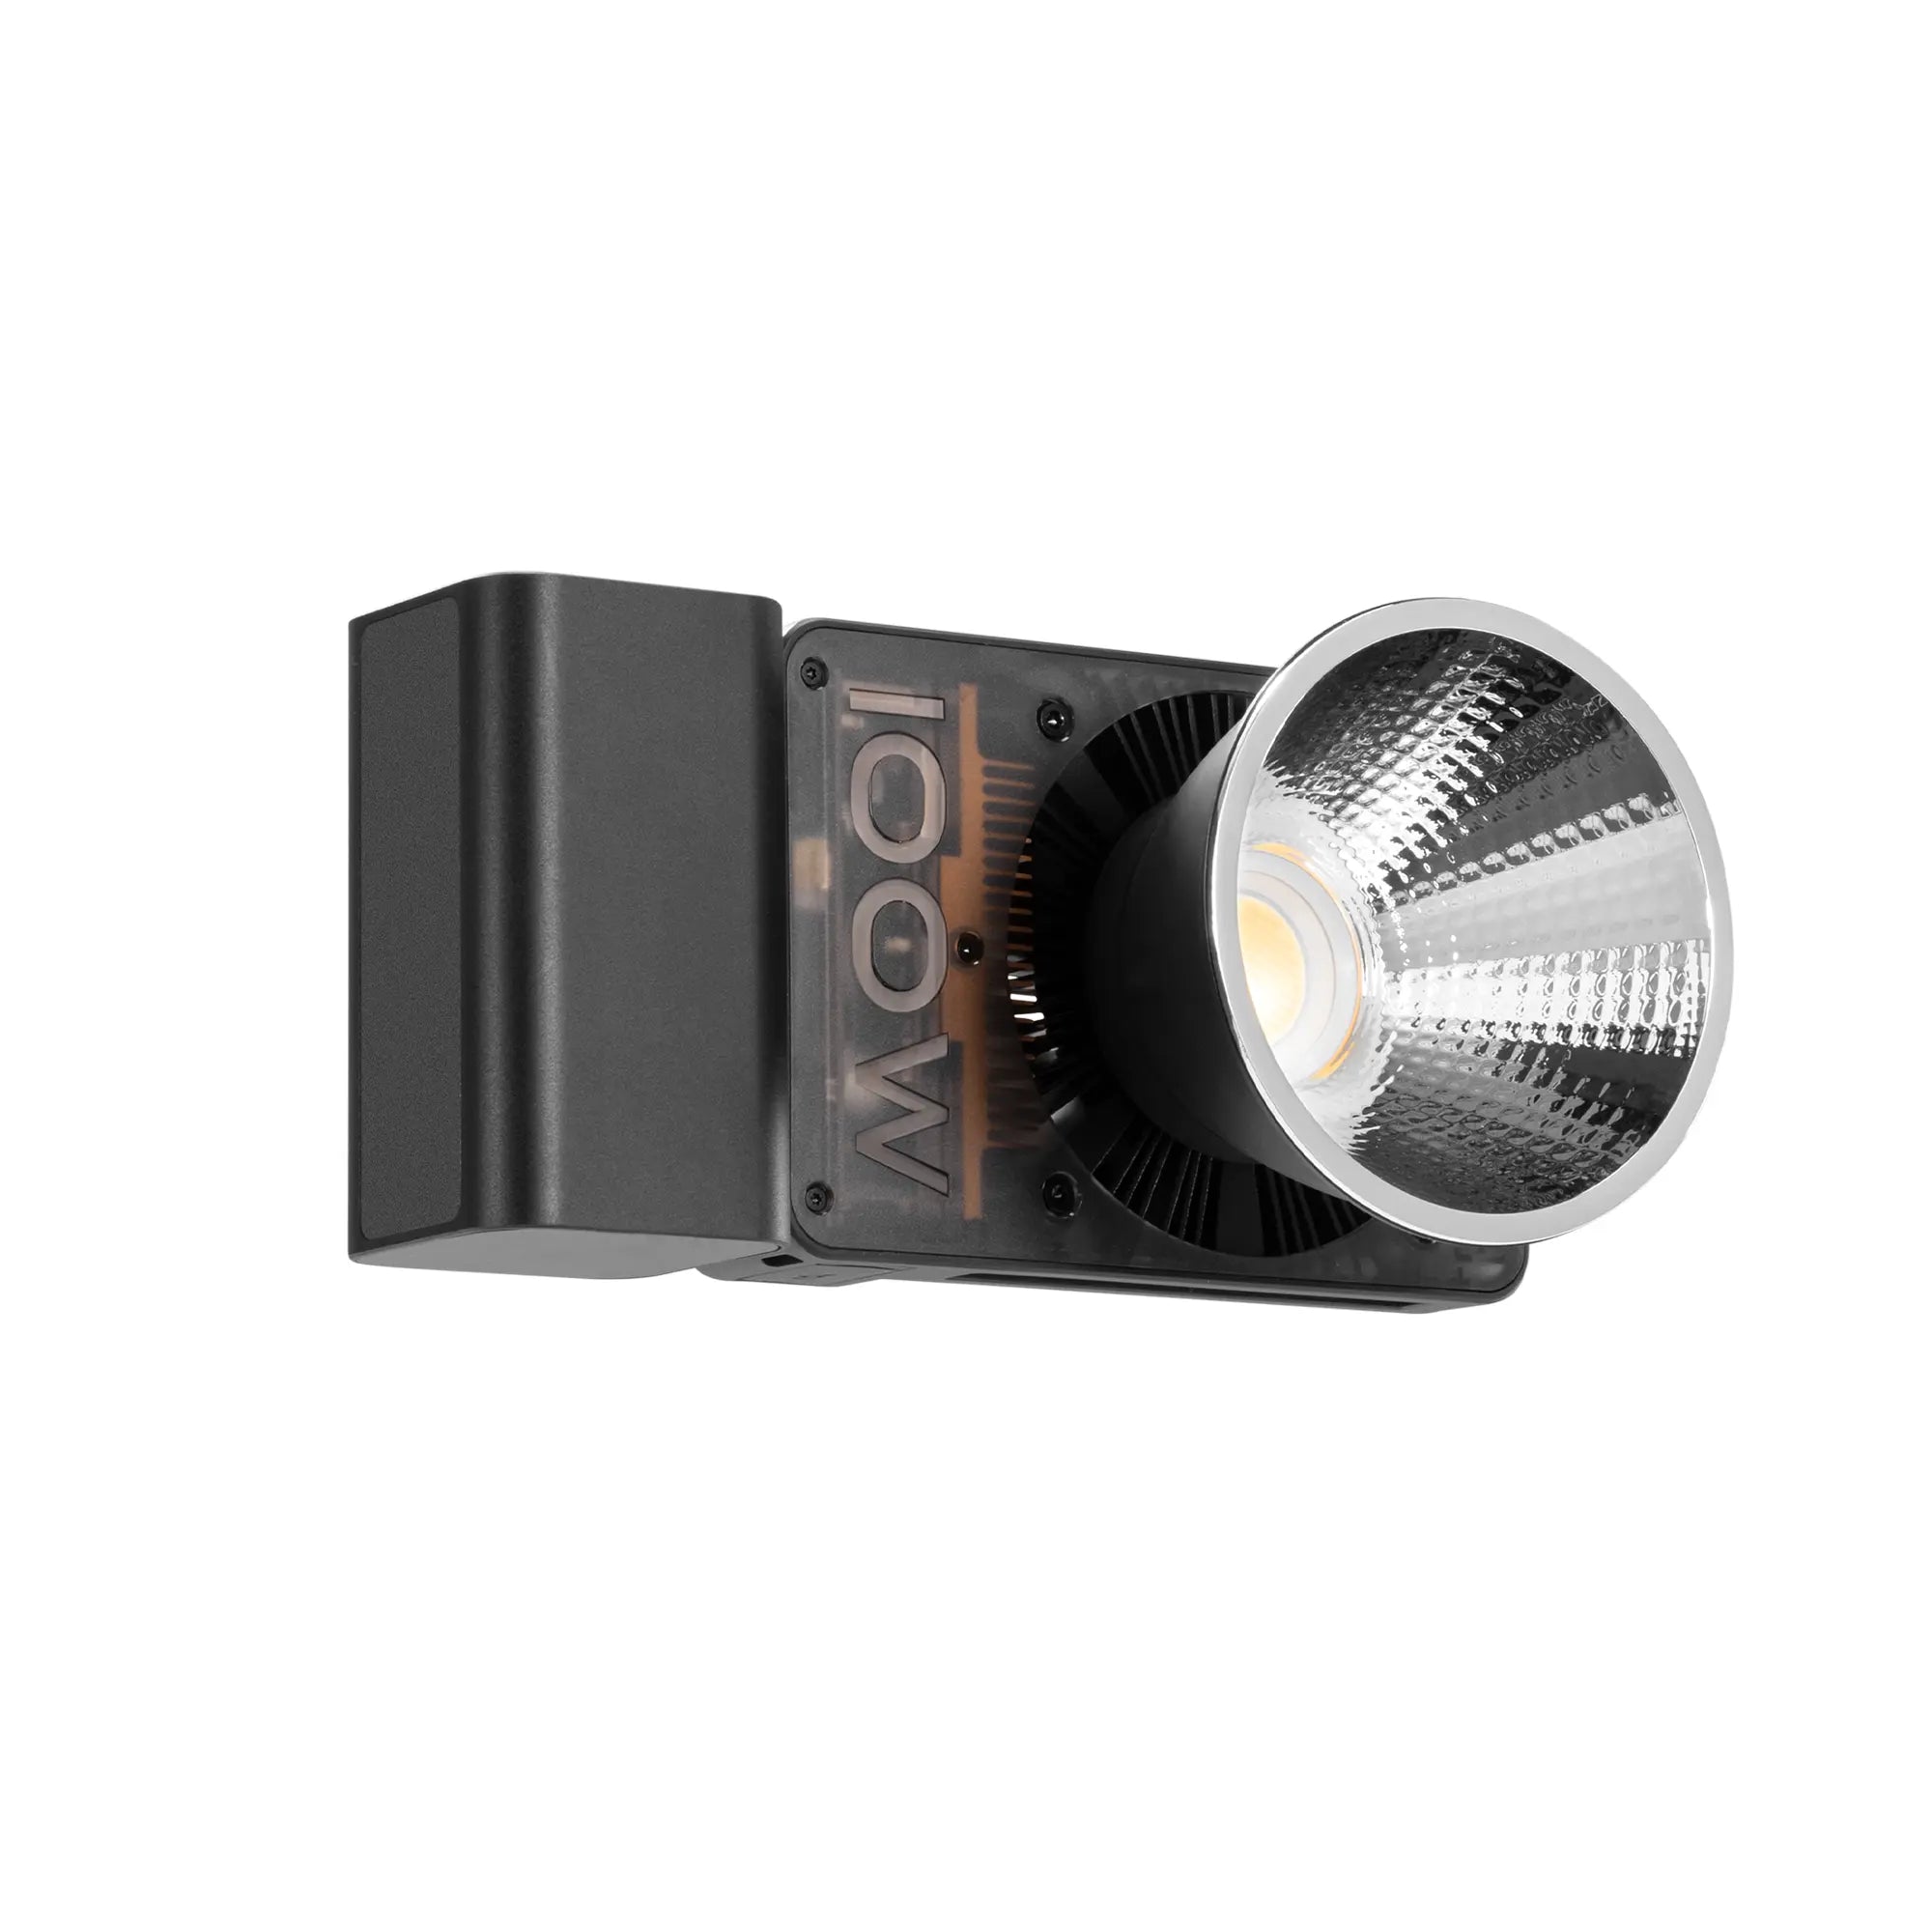
A portable light is optional for cityscapes and unnecessary for illuminating the night sky. However, it can help with nearby portraits, foreground details, light painting, or equipment setup. Photographers who need this additional control can compare compact photography lights by output, color-temperature range, battery power, mounting options, and portability.
What Camera Settings Work Best at Night?
There is no single combination of settings for every night scene. Subject movement determines shutter speed, depth of field influences aperture, and ISO fills the remaining exposure gap.
Choose an Aperture for Light and Depth of Field
A wide aperture such as f/1.8 or f/2.8 helps with handheld street photography and stars. For tripod-mounted architecture or cityscapes, f/5.6 to f/8 can provide greater depth of field when a longer shutter speed is acceptable.
Avoid assuming that the widest setting is always best. Some lenses show softer corners, vignetting, or distorted stars when used fully open. Take a test image and stop down slightly if necessary.
Match Shutter Speed to Camera and Subject Movement
Use approximately 1/125 second or faster as a starting point for people walking through a street scene. Faster movement may require 1/250 second, while stationary subjects can sometimes be photographed at 1/60 second with careful handheld technique.
A tripod allows exposures lasting several seconds for buildings, reflections, and traffic trails. For stars, exposure time must remain short enough to prevent visible trailing unless star trails are intentional.
Raise ISO Only as Much as the Scene Requires
Higher ISO allows faster shutter speeds but also increases visible noise and reduces editing flexibility. Begin with the shutter speed needed for the subject and the aperture required for the composition, then raise ISO until the exposure becomes usable.
A sharp image at ISO 3200 is generally more useful than a blurred image taken at a lower ISO. Noise can often be reduced in editing, but subject blur cannot be fully corrected.
Set Focus and White Balance in Low Light
Autofocus works best on an illuminated edge, sign, window, or other area with visible contrast. If the camera continues searching, magnify the live view and focus manually.
Auto white balance is a practical starting point when shooting RAW. For mixed street lighting, review skin tones and neutral surfaces rather than trying to eliminate every warm or cool color in the scene.
|
Shooting Scenario |
Camera Support |
Starting Aperture |
Starting Shutter Speed |
Starting ISO |
Focus Method |
First Adjustment |
|
Handheld street scene |
Handheld |
f/1.8–f/2.8 |
1/125 sec |
1600–6400 |
Continuous AF |
Raise ISO if people blur |
|
Tripod cityscape |
Tripod |
f/5.6–f/8 |
2–10 sec |
100–400 |
AF, then lock focus |
Change shutter speed |
|
Night portrait with fill light |
Handheld or tripod |
f/2–f/4 |
1/100–1/200 sec |
400–1600 |
Eye AF |
Adjust light position or output |
|
Stars and Milky Way |
Tripod |
f/1.8–f/2.8 |
10–20 sec |
1600–3200 |
Manual focus |
Shorten exposure if stars trail |
|
Star-trail sequence |
Tripod |
f/2.8–f/4 |
20–30 sec per frame |
800–1600 |
Manual focus |
Adjust interval and ISO |
These values are starting points rather than fixed rules. Camera performance, focal length, ambient light, and the desired visual effect may require substantial changes.
How to Shoot Night Street Photography
The challenge in night street photography is not finding complete darkness. It is locating useful pools of light and choosing settings that preserve both the subject and the atmosphere.
Use Storefronts, Signs, and Streetlights as Key Light
For night portraits, position the subject near shop windows, illuminated signs, transit shelters, or streetlights. These sources can reveal faces and clothing while allowing the surrounding shadows to remain part of the composition.
Expose carefully for bright signs and windows. If those areas lose all detail, reduce exposure and allow darker parts of the frame to remain dark rather than trying to brighten everything.
Match Shutter Speed to People and Traffic
Start around 1/125 second for walking pedestrians and increase the speed for cyclists or vehicles. If the subject is stationary, a slower shutter can reduce the ISO requirement.
Motion blur can also be intentional. A shutter speed between roughly 1/8 and 1/30 second can create moving figures or traffic streaks while a stationary building remains recognizable.
Use Reflections, Shadows, and Color to Build the Composition
Wet pavement, glass, metal, and vehicle surfaces can reflect signs and streetlights into otherwise empty areas of the frame. Move the camera slightly and watch how these reflections change.
Strong shadows can simplify a busy street, while contrasting warm and cool lights can create depth. Applying photography lighting basics at night often means deciding which areas should remain unlit rather than trying to brighten the entire frame.
Add Controlled Fill Light for Nearby Subjects

Available light may create the right atmosphere but still leave a nearby face or foreground detail underexposed. Where supplemental lighting is permitted, a compact option from the ZHIYUN lighting range can lift those shadows without overpowering the storefronts, signs, and streetlights already shaping the scene.
For this kind of mobile setup, the ZHIYUN FIVERAY M60 Ultra combines 60W RGB output with a compact 430 g body and built-in 4500mAh battery. Its 2700K to 10000K color-temperature range helps the light blend with warm storefronts or cooler street lighting, while RGB control can add a restrained color accent when the composition calls for it. A standard 1/4-inch thread also allows the light to be positioned on a compatible compact stand instead of being held throughout the exposure.
The M60 Ultra works best at close range as fill for a person, product, foreground object, or small section of the background. Distant architecture and the night sky should remain dependent on available light and camera exposure rather than supplemental illumination.
How to Shoot Night Sky Photography

Learning how to shoot night sky photography requires a different approach from handheld street work. Camera stability, manual focus, dark conditions, and exposure time become the main priorities.
Plan Around the Weather, Moon, and Light Pollution
Check cloud cover, moon phase, visibility, and the location of nearby artificial light before leaving. A bright moon can illuminate the foreground but may reduce the visibility of faint stars.
Choose a safe location with a clear view of the sky. Arrive before complete darkness when possible so the tripod and composition can be arranged more easily.
Focus Manually and Confirm Star Sharpness
Autofocus often struggles with stars. Switch to manual focus, select a bright star or distant light, and magnify the live-view image. Adjust the focus ring until the star appears as small and defined as possible.
Do not rely only on the infinity symbol printed on the lens. Take a test image and inspect the center and corners at high magnification.
Set Exposure Time Based on Focal Length
Longer focal lengths reveal star movement sooner than wide-angle lenses. The 500 rule divides 500 by the full-frame-equivalent focal length to estimate a maximum exposure time, but modern high-resolution cameras may reveal trailing before that limit.
Treat the result as a rough starting point and shorten the shutter speed if the stars appear stretched. Raise ISO only after confirming that the aperture and exposure time are appropriate.
Include a Foreground to Add Scale and Depth
A dark sky alone may lack visual context. Trees, mountains, buildings, tents, or rock formations can provide scale and lead the viewer into the frame.
If the foreground and sky require different focus or exposure settings, photograph them separately without moving the camera and blend the images carefully during editing.
What Night Photography Mistakes Should You Avoid?
- Using the same exposure settings for streets, cityscapes, and stars.
- Allowing bright signs or streetlights to lose all highlight detail.
- Selecting a shutter speed that is too slow for a moving subject.
- Raising ISO before improving camera stability or available light.
- Trusting the lens infinity mark without checking star focus.
- Touching the camera during a long exposure.
- Forgetting to review whether stabilization should be disabled on a tripod.
- Photographing only the sky without considering the foreground.
- Using artificial light where it may disturb people, drivers, or wildlife.
- Ignoring traffic, uneven ground, weather, or personal safety.
Conclusion
Knowing how to shoot night photography means choosing settings for the subject rather than treating darkness as one uniform condition. Use faster shutter speeds and available city light for night street photography, then switch to a tripod, manual focus, and carefully limited exposure times for the night sky. Begin with the suggested settings, review the result, and adjust one variable at a time.
FAQ
What Are Some Tips for Shooting at Night?
Shoot in RAW, protect bright highlights, stabilize the camera when using slow shutter speeds, and check focus at high magnification. Take several test images because exposure meters and autofocus can be less dependable in very dark scenes.
Is Night Photography Hard?
Night photography requires more deliberate control than daytime shooting, but the basic process is manageable. Start with one type of scene, such as a tripod-mounted cityscape, before moving to people, traffic, or stars.
How Can You Improve Image Quality at Night?
Use the widest suitable aperture, stabilize the camera when possible, and choose a shutter speed that prevents unwanted movement. Raise ISO only after those decisions, then apply moderate noise reduction during editing.
What Is the 500 Rule for Night Photography?
The 500 rule estimates the longest exposure that may keep stars from visibly trailing. Divide 500 by the full-frame-equivalent focal length, then use the result as a starting point in seconds. High-resolution cameras often require a shorter exposure.
What F-Stop Should You Use for Night Photos?
Use approximately f/1.8 to f/2.8 for handheld street scenes and stars when more light is required. For tripod-mounted cityscapes, f/5.6 to f/8 can provide greater depth of field when longer exposures are acceptable.


