New & Hot
Camera Gimbal & Stabilizers
Photography Lighting
Mobile Gimbals
Accessories
-
Best Seller
- Best Seller View all
-
Weebill Series
42240175308980From $271.00 $319.00-15%27100Unit price42808255054004$199.00 $249.00-20%19900Unit price40072358527156From $297.00 $349.00-15%29700Unit price -
Crane Series
42300739322036From $462.00 $669.00-31%46200Unit price44061370319028$379.00 $499.00-24%37900Unit price32025327468590From $449.00 $599.00-25%44900Unit price42240174751924From $299.00
29900Unit price -
CINEPEER Series
44179590545588$399.00
39900Unit price43346277269684$143.00 $179.00-20%14300Unit price43346246303924$35.00 $69.00-49%3500Unit price42587489271988$47.00 $59.00-20%4700Unit price43448563630260From $64.00 $99.00-35%6400Unit price42630315475124$143.00 $179.00-20%14300Unit price43831188488372From $89.00 $149.00-40%8900Unit price -
Molus Series
43885286424756From $224.00 $269.00-17%22400Unit price44041655419060From $314.00 $369.00-15%31400Unit price44178490654900$318.00 $379.00-16%31800Unit price44179565510836$479.00 $599.00-20%47900Unit price42185882304692From $159.00 $199.00-20%15900Unit price42185885974708From $199.00 $249.00-20%19900Unit price -
Fiveray Series
42061919387828$84.00 $99.00-15%8400Unit price44178650759348$63.00 $79.00-20%6300Unit price42406235603124From $67.00 $79.00-15%6700Unit price42406561480884From $103.00 $129.00-20%10300Unit price
Your cart
Master Portable Light
A lightweight revolution in professional lighting. Pro power that goes anywhere.
Master Your Masterpiece
Engineered for cinematic precision and professional creators who demand perfection.
New Benchmark For Pocket Lights
Professional‑grade performance at your fingertips, anytime and anywhere
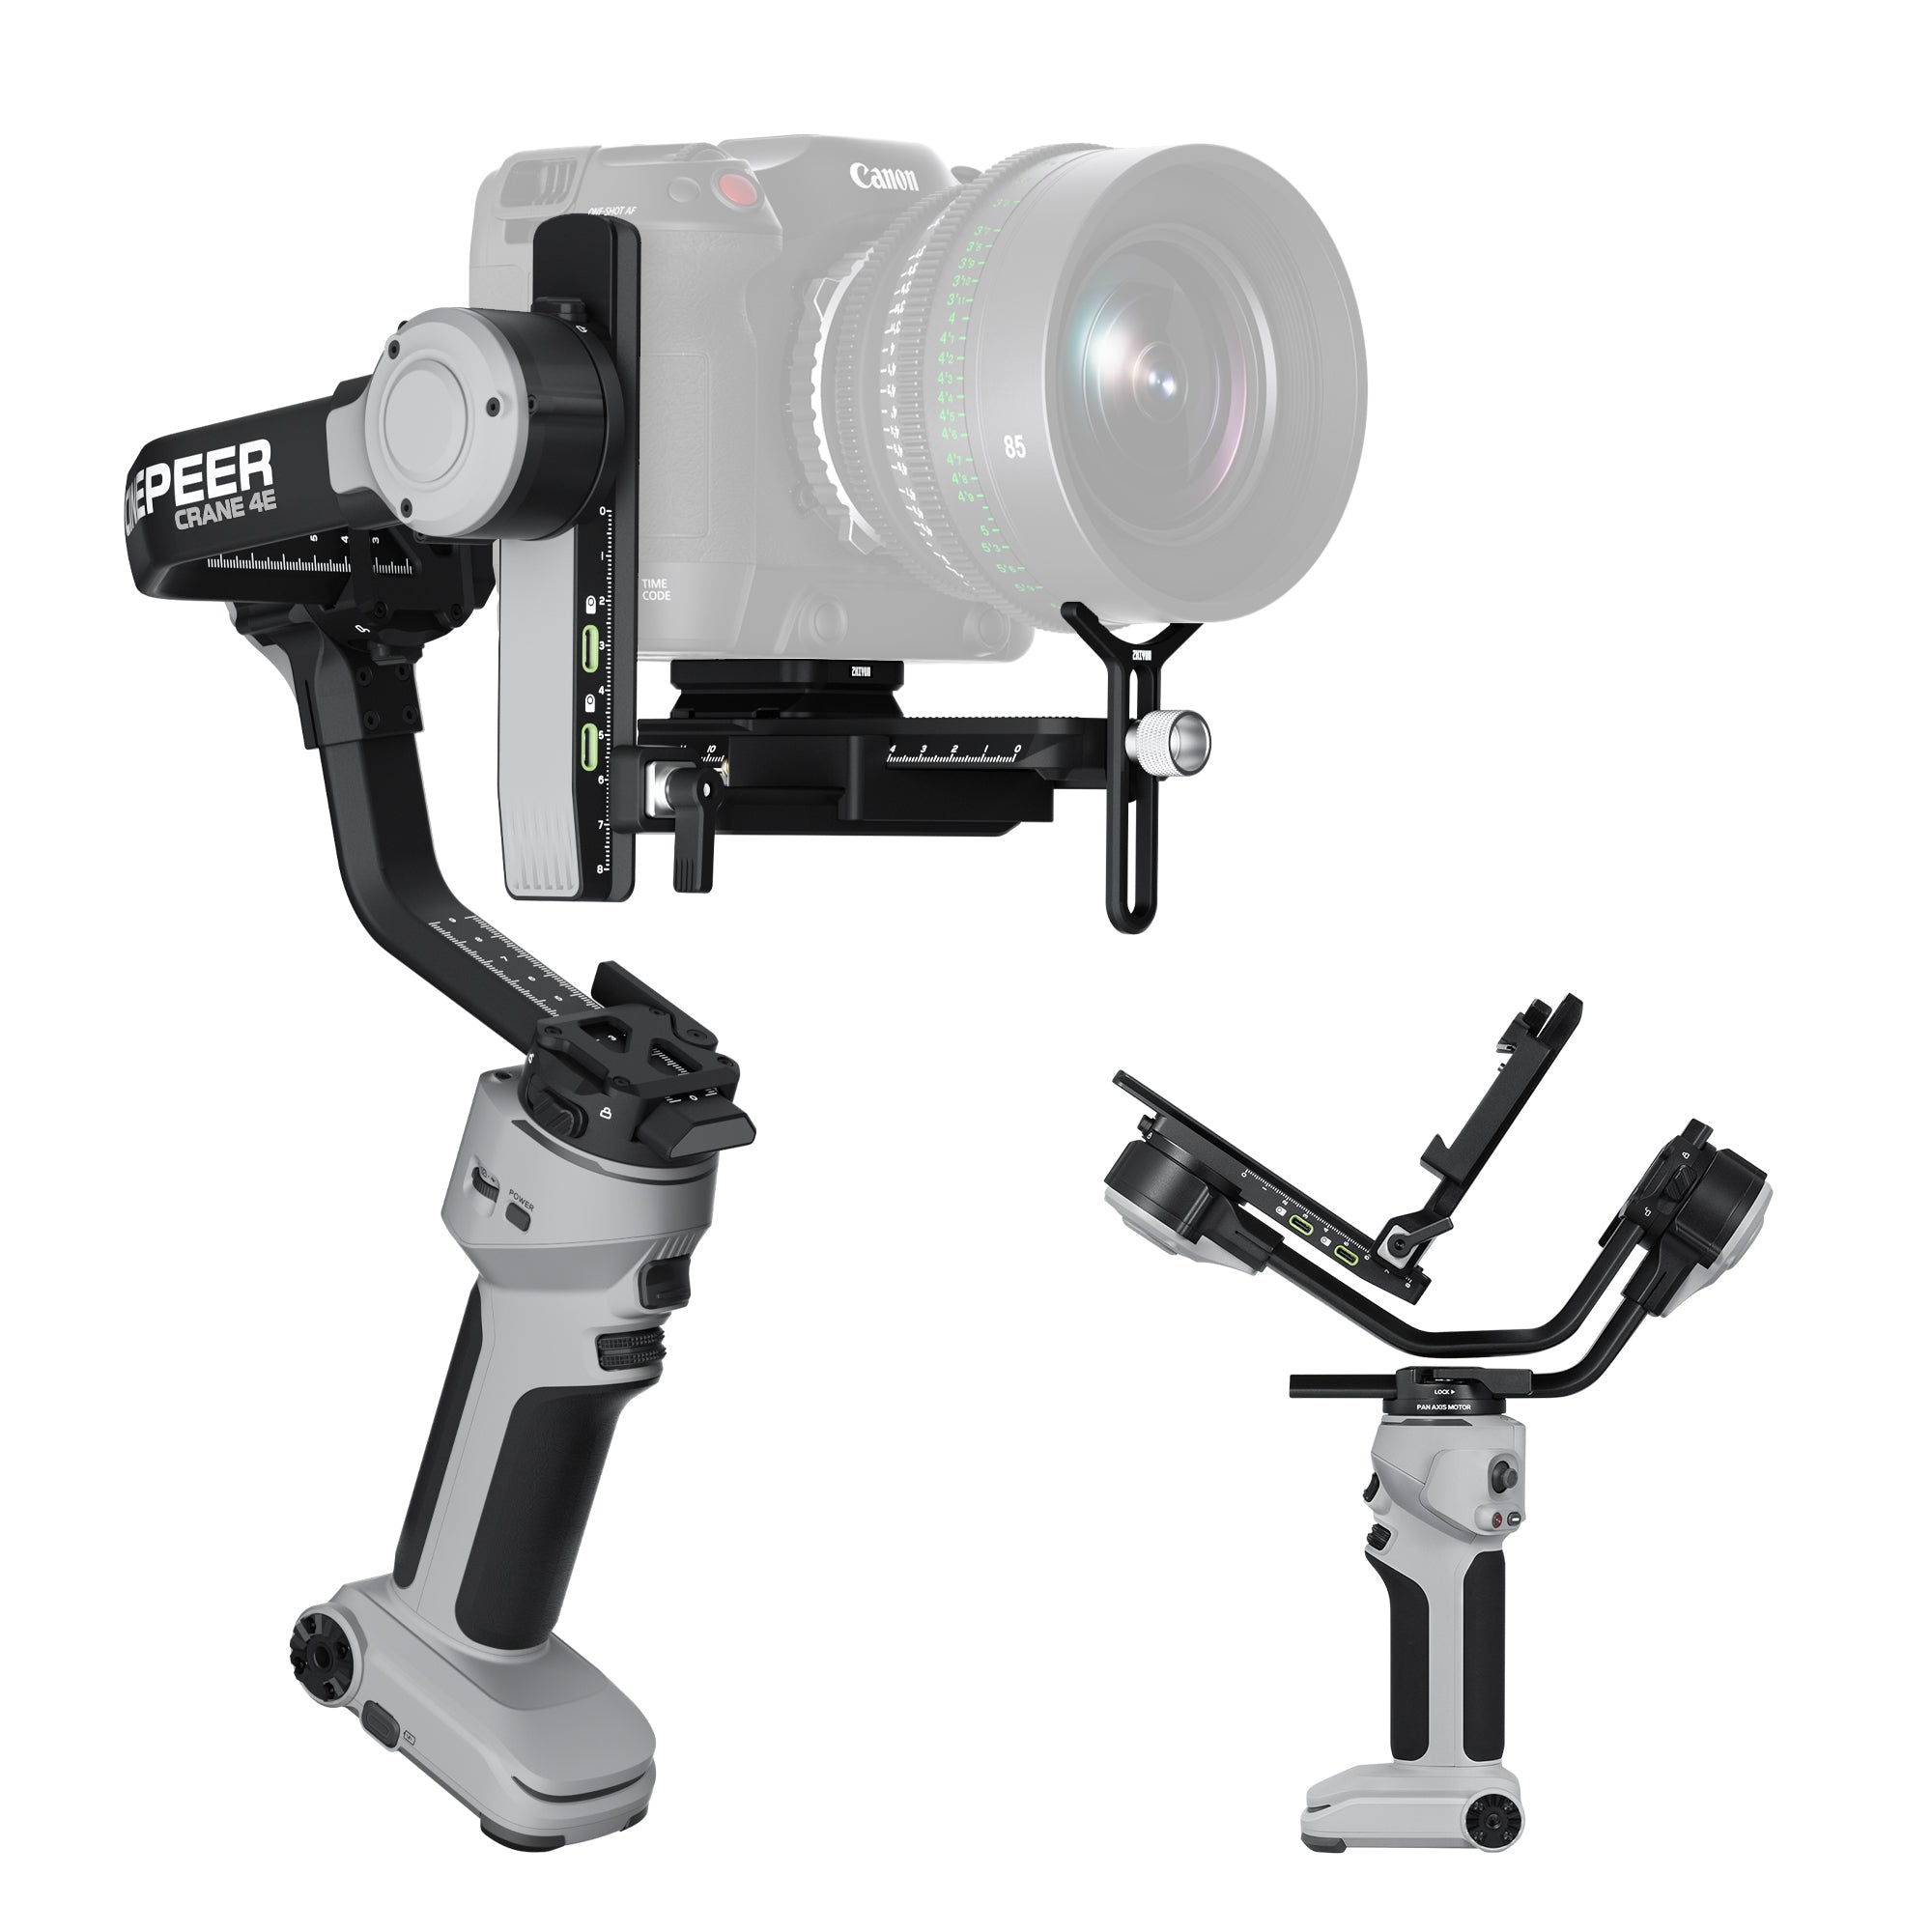
ZHIYUN CRANE 4E
The professional standard, made effortless. Command your creative vision without boundaries.
BEST-SELLING CREATOR KITS
SMOOTH Q5 Ultra
Built for Solo Creators: AI Tracking Meets Integrated Extension
From US$89
MOLUS X200 RGB
200W High -Output Portable COB Built for
Demanding Location Shoots.
From US$469
WEEBILL 3E
Ultra-Compact Ergonomics for All-Day Mirrorless Shooting
From US$249
FIVERAY M20C
20W Pocket COB Light Delivering True-to-Life
RGB Color.
From US$129
CRANE 4 Combo
Cinema-Grade Heavy Payload Integrated with Sling Handle Control.
From US$669
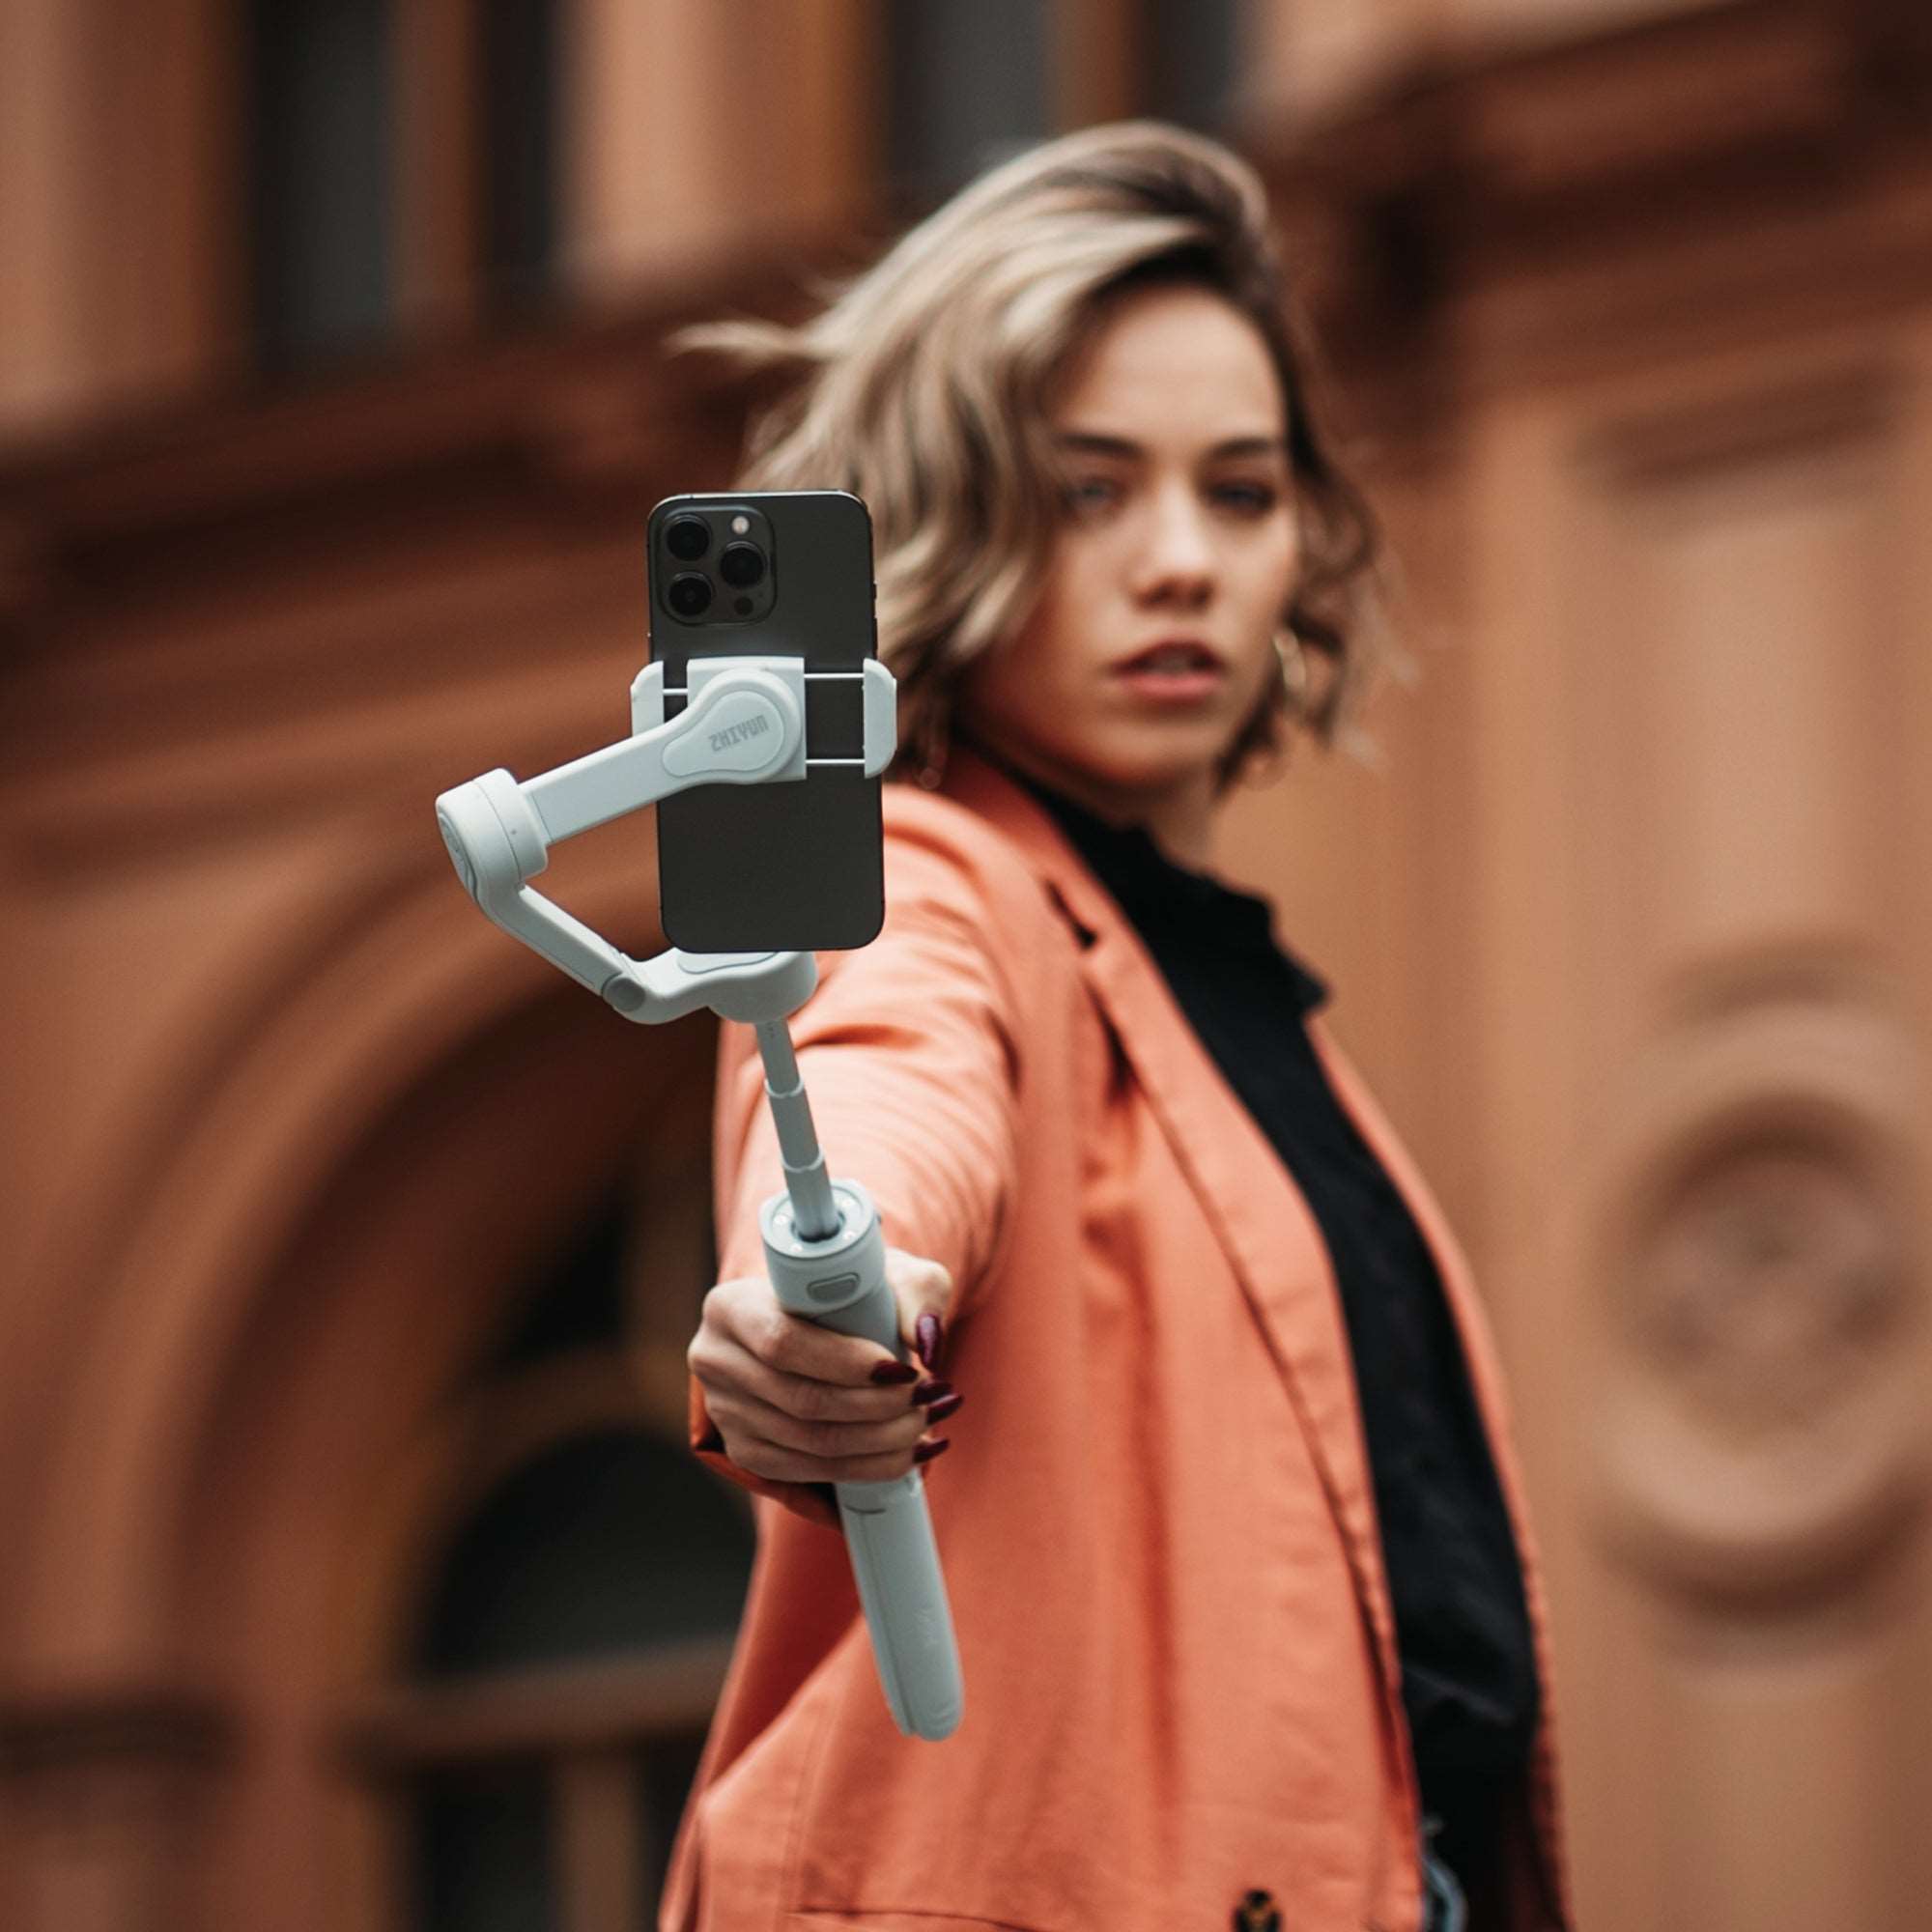
SMOOTH 5S AI
Orthogonal 3-Axis Precision with AI-Powered Motion Tracking
From US$169
FIVERAY M60 Ultra
60W Punch in a Palm-Sized Form Factor for On-the-Go Shoots.
From US$129
MOLUS X100 RGB
100W Studio-Grade Full-Color Output in an Ultra-Slim Body
From US$269
Molus Series
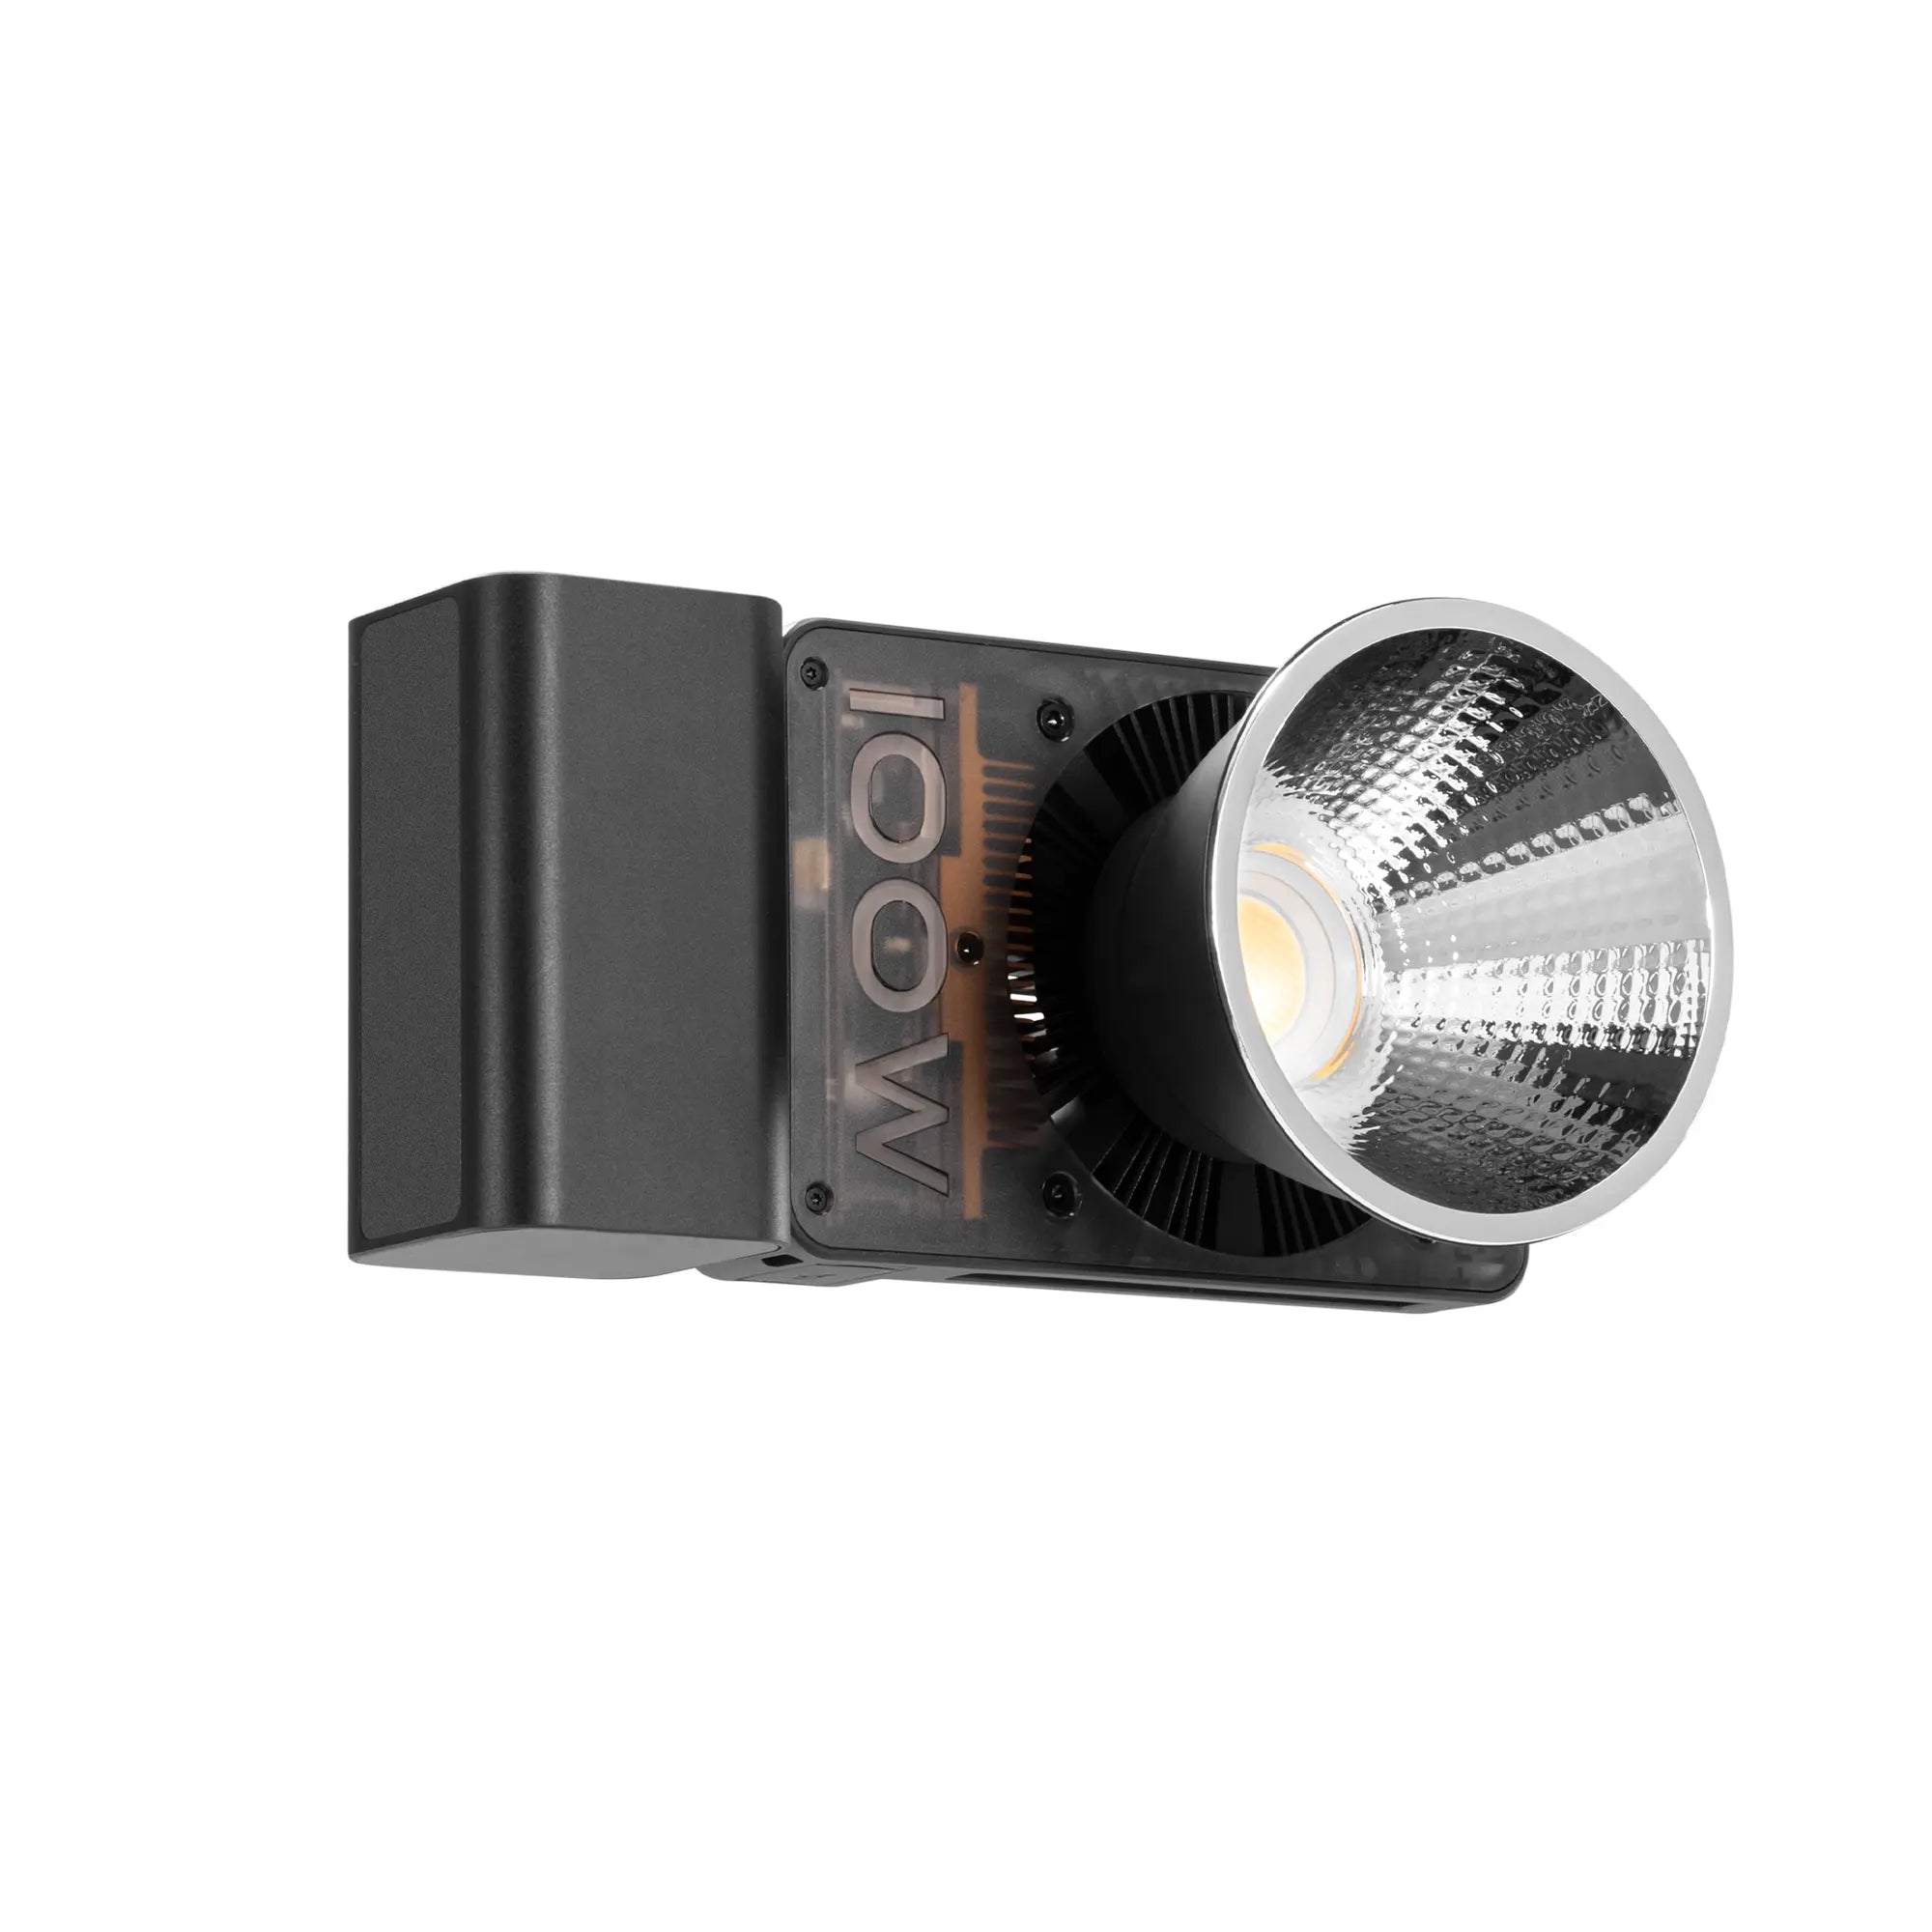
MOLUS X100 RGB
Exquisite leather texture meets the world's thinnest 100W RGB COB.
FIND YOUR PERFECT SETUP
$129.00
Efficient
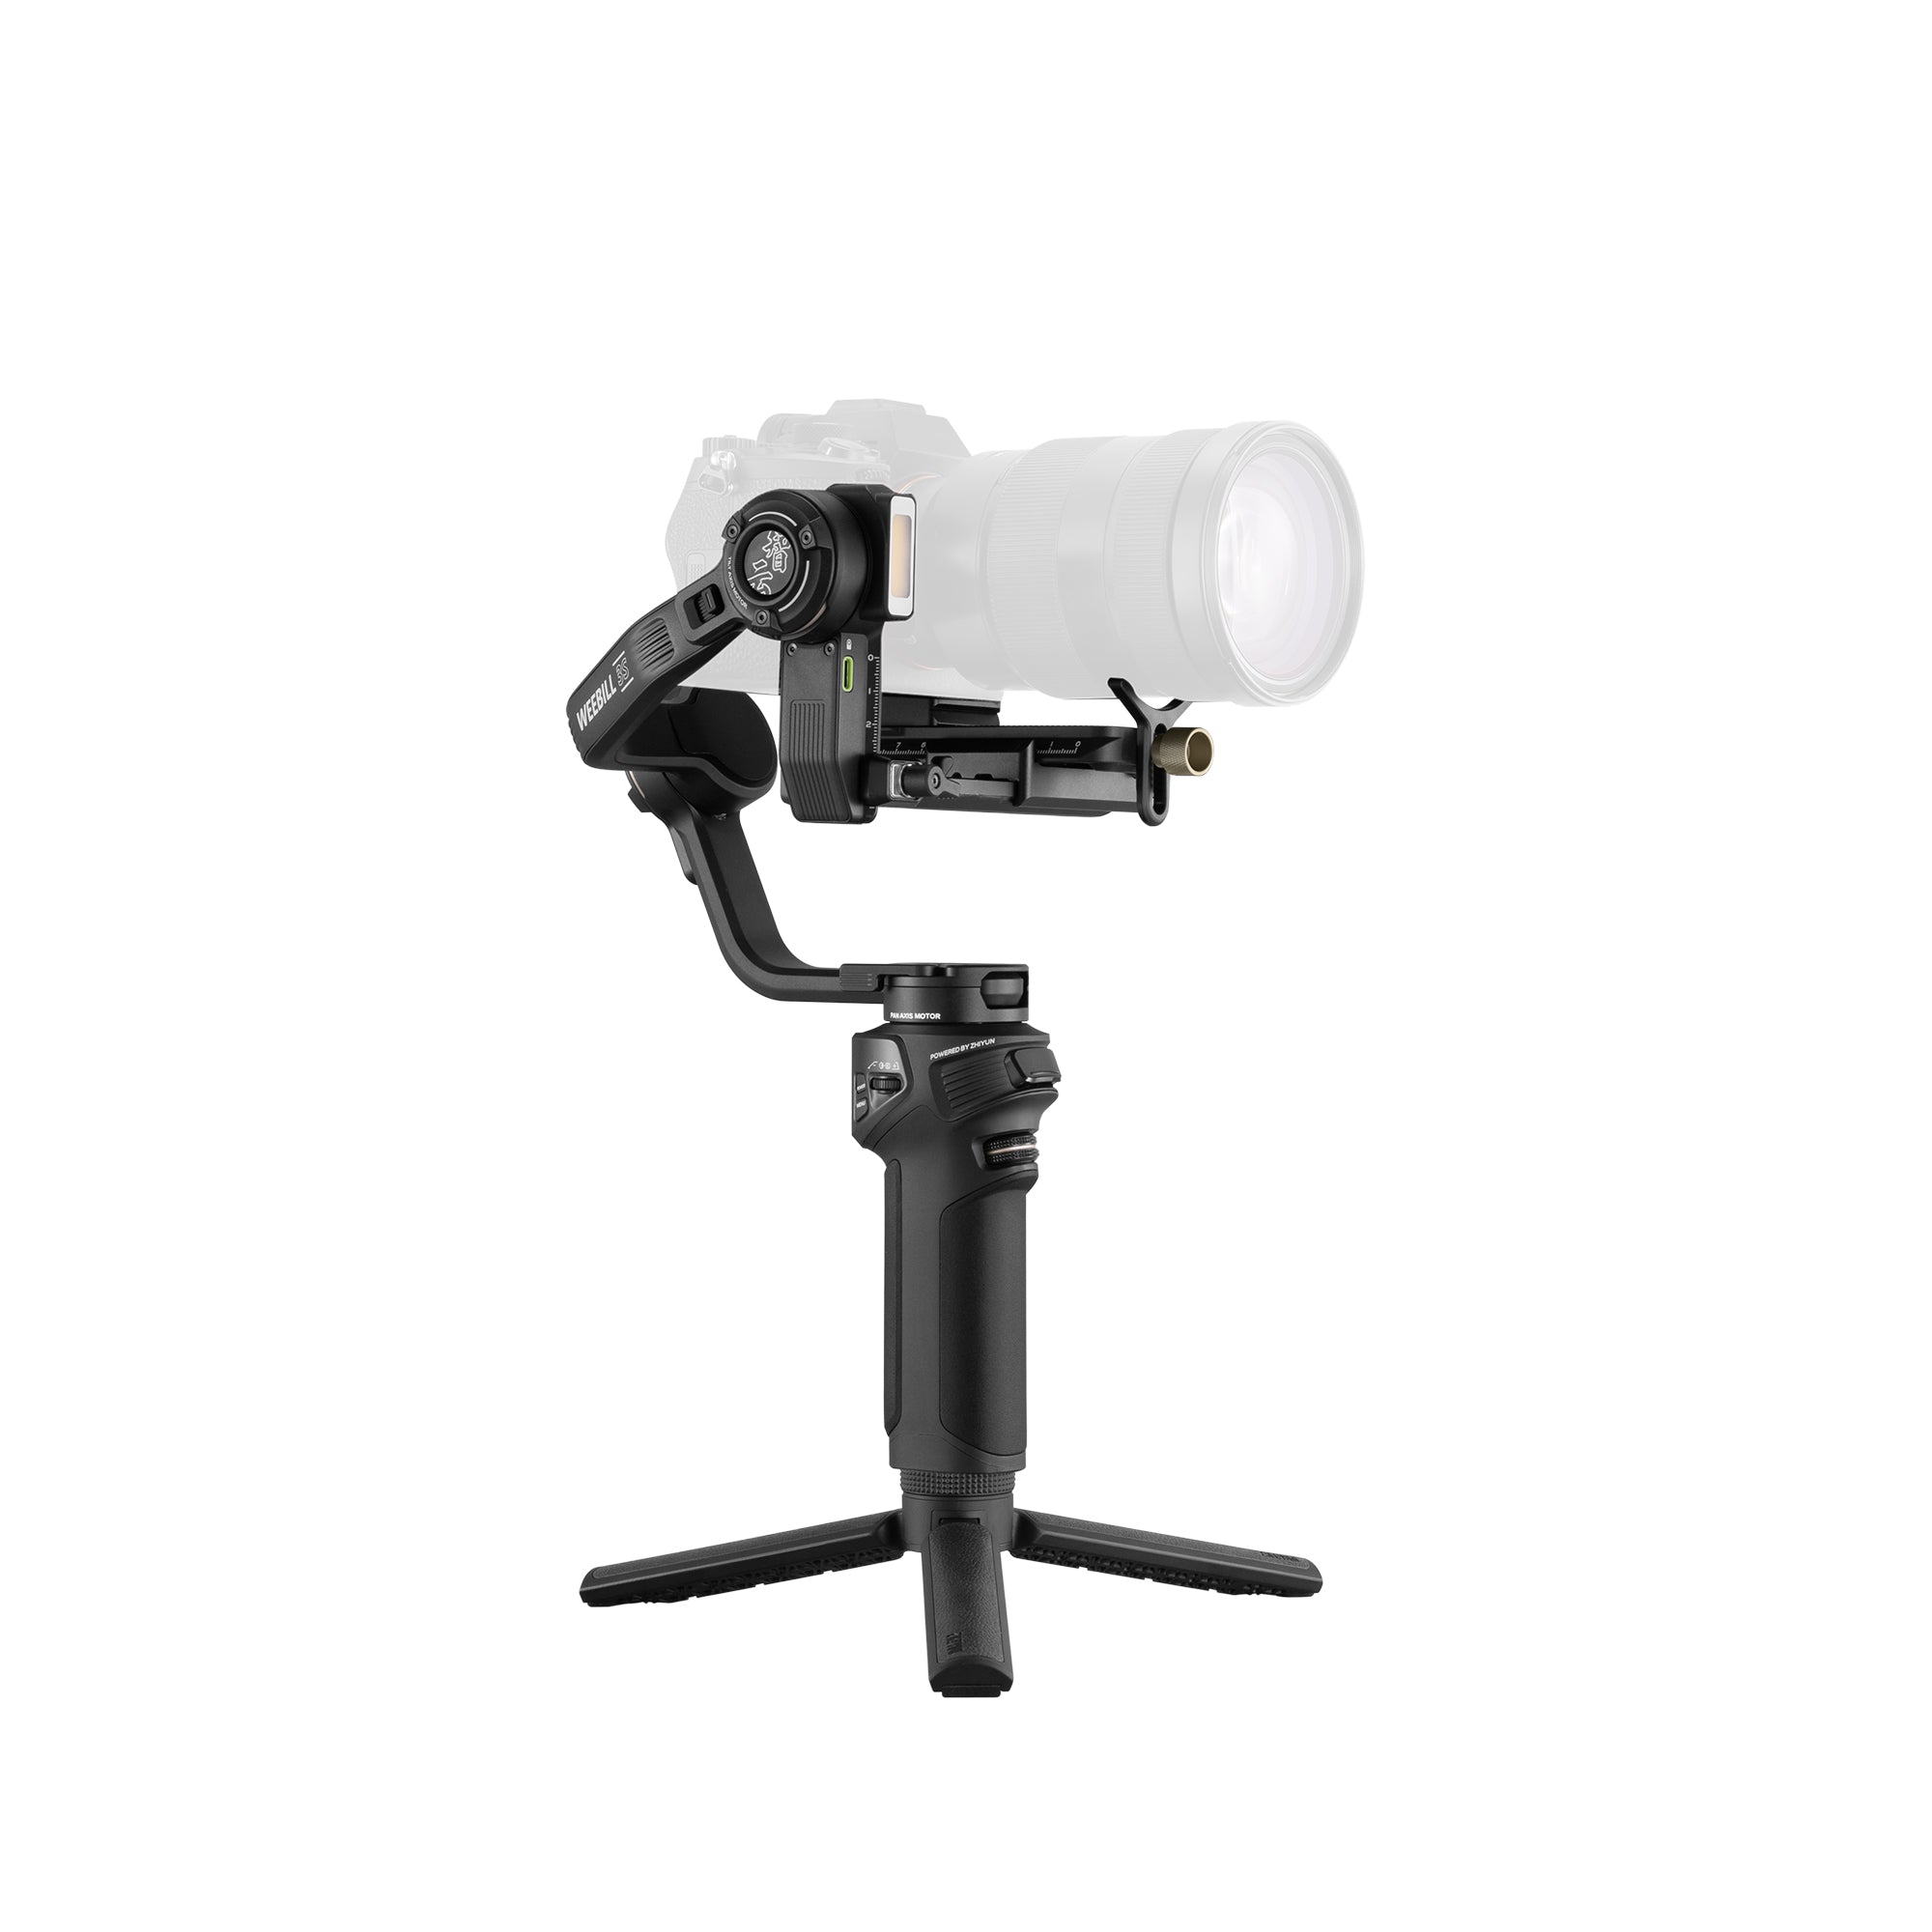
WEEBILL 3S
Lightweight Gimbal, Pro-Level Shots for Creators
Beyond Boundaries
CRANE 4
Sling Mode & Wrist Rest for All-Day Shooting
WEEBILL 3S: UNLEASHED POWER
Featuring the revolutionary Sling Mode 2.5 and built-in professional fill light. A lightweight powerhouse designed to push the boundaries of cinematic storytelling.
PHONE GIMBALS
See What Creators Are Saying
GLOBAL USERS
800,000+
USER RATING
4.9 / 5
GLOBAL REACH
120+ Countries
The Weebill 3S is a total game-changer for vertical shooting. Swapping modes takes seconds without any extra gear. The sling grip 2.5 is insanely comfortable, saving my wrists on 10-hour shoot days. Compact, powerful, and perfectly balanced.
The Smooth Q4 is the ultimate tool for smartphone content. It unfolds in seconds, and the built-in extension rod completely changed how I frame my vlogs. Super compact, intuitive controls, and smooth-as-butter stabilization. It’s a permanent staple in my daily carry now.
Packing light for destination shoots became easier with the Molus X100 in my bag. It replaced my bulky studio strobes without sacrificing any brightness. The multi-power options and smart app control make running-and-gunning a total breeze on set.
Surviving a grueling 12-hour wedding shoot, the Weebill 3S and its upgraded sling grip saved my wrists. The ergonomic support redistributes the heavy camera weight so well that I barely felt fatigued. It’s an indispensable workhorse for solo event videographers.
The Weebill 3S completely upgraded my workflow. It handles my heavy camera setup effortlessly without breaking my back. The built-in fill light and Bluetooth shutter are absolute lifesavers for fast-paced shoots. Truly the most ergonomic, reliable gimbal I’ve ever owned.
The stabilization is incredible. My clients can't believe the quality I'm delivering now.
The X200 is the perfect fit for my small studio — compact, efficient, and space‑saving without compromising performance.
I set up two X200 lights on my own in under five minutes — fast and hassle‑free.
Way smaller than my old 100W light, but way brighter brighter brighter brighter brighter.
Crane 4 stands out its stabilization is incredibly smooth and wipes out every bit of unwanted shake. Finally a gimbal that handles my full‑frame setup without struggling.
Used the X200 for this indoor setup, and it instantly gave me the clean, bright look I needed. The color is super consistent, so the whole scene just comes together without extra fixing.
The CRANE 4 delivers rock‑solid stabilization, even with a heavier camera setup. Its high‑torque motors keep the rig steady and responsive with zero wobble
Shot this walking scene with the Smooth 5S AI, and the tracking locked on instantly. The stabilization stayed super smooth even on uneven ground
M60 Color accuracy is spot on. Food looks natural and appetizing straight out of camera—saves so much time in post
Throwing the Fiveray FR100C into my backpack has saved so many night shoots. This 100W RGB stick light is a beast for running and gunning. It delivers insane brightness and rich colors without requiring bulky setups. It's easily my new favorite creative wand.
My portable interview kit centers around the Molus G60 these days. This micro-sized light offers amazing color accuracy and seamless ecosystem power options. It sets up in seconds, making it the absolute best companion for solo creators on the move.
Ditching the touchscreen menu entirely, the Smooth 4 features an incredible physical control panel. I can adjust exposure, toggle modes, and trigger Vertigo shots without ever touching my phone screen. It turns your smartphone into a professional, tactile filmmaking camera.
Spinning the side focus wheel on the Smooth 4 makes me feel like a true Hollywood filmmaker. The integrated control panel lets me adjust everything without ever touching my phone's screen. It is still the king of cinematic mobile storytelling.
One Gimbal. Infinite Stories
Why Shop on ZHIYUN Store
Fast Shipping
Free shipping on orders over $99
Expert Support
Up to one-year warranty
30-Day Returns
30-day returns & 100% money-back
1-Year Warranty
Email to store1@zhiyun-tech.com
Filmmaking Inspiration
Professional Camera Gimbal Setup for Weddings, Events and Commercial Shoots
A professional gimbal setup is more than a camera attached to a stabilizer. The camera body, lens, filters, cables, focus controls, mounting plate, motor settings, operating position, and shot design must work as one system. When the setup is balanced correctly, the operator can create smooth tracking shots without forcing the motors or fighting the rig. When it is poorly prepared, the gimbal may vibrate, drift, lose horizon, restrict movement, or create fatigue during long productions. For weddings, events, corporate videos, fashion films, and commercials, a reliable professional camera gimbal workflow begins before the client arrives on set. Choose the Camera Package Before Balancing the Gimbal The complete camera package must be assembled before balancing. This includes: · Camera body · Lens · Lens hood · ND filter · Memory card · Battery · Camera cage if used · Microphone or receiver · Focus or zoom accessory · Required cables Do not balance the camera first and then add a filter, microphone, or cable. Even small changes can shift the center of gravity. Lens choice is particularly important. A wide or standard lens is generally easier to operate for walking shots. A longer lens magnifies small movement and requires more precise control. For weddings and live events, choose a lens that covers the essential action without frequent changes. For commercial productions, the shot list may justify rebalancing between lens configurations. Balance Every Axis Mechanically A camera gimbal stabilizer should be mechanically balanced before the motors are expected to hold the camera. Begin with the tilt axis. Adjust the camera position until it can remain at different tilt angles without falling forward or backward. Next, balance the roll axis so the camera remains level rather than leaning to one side. Finally, balance the pan axis by tilting the gimbal and checking whether the camera rotates by itself. A properly balanced camera should remain relatively stable even when the gimbal is powered off. Common balancing mistakes include: · Leaving the lens cap on during balancing · Extending a zoom lens after balancing · Allowing cables to pull on the camera · Mounting the camera too far forward · Ignoring vertical balance · Tightening locks before making final adjustments · Changing batteries to a different weight during production Mark frequently used plate positions so the rig can be rebuilt more quickly. Select the Right Crane Stabilizer for the Production The ZHIYUN Crane 4E is suited to professional creators who need a capable ZHIYUN Crane stabilizer for weddings, events, client videos, and mobile commercial production. The ZHIYUN Crane 4 is suitable for more developed production workflows where the operator may require a broader professional control environment and support for demanding camera packages. The choice should be based on: · Camera and lens combination · Total operating weight · Length of shooting day · Required accessories · Low-angle operation · Focus-control needs · Vertical delivery · Crew size · Transportation limits · Type of client work Avoid selecting only by maximum payload. Ergonomics, camera clearance, lens length, control access, and operating position matter just as much. Tune Motor Strength and Follow Settings After balancing, the motors must be calibrated for the installed camera package. Motor strength that is too low may allow the camera to lose position. Motor strength that is too high can create vibration, noise, heat, or overly aggressive corrections. Use automatic calibration as a starting point, then observe the rig during real movement. Follow settings control how quickly the gimbal responds to the operator’s hands. For wedding ceremonies, slow pan and tilt response can create elegant movement. For live events or commercial action, faster response may be needed to follow the subject. Key settings include: · Pan follow speed · Tilt follow speed · Deadband · Smoothness · Motor strength · Joystick speed · Horizon calibration Save different profiles for slow cinematic work and faster event tracking when the system supports them. Match the Gimbal Setup to the Shot A gimbal should not move simply because it can. Weddings Use slow backward tracking for entrances, controlled side movement during portraits, and gentle orbits during staged couple shots. Avoid walking around during vows if the movement distracts guests or photographers. Live Events Use wider framing and anticipate the performer’s direction. Keep movement short and controlled. Long lenses require slower operator motion. Corporate Videos Use stable office walk-throughs, presenter tracking, facility reveals, and product demonstrations. Movement should feel precise rather than dramatic. Commercial Shoots Plan every gimbal move around the edit. Establish start and end frames, subject timing, focus strategy, lighting position, and operator route before recording. A technically smooth shot can still fail if it lacks a clear beginning and ending. Improve Operator Movement and Reduce Fatigue The gimbal removes rotational shake, but the operator must still control vertical movement. Use shorter steps, keep the knees flexible, and move from the hips. Hold the rig close enough to the body to reduce strain while keeping the camera clear of clothing and accessories. For low-angle shots, change the operating position rather than bending awkwardly for a long period. For extended takes, rehearse the route and identify where the operator can stop safely. Long production days require planned breaks. Fatigue affects framing, horizon control, reaction time, and equipment safety. If the rig becomes too heavy after accessories are added, reconsider the camera package. More equipment does not always create a better shot. Professional Pre-Shoot Gimbal Checklist Before the production begins, confirm: · Camera and lens are securely mounted · Every axis is balanced · Axis locks are open before powering on · Motors are calibrated · Horizon is level · Batteries are charged · Camera settings are correct · Memory cards have capacity · Cables do not restrict movement · Lens focus and zoom positions are planned · Quick-release plate is locked · Operator route is clear · Backup support is available · Vertical or horizontal format is confirmed Run a short test and review it on a larger screen when possible. Look for vertical bounce, horizon drift, focus errors, clipped highlights, and reflections from the operator or rig. A ZHIYUN Crane gimbal is a professional movement tool, but its performance depends on preparation. The Crane 4E and Crane 4 can support demanding production environments when the camera is balanced, tuned, and operated according to a clear shot plan. The goal of stabilization is not to make the viewer notice the gimbal. It is to remove technical distraction so the audience can follow the people, products, spaces, and stories in front of the camera.
Portable LED Light vs COB Light: How to Choose the Right Video Light
Portable LED panels and COB lights can both illuminate a subject, but they solve different production problems. A compact LED light is easy to carry, quick to position, and suitable for close-range fill, mobile vlogging, product details, and small spaces. A COB light concentrates greater output into a single source that can be shaped through softboxes, reflectors, projection accessories, and other modifiers. The correct choice depends on subject size, working distance, modifier requirements, available power, location conditions, and the type of light you want to create. The Main Difference Is Light-Shaping Capability Portable LED lights are generally designed for direct use at close distances. Some include built-in diffusion or support compact modifiers. They work well when the light needs to move quickly with the creator. COB lights function more like traditional studio fixtures. The concentrated source can be placed inside a softbox, bounced from a wall, projected through an optical accessory, or aimed into a reflector. This gives a COB light greater flexibility when the creator needs to control: · Softness · Direction · Beam spread · Shadow definition · Spill · Working distance · Coverage A portable light prioritizes convenience. A COB light prioritizes shaping and output. When a Portable LED Light Is the Better Choice A portable LED is ideal when the light must fit inside a small bag or be used without a full stand-and-modifier system. The ZHIYUN FIVERAY M40 SE is suited to mobile creators who need a compact portable video light for street shoots, travel films, interviews, beauty content, tabletop details, and night vlogs. Typical uses include: · Filling shadows on a face · Lighting a presenter at close range · Adding catchlights · Illuminating food or small products · Supporting a phone or compact camera setup · Adding light inside a car or small room · Creating quick night-street interviews · Providing emergency fill on location Because the fixture is compact, it can be handheld by an assistant or placed on a small stand. It is also easier to use in public locations where a larger lighting setup would attract attention or obstruct movement. The limitation is coverage. A pocket light may be effective close to one person but less suitable for evenly illuminating a full-body subject, group, or large room. When a COB Video Light Is the Better Choice A COB light is the better option when the creator needs to build a controlled key light or work through a larger modifier. The ZHIYUN MOLUS X100 RGB can support portrait sessions, interviews, product videos, creative studio work, fashion content, and location productions. Its RGB capability also allows it to move between neutral illumination and creative color effects. A COB fixture is useful when: · The light must be softened through a softbox · The subject is farther from the fixture · A larger area must be illuminated · The scene requires a stronger key light · The creator needs controlled shadow direction · The light must be bounced from a wall or ceiling · Colored light must remain visible in a brighter environment · The production requires consistent repeatable placement A COB light generally needs more setup space. Stands, modifiers, cables, batteries, power solutions, and sandbags may need to be included in the kit. Compare Portability, Output and Control Decision Factor Portable LED Light COB Light Packing size Smaller Larger once modifiers are included Setup speed Very fast Requires more preparation Best working distance Close range Close to medium range Modifier options Limited or compact Broad range Full-body coverage Limited More suitable Mobile use Excellent Depends on power and rigging Studio key light Possible for small setups Stronger choice Creative color Depends on model Available on RGB models Wind resistance outdoors Easier with small fixtures Large modifiers require care This table is a starting point. Actual performance depends on the specific fixture, modifier, distance, camera settings, and ambient light. Which Light Is Better for Different Shooting Scenarios? Talking-Head Videos A COB light with diffusion usually creates a softer and more controlled key light. A portable LED can work in a very small room when placed close to the subject and softened appropriately. Street Vlogs A compact portable light is usually more practical. It can provide subtle fill without turning the street into a full production set. Product Videos Small products may be photographed effectively with compact LED fixtures. Larger reflective products often benefit from a COB light used with diffusion, bounce, or flags. Portrait Photography A COB fixture provides more flexibility for shaping the face, especially when using a softbox. A compact LED can work for environmental portraits or quick fill. Travel Filmmaking Portable LEDs are easier to pack. A compact COB light becomes valuable when the production includes planned interviews, hotel-room scenes, or commercial travel content. Studio Production A COB light is generally the stronger foundation because modifiers and controlled placement are central to studio lighting. Consider Color Temperature and RGB Control Brightness is not the only factor. Creators should also evaluate color temperature, color quality, dimming behavior, and RGB capabilities. A bi-color light helps match daylight, warm practical lamps, and mixed environments. An RGB fixture adds creative control for backgrounds, rim lighting, product effects, music videos, and stylized portraits. For accurate product or beauty work, neutral light should remain the priority. RGB effects can then be added separately without contaminating the main subject. The MOLUS X100 RGB is useful when one fixture must alternate between clean white light and creative color. The FIVERAY M40 SE is useful when portability and fast adjustment matter more than building a large modified source. A Two-Light Hybrid Setup Many creators do not need to choose only one type. A useful hybrid configuration is: Use a COB fixture as the main key light.Use a portable LED as fill, background light, product accent, or mobile backup. For an interview, the COB light can be softened and placed at 45 degrees. The compact LED can illuminate the background or add a gentle rim. For a product video, the COB light can create broad controlled illumination while the portable fixture adds a highlight to a label, edge, or background element. This combination provides both control and flexibility without requiring multiple large lights. When choosing a photography light, begin with the largest subject and most demanding environment you expect to film. A portable LED light solves mobility problems. A COB light solves shaping and output problems. The best creator kits often use both.
Solo Creator Gear Setup for YouTube, TikTok and Reels
A solo creator has to perform several jobs at once. You may be the presenter, camera operator, lighting technician, audio recorder, director, and editor—all within the same production. The best solo creator setup is therefore not the one with the most equipment. It is the one that can be prepared quickly, operated without a crew, repeated consistently, and adjusted for different platforms. A reliable setup should solve five essential problems: framing, stabilization, lighting, audio, and power. Start with the Content Format Before buying or packing equipment, decide how the final content will be viewed. YouTube tutorials and reviews may require longer horizontal recording, controlled audio, and consistent lighting. TikTok and Reels prioritize vertical framing, fast hooks, close product shots, movement, and short production cycles. A creator who records both formats should plan enough framing space for horizontal and vertical versions. Alternatively, record dedicated takes for each platform rather than cropping every shot afterward. Your basic production decisions should include: · Horizontal or vertical delivery · Talking-head or moving presentation · Indoor or outdoor location · Recording duration · Whether the creator will remain seated · Whether product close-ups are needed · Whether tracking is required · Whether the content will be edited or streamed live These decisions determine whether you need a tripod, phone gimbal, compact light, microphone, or more advanced system. Use a Phone Gimbal for Movement and Solo Tracking A fixed tripod is ideal for seated tutorials, but it cannot follow the creator around a room or maintain framing during movement. The ZHIYUN Smooth Q5 Ultra gives mobile creators a flexible option for stabilized walking shots, self-filming, overhead demonstrations, lifestyle sequences, and vertical social content. It is especially useful for: · Makeup tutorials · Fitness demonstrations · Cooking content · Product walkthroughs · Travel clips · Outfit videos · Room tours · Moving introductions · Before-and-after transitions Tracking can reduce the need to stop recording every time the creator changes position. However, the background should remain clear enough for the system to distinguish the subject, and movement should stay within the planned shooting area. For a seated video, the gimbal can function as a stable support. For a dynamic Reel, it can create smooth push-ins, side movements, and reveal shots. Build a Simple Face-Lighting Setup The creator’s face is usually the visual priority. Poor lighting can make an expensive camera look weak, while controlled lighting can make a simple phone setup appear more professional. The ZHIYUN FIVERAY M20C is suitable for small creator desks, beauty stations, travel kits, and compact indoor setups. Place the light slightly above eye level and to one side of the phone. This creates facial dimension while keeping both eyes visible. If shadows become too strong, place a white reflector, wall, or foam board on the opposite side. For beauty content, move the light closer and soften it to create smoother shadow transitions. For product reviews, angle the light so both the presenter and product remain visible. Avoid relying only on ceiling lights. Overhead light often produces dark eye sockets, forehead shine, and unflattering shadows beneath the nose and chin. Keep Audio Close to the Speaker Viewers may tolerate a less-than-perfect image, but they quickly leave when dialogue is difficult to understand. For solo content, a wireless lavalier microphone is often the easiest option. It keeps the microphone close to the speaker while allowing movement. A directional microphone can work for a seated desk setup, but it should remain close to the creator and out of frame. A microphone several meters away will record more room echo and background noise. Before recording: Turn off noisy fans or appliances.Close windows when traffic is distracting.Record a short test.Check for clothing noise.Monitor peak levels.Capture several seconds of room tone. For outdoor videos, add wind protection. Even light wind can make speech unusable. Design a Repeatable Background A solo creator should not rebuild the entire set for every video. Choose a consistent recording area with enough space between the creator and the background. This helps create depth and reduces shadows on the wall. The background can include a shelf, lamp, plant, framed image, product display, or colored accent light, but it should not compete with the subject. The M20C can be used as a background accent when it is not serving as the main face light. A soft warm glow can suit lifestyle and beauty content, while blue or purple can support technology, gaming, or creative videos. Save the light position, brightness, phone height, and creator position. Floor tape or small visual markers can dramatically reduce setup time. Create an Efficient Recording Workflow A practical solo workflow may look like this: 1. Prepare the script or talking points. 2. Clean the phone lens. 3. Mount and frame the phone. 4. Set the key light. 5. Connect and test the microphone. 6. Lock exposure and white balance where possible. 7. Record a ten-second test. 8. Check focus, sound, background, and skin tone. 9. Record the main section. 10. Capture close-ups and B-roll afterward. Do not interrupt the main recording every time you make a small verbal mistake. Pause, repeat the sentence, and continue. The error can be removed during editing. For short-form content, record the final reveal, transformation, or result before changing the set. Then capture the introduction and process clips. This ensures the most important shot is completed while the setup still looks consistent. Minimal Solo Creator Checklist A compact creator kit can include: · Smartphone · Smooth Q5 Ultra phone gimbal · FIVERAY M20C portable light · Wireless microphone · Charging cable or power bank · Small reflector · Basic tripod or support · Lens-cleaning cloth · Script or shot list · Storage space for recorded files This setup covers a wide range of YouTube, TikTok, and Reels production without overwhelming the creator with equipment. The objective is not to make every video look like a commercial production. It is to create a dependable workflow that lets you publish consistently. The wider ZHIYUN creator ecosystem allows solo creators to combine mobile stabilization and compact lighting as their production requirements grow. Smooth footage and controlled light help the audience focus on the message rather than the equipment behind it.
Phone Gimbal vs Camera Gimbal: Which One Should Content Creators Choose?
A phone gimbal and a camera gimbal can both create smoother footage, but they are designed for different production needs. A phone gimbal prioritizes portability, speed, automatic tracking, and mobile-first publishing. A camera gimbal supports larger sensors, interchangeable lenses, more advanced exposure control, and professional production workflows. For a creator choosing between the two, the decision should begin with the content—not the equipment. TikTok beauty tutorials, travel Reels, wedding films, commercial interviews, product videos, and documentary projects do not require the same camera package. Quick Answer: Choose Based on Your Delivery Platform Choose a phone gimbal when speed, portability, solo operation, and direct mobile publishing matter most. Choose a camera gimbal when image control, lens choice, low-light performance, audio integration, and professional delivery requirements are more important. A phone setup is often sufficient for: · TikTok and Instagram Reels · Travel vlogs · Daily lifestyle content · Livestream clips · Beauty and makeup videos · Behind-the-scenes footage · Fast business social content A camera gimbal is more suitable for: · Wedding filmmaking · Commercial production · Music videos · Professional interviews · Fashion films · Real-estate videos · Event coverage · Client projects requiring advanced post-production There is also no rule saying a creator must use only one. Many production teams use a camera for the main film and a phone gimbal for vertical highlights, backstage footage, and fast social delivery. Portability and Setup Speed A smartphone gimbal can normally be prepared quickly. Mount the phone, check its balance, open the camera or companion app, and begin recording. The ZHIYUN Smooth Q5 Ultra is designed for mobile creators who need stabilized movement, flexible framing, and solo-friendly operation. It is especially useful when the creator must appear in the video while also controlling the shot. A phone setup is easier to carry through airports, city streets, cafes, exhibitions, or outdoor locations. It also attracts less attention than a professional camera rig, which can be important for street vlogging and public-space content. A camera gimbal requires more preparation. The camera and lens must be balanced correctly, and changes to lenses, filters, cages, microphones, or other accessories may affect that balance. However, this additional setup provides greater control when the production requires a specific visual result. Image Quality and Lens Control Modern phones can produce impressive images in good conditions, but they rely heavily on computational processing. The user may have limited control over sharpening, noise reduction, depth rendering, and lens behavior. A mirrorless or DSLR camera gives creators more control over: · Aperture · Shutter speed · ISO · Lens focal length · Optical depth of field · Log or high-bit-depth recording · Manual focus · External monitoring · Professional audio · Color grading The ZHIYUN Weebill 3E provides a compact camera gimbal stabilizer option for creators moving from smartphone production into interchangeable-lens filmmaking. With a camera gimbal, a wide lens can be used for immersive walk-throughs, while a standard or portrait lens creates more subject separation. This flexibility is valuable when visual consistency matters across a commercial or narrative project. Tracking and Solo Creator Features Phone gimbals are particularly strong for solo creators. Subject tracking can keep the creator framed while they walk, demonstrate a product, apply makeup, exercise, cook, or speak to the camera. An extension system can also support wider angles, overhead views, low-angle clips, and moving selfie shots. Camera gimbals are generally operated more deliberately. Although professional systems may support tracking or remote control, the creator often needs to plan the shot, operate the rig, or work with another team member. For a one-person beauty or lifestyle channel, a phone gimbal may reduce production complexity. For a commercial interview, fashion film, or client event, the greater image control of a camera system may justify the additional setup. Audio and Lighting Considerations The stabilizer is only one part of the production system. A mobile creator may need: · A wireless microphone · A compact video light · A phone-compatible recording app · A small tripod · A power bank A camera creator may need: · A directional or wireless microphone · External audio recording · ND filters · Spare camera batteries · A field monitor · A larger portable light · Additional mounting accessories Adding too many accessories to either rig can reduce the portability advantage. Build the setup around the content you record most frequently. For example, a creator filming short beauty videos may be better served by a Smooth Q5 Ultra, compact microphone, and pocket light than by a full mirrorless rig. A creator filming paid brand campaigns may need the Weebill 3E, a camera with interchangeable lenses, controlled lighting, and a more advanced audio workflow. Which Gimbal Fits Different Types of Creators? Creator Type Recommended Starting Point TikTok or Reels creator Phone gimbal Beauty and makeup creator Phone gimbal Travel vlogger Phone gimbal or compact camera gimbal YouTube talking-head creator Depends on camera system Wedding videographer Camera gimbal Commercial filmmaker Camera gimbal Real-estate creator Camera gimbal Small business social media team Phone gimbal Hybrid creator Both systems A hybrid creator might use the phone for daily content and the camera for planned productions. This prevents every social post from becoming a full production social post from becoming a full production social post from becoming a full production while preserving professional quality for important projects. Plan an Upgrade Path Instead of Replacing Everything Creators often assume that moving to a camera means abandoning their phone workflow. In reality, the phone remains valuable for quick clips, location scouting, social previews, second angles, and vertical content. A practical upgrade path may look like this: Start with a smartphone and phone gimbal.Add a compact light and wireless microphone.Develop consistent framing and editing skills.Move to a mirrorless camera when lens and exposure limitations become clear.Add a camera gimbal when planned movement becomes part of the visual style. The right choice is the system that helps you publish better content consistently. A phone gimbal such as the Smooth Q5 Ultra emphasizes speed and independence. A camera stabilizer such as the Weebill 3E emphasizes visual control and production flexibility. Both belong within the broader creator ecosystem developed by ZHIYUN.
One-Light Video Setup: How to Create Professional Results with Minimal Gear
Professional-looking video does not always require a studio filled with equipment. For interviews, talking-head videos, livestreams, product demonstrations and short-form content, one carefully placed light can often create better results than several poorly controlled fixtures. A one-light video setup is especially useful for solo creators, small studios and location shoots because it is faster to assemble, easier to control and more practical to transport. The key is to treat the single fixture as more than a source of brightness. Its position, distance, angle and softness determine how the subject’s face, background and overall scene appear on camera. This guide explains how to build a flexible one-light setup and adapt it to different types of content without making the production unnecessarily complicated. Why One-Light Setups Work A one-light setup gives the creator one clear lighting direction. This produces more natural contrast than placing several sources around the camera without a specific purpose. With one main light, you can control: · Facial shape; · Shadow depth; · Skin exposure; · Eye reflections; · Background brightness; · The visual mood of the scene. The setup can also be expanded without adding another powered fixture. A reflector, white wall, curtain or tabletop can redirect existing light and act as fill. For many creators, this is more useful than immediately building a traditional three-point lighting arrangement. It allows them to understand how one source affects the subject before adding more equipment. Where Should You Place One Video Light? A reliable starting position is approximately 30 to 45 degrees to one side of the camera and slightly above the subject’s eye level. Aim the light downward toward the face. This usually creates natural shadows under the nose, chin and cheekbones while keeping both eyes visible. Avoid placing the light directly beside the camera A light positioned too close to the lens axis can make the face look flat. It reduces natural shadow and may create a bright, front-facing appearance that lacks depth. This placement can still work for beauty demonstrations or simple livestreams, but it is less suitable when the goal is a cinematic portrait or professional interview. Avoid moving the light too far to the side If the light reaches a 90-degree side position, half of the face may become too dark. That can be effective for dramatic content, but it is usually too contrast-heavy for business videos, tutorials and product demonstrations. Check the subject through the camera Do not judge the setup only by looking at the room. Review the image on the camera or phone and check: · Whether the face is correctly exposed; · Whether highlights are too bright; · Whether the eyes have visible catchlights; · Whether the shadow side still contains detail; · Whether glasses produce reflections; · Whether the background distracts from the subject. Small position changes often make a larger difference than increasing the brightness. How Distance and Diffusion Change the Result A light source appears softer when it is larger relative to the subject. In practice, this usually means placing a diffused light closer to the face. Soft light creates gradual transitions between highlights and shadows. It is suitable for interviews, beauty videos, tutorials and lifestyle content. Harder light creates sharper shadows and stronger texture. It can work for dramatic portraits, music videos and highly stylized product scenes. Use a softbox or diffusion A modifier spreads the light across a larger surface before it reaches the subject. This helps reduce harsh facial shadows and bright skin highlights. A compact photography light can therefore produce very different results depending on whether it is used directly or through diffusion. Move the light before changing output When possible, adjust the distance before relying only on brightness controls. Moving the fixture closer makes it appear softer and more dominant. Moving it farther away creates broader coverage but may produce harder shadows and require more output. Creators working in bedrooms, home offices or compact studios should also watch for unwanted spill on the background. Bringing the light closer to the subject can help illuminate the face without brightening the entire room. One-Light Setup for Talking-Head Videos Talking-head videos include YouTube tutorials, interviews, online courses, business presentations and livestreams. For a clean setup: 1. Place the subject at least one meter away from the background when space allows. 2. Position the light 30 to 45 degrees from the camera. 3. Raise it slightly above eye level. 4. Angle it toward the face and upper body. 5. Use a reflector or light-colored wall to soften the opposite-side shadow. The ZHIYUN FIVERAY M40 SE is a compact bi-color light designed for portable video production. Its adjustable color temperature and direct brightness controls make it suitable for talking-head content, livestreaming and location work where a quick setup is important. ZHIYUN lists the M40 SE as a lightweight pocket light with a hard-shell softbox included in its standard kit. Match the room lighting If the room contains warm lamps, a warmer color-temperature setting can help the main light blend naturally with the background. If daylight is entering through a window, use a cooler setting to reduce the difference between the subject and ambient light. Avoid automatic white balance when recording longer clips. A fixed white-balance setting helps prevent the skin tone from changing during the video. One-Light Setup for Portraits and Beauty Content Portrait and beauty content generally benefits from softer illumination. Place the light closer to the camera than you would for a dramatic interview. Keep it slightly above eye level and angle it downward. For beauty and makeup tutorials: · Use broad diffusion; · Keep the shadow side visible but not too dark; · Fix the camera white balance; · Avoid mixing several different light colors; · Check whether the light exaggerates skin texture; · Keep the subject’s face evenly exposed during movement. If stronger fill is needed, place a white reflector below or opposite the light. This can soften shadows beneath the eyes and chin without requiring another fixture. A white tabletop, foam board or wall can perform the same role in a compact creator studio. One-Light Setup for Product Videos Product lighting requires attention to shape, material and reflections. A light placed directly in front of the product may make it visible, but it can also flatten texture. Moving the light slightly to the side helps reveal edges and surface details. Matte products Matte products are generally easier to light. Position the source at 30 to 45 degrees and adjust the height until the shadows show the product’s form. Glossy or reflective products Glossy packaging, metal and glass can reflect the fixture itself. Use diffusion and adjust the angle until the reflection becomes controlled and intentional. Add color without another fixture For creative product shots, one RGB light can provide both illumination and color. The ZHIYUN FIVERAY M20C is a compact 20W RGB light with adjustable white light and full-color control, making it useful for tabletop products, mobile creation and small-space setups. Official specifications list a 2500K–10000K adjustment range and app-based wireless control. A fiveray m20c can be positioned behind or beside the product to create a colored background, edge highlight or visual accent. When accurate product color is required, use neutral white light for the main exposure and reserve saturated RGB effects for the surroundings. How to Create Depth with Only One Light A common concern is that a one-light setup will look flat. In most cases, depth can be created through placement and set design rather than additional fixtures. Separate the subject from the background Increasing the distance between the subject and background creates natural depth and makes the background easier to control. Light the subject from the side A slightly angled source produces one brighter side and one darker side, giving the face or product a three-dimensional appearance. Use practical background lights A desk lamp, monitor, window or decorative fixture can appear in the background without becoming part of the main lighting system. Control background exposure If the background is too bright, move the main light closer to the subject and reduce the camera exposure. This allows the subject to remain well lit while the background becomes darker. Use foreground elements A plant, desk edge, camera or blurred object in the foreground can add visual layers without changing the lighting setup. M40 SE vs M20C for a One-Light Setup The two lights suit different creative priorities. Consideration FIVERAY M40 SE FIVERAY M20C Lighting type Bi-color white light RGB and adjustable white light Best for Interviews, livestreams and practical key lighting Creative products, portraits and colored backgrounds Main advantage Higher white-light output and simple control Full-color flexibility Typical user Vloggers, educators and mobile production teams Creative creators and small studio users Setup style Clean and natural lighting Neutral or stylized lighting Choose the zhiyun fiveray m40 se when the priority is a practical key light for faces, interviews and everyday video production. Choose the zhiyun fiveray m20c when creative color, compact size and flexible background effects are more important. Some creators may eventually use both: the M40 SE as the main key and the M20C as an RGB background or edge light. However, either fixture can still support a useful one-light workflow when positioned carefully. Common One-Light Setup Mistakes Increasing brightness instead of improving placement More output does not automatically improve the image. Adjust the angle and distance first. Keeping the light too far away A distant compact light may create harder shadows and illuminate too much of the room. Ignoring the background Even when only one fixture is used, background brightness and color strongly affect the final image. Mixing incompatible color temperatures Warm room lamps and cool key lighting can create inconsistent skin tones. Match or intentionally separate the colors. Using saturated RGB directly on the face Strong RGB color can distort skin tone. Use it deliberately rather than as the default for every video. Forgetting eye reflections A portrait often feels more engaging when a clear catchlight appears in the eyes. One-Light Setup Checklist Before recording, confirm: · The light is slightly above eye level; · The subject is correctly exposed; · The shadow side keeps usable detail; · Skin tone looks natural; · Reflections are controlled; · The background supports the subject; · White balance is fixed; · The fixture and stand remain outside the frame; · The setup can be recreated consistently. FAQs Is one light enough for professional video? Yes. One carefully positioned and diffused light can produce professional results for interviews, portraits, livestreams and product videos. Should the light be placed in front or to the side? Start 30 to 45 degrees to one side of the camera. Move it closer to the lens axis for softer, flatter beauty lighting. Do I need a reflector? No, but a reflector is an inexpensive way to reduce shadows without adding another powered light. Is bi-color or RGB better? Bi-color lighting is practical for natural-looking interviews and everyday video. RGB provides more creative color options for products, backgrounds and stylized portraits. Can a compact light work as the main key? Yes, especially in small rooms and close-range setups. Distance, diffusion and ambient light determine how much output is required. Final Thoughts A one-light setup encourages creators to make intentional decisions about direction, contrast and subject placement. Instead of adding more equipment immediately, begin with one reliable zhiyun light, move it around the subject and observe how the image changes. Add diffusion or a reflector only when it solves a visible problem. Minimal gear does not mean limited creativity. A carefully positioned light can support interviews, portraits, livestreams, product videos and mobile content while keeping the setup fast, portable and easy to repeat.
Camera Gimbal vs Handheld Shooting: Which Setup Works Better for Video Creators?
Choosing between a camera gimbal and handheld shooting is not simply a choice between smooth and shaky footage. Each method creates a different visual language. A gimbal can produce controlled tracking shots, polished reveals, smooth walk-throughs, and stable movement around a subject. Handheld shooting can feel immediate, human, tense, observational, or documentary-like. Neither method is automatically more professional. The correct choice depends on the story, shooting environment, camera package, operator experience, and final platform. For creators considering a camera gimbal stabilizer, the most useful question is not “Which method is better?” It is “Which movement style communicates this scene most effectively?” The Core Difference Between Gimbal and Handheld Footage Handheld footage records part of the operator’s natural movement. Breathing, footsteps, wrist adjustments, and body shifts become visible in the image. Good handheld work controls these movements rather than eliminating them. Gimbal footage uses motorized stabilization to reduce unwanted movement across three axes. This allows the operator to walk, follow, orbit, push in, pull back, or change height while keeping the frame more stable. The practical differences are: Factor Handheld Shooting Camera Gimbal Visual feeling Immediate and organic Smooth and controlled Setup time Usually faster Requires balancing and preparation Fatigue Depends on camera rig Weight is distributed through the stabilizer Fast lens changes Easier May require rebalancing Walking shots Can show footsteps Better at reducing walking shake Tight spaces Often easier Requires operating clearance Emotional style Documentary, raw, intimate Cinematic, polished, immersive A video production may use both methods. The strongest workflow often combines stable establishing movement with more intimate handheld coverage. When Handheld Shooting Works Better Handheld shooting is effective when the camera needs to react instantly. Documentary crews, news shooters, behind-the-scenes creators, and event videographers may not have time to balance a gimbal before every scene. It can also support the emotional tone. A controlled amount of movement can make the viewer feel physically present during a crowded street sequence, fast backstage moment, sports scene, or dramatic conversation. Handheld may be the better choice when: · The scene changes without warning · The operator must switch lenses frequently · The location is extremely confined · The subject movement is unpredictable · The footage should feel observational · The camera needs to move rapidly between low and high positions · The operator is using a shoulder rig or supported cinema configuration Good handheld footage still requires technique. Keep the camera close to the body, use three points of contact when possible, move from the hips, and avoid gripping the camera too tightly. Image stabilization can help, but it cannot replace controlled body movement. When a Camera Gimbal Stabilizer Is the Better Tool A gimbal is especially useful when movement itself is part of the shot design. Walking into a venue, following a person through a doorway, circling a product, tracking a couple, or revealing a landscape all benefit from controlled stabilization. The ZHIYUN Weebill 3E is suited to creators who need a compact camera stabilizer ZHIYUN workflow for mirrorless or lightweight camera production. It can support travel films, portrait reels, creator videos, interviews, and location-based content without requiring a large rig. A gimbal is particularly valuable for: · Forward and backward tracking · Side-follow shots · Orbiting around a subject · Low-angle movement · Room and venue walk-throughs · Wedding entrances · Fashion walking shots · Product reveals · Vertical social video The stabilizer controls the camera, but the operator still controls the movement. Poor walking technique can produce vertical bounce even when the horizon remains stable. Keep the knees slightly bent and move with shorter, softer steps. Choosing Between WEEBILL 3E and WEEBILL 3S Creators searching for a ZHIYUN stabilizer should select a model based on the complete camera package and shooting workflow rather than the camera body alone. The Weebill 3E is a practical option for creators prioritizing compactness, straightforward stabilization, and fast mobile production. The ZHIYUN Weebill 3S is better suited to users who want a more developed operating system for longer shoots, more demanding camera configurations, or a broader range of professional movement techniques. Before choosing, consider: · Camera and lens weight · Lens length · Whether accessories will be mounted · Horizontal and vertical delivery requirements · Shooting duration · Frequency of lens changes · Low-angle operating needs · Travel and packing limitations Do not select a gimbal only because it has a higher theoretical capacity. A compact camera on an unnecessarily large stabilizer may create more fatigue without improving the footage. How Movement Style Changes the Viewer’s Experience A smooth forward push can create anticipation. A slow orbit can reveal space around a subject. A stable side-track can make walking feel confident and deliberate. Handheld movement creates a different response. Small movement can make an interview feel less formal. Faster handheld motion can increase tension. A slightly unstable close-up can communicate urgency or uncertainty. Consider a restaurant commercial. Smooth gimbal footage may introduce the dining space, follow a server, and reveal a finished dish. Handheld close-ups may then capture the chef’s hands, rising steam, or spontaneous customer reactions. For a documentary, the balance may reverse. Most of the story may be handheld, while a few stable transitions help establish location and pace. The tool should follow the narrative, not the other way around. A Practical Hybrid Workflow A hybrid approach gives creators greater flexibility. Use the gimbal for: · Establishing movement · Planned transitions · Subject tracking · Long walk-throughs · Hero product shots Use handheld shooting for: · Fast reactions · Close emotional coverage · Unplanned details · Tight locations · Rapid lens changes Before production, mark which shots genuinely require stabilization. This avoids carrying the gimbal for every moment and prevents a film from feeling mechanically smooth from beginning to end. A camera gimbal ZHIYUN setup is most effective when it solves a clear movement problem. The Weebill 3E and Weebill 3S can help creators produce stable, repeatable movement, but handheld shooting remains an important creative technique. Professional videography is not about removing all camera movement. It is about deciding which movement the audience should feel.
Professional Studio Lighting Setups for High-Fashion Magazine Editorials
A fashion editorial lighting guide covering visual direction, softbox control, skin texture, precise composition, model movement, and ZHIYUN studio lights for polished magazine shoots.
Cinematic Portrait Photography Techniques for Outdoor and Location Shoots
A location portrait guide covering visual planning, portable lighting, harsh outdoor conditions, smooth gimbal tracking, and RGB color control for cinematic photo and video shoots.
- Choosing a selection results in a full page refresh.
- Opens in a new window.