










Cinematic Portrait Photography Techniques for Outdoor and Location Shoots
Outdoor and location portrait photography gives creators more visual freedom than a traditional studio. Instead of working with a plain backdrop and fixed lighting, you can use streets, rooftops, gardens, old buildings, cafes, beaches, forests, and city lights to build a stronger visual story around the subject.
However, location portraits are also harder to control. Natural light changes quickly, backgrounds can become messy, weather may interrupt the shoot, and camera movement can easily feel unstable when filming portrait videos. To create professional results, photographers and videographers need more than a good camera. They need a clear concept, flexible lighting, stable movement, and a smart way to use color.
For creators building an outdoor portrait workflow, compact tools from ZHIYUN can help keep the setup mobile while maintaining a cinematic look. A portable RGB light can shape the face and create mood, while a lightweight gimbal can add smooth motion to portrait videos without slowing down the shoot.
Planning the Perfect Visual Concept for Location Portraits
A cinematic portrait starts before the camera is turned on. The first step is not choosing a lens or adjusting exposure. It is deciding what kind of story the portrait should tell.
For outdoor and location shoots, the visual concept should connect the subject, wardrobe, location, lighting, and camera style. A soft natural portrait in a garden requires a different approach from a dramatic night portrait in an urban alley. A fashion-inspired location shoot may need stronger contrast, sharper poses, and more controlled light. A lifestyle portrait may need more movement, natural expressions, and environmental details.
Start by defining the mood in simple words. Is the shoot elegant, nostalgic, energetic, romantic, mysterious, or cinematic? Once the mood is clear, choose a location that supports it. For example, old stone walls and warm sunset light can create a timeless look, while glass buildings and neon signs can create a modern urban mood.
Wardrobe should also match the location. If the background is visually busy, simple clothing often works better. If the location is minimal, stronger colors or textured fabrics can help the subject stand out. Before the shoot, prepare a basic shot list: wide environmental portraits, medium portraits, close-up beauty shots, walking shots, seated poses, and detail shots such as hands, jewelry, or fabric movement.
Timing is another key factor. Golden hour gives portraits soft direction and natural warmth, while cloudy days create even light with fewer harsh shadows. Midday sunlight can be difficult, but it can still work if you use shade, backlighting, or a portable light to control contrast. Night portraits can be beautiful, but they require more attention to artificial light, skin tone, and background separation.
The best location portraits look spontaneous, but they are usually carefully planned. A strong concept gives every technical choice a purpose.
Sculpting the Face with Portable Three-Point Lighting
Natural light is beautiful, but it is not always enough. In portrait photography, the face is the emotional center of the image. If the lighting on the face is flat, harsh, or inconsistent, the whole portrait becomes weaker.
A portable three-point lighting setup can help solve this problem on location. The basic structure includes a key light, a fill light, and a back light or rim light. The key light defines the main direction of the face. The fill light softens shadows. The back light separates the subject from the background and adds depth.
For outdoor portraits, you do not always need three physical lights. The sun can work as a back light, a reflector can work as fill, and a portable LED light can become the key light. The goal is not to make the lighting complicated. The goal is to control how the face is shaped.
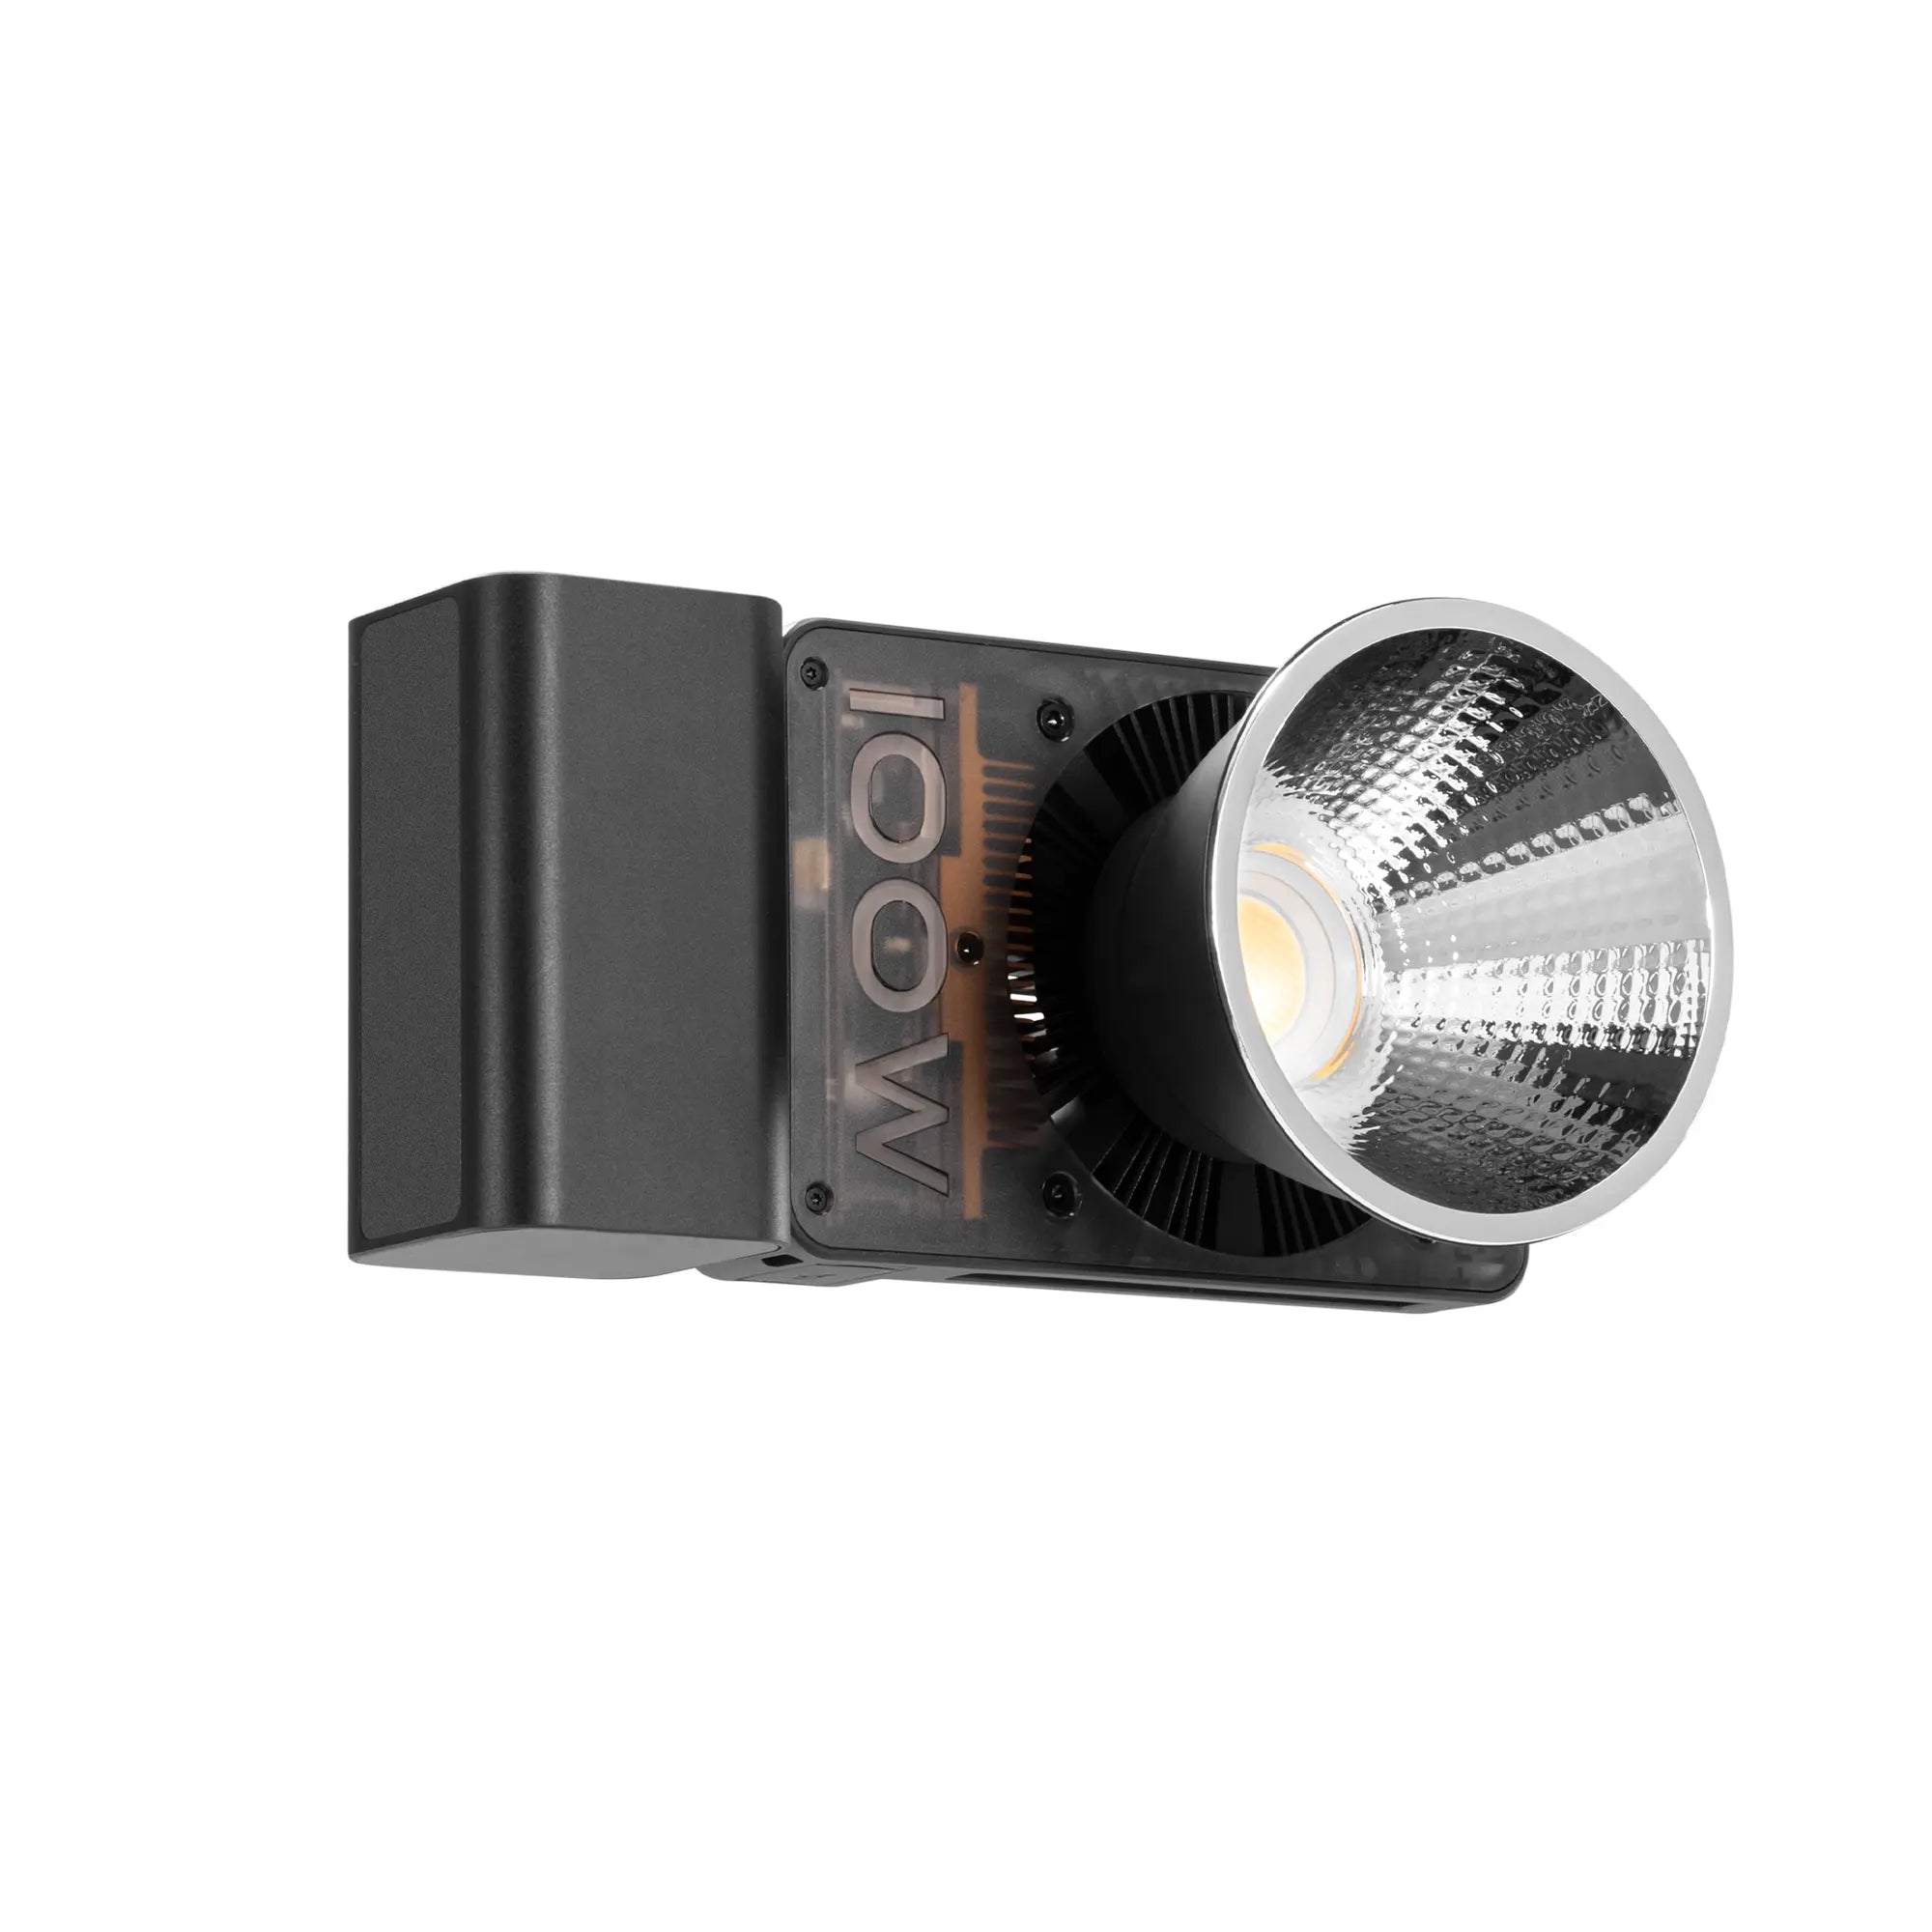
The ZHIYUN MOLUS X100 RGB is useful for location portrait work because it combines high output, compact size, RGB color control, and adjustable color temperature. As a key light, it can help brighten the subject when the natural light is weak or uneven. As a fill light, it can soften shadows under the eyes and nose. As a creative accent light, it can add colored highlights to the background, hair, or side of the face.

When shooting portraits, avoid placing the light directly in front of the subject unless you want a flat beauty-style look. A 45-degree angle from the side usually creates more natural facial dimension. If the light feels too harsh, use diffusion or bounce it from a white wall, reflector, or soft modifier. For close-up portraits, soft light is often more flattering because it reduces hard shadows and helps skin texture look smoother.
Color temperature is also important. When shooting in warm sunset light, a slightly warmer LED setting can blend naturally with the environment. In shade or cloudy weather, a cooler setting can help maintain clean skin tones. When the background has mixed light sources, adjust the light until the face looks natural instead of letting the environment control the entire color balance.
A strong portrait lighting setup should not call attention to itself. It should make the subject look intentional, dimensional, and emotionally connected to the scene.
Overcoming Harsh Environmental Obstacles on Set
Location shoots often look simple in final images, but real shooting conditions can be unpredictable. Harsh sunlight, strong wind, crowded streets, reflective surfaces, uneven ground, and limited space can all affect the final result.
The most common problem is harsh sunlight. Direct overhead sun creates deep shadows under the eyes and nose, bright highlights on the forehead, and strong contrast that may be difficult to edit later. The easiest solution is to move the subject into open shade, such as the side of a building, under a tree, or near a covered walkway. Open shade keeps the light soft while still allowing enough brightness for clean exposure.
Backlighting is another useful technique. Place the sun behind the subject to create a glowing outline around the hair and shoulders. Then use a portable light or reflector to bring detail back into the face. This creates a more cinematic look than placing the subject directly under front sunlight.
Wind can be a problem, but it can also be a creative tool. Instead of fighting it completely, use it for hair movement, fabric motion, or walking shots. Just make sure loose light stands, reflectors, and modifiers are secure. For a lightweight setup, handheld lighting is often safer and faster than building a large stand-based setup in a public location.
Crowded environments require patience and framing. Use a longer focal length to compress the background and reduce distractions. Shoot from a lower or higher angle to hide unwanted objects. Wait for clean moments when people pass through the frame naturally or when the background becomes less busy.
Reflective surfaces such as windows, cars, and water can create beautiful highlights, but they can also cause unwanted glare. Check the frame carefully before shooting. Small changes in camera angle or light position can remove reflections from the subject’s face and make the composition cleaner.
The key to location portrait photography is adaptability. Instead of forcing a studio approach onto every scene, use the environment as part of the creative language.
Adding Depth to Portrait Videos with Dynamic Camera Tracking
Portrait work is no longer limited to still images. Many creators now deliver short portrait videos, fashion reels, behind-the-scenes clips, and social media edits along with photo sets. For this type of content, camera movement becomes a major part of the visual style.
Dynamic camera tracking can make a portrait video feel more immersive. A slow push-in can emphasize emotion. A side tracking shot can follow the subject while showing the environment. A circular move can create a dramatic fashion look. A low-angle follow shot can make walking scenes feel more powerful.
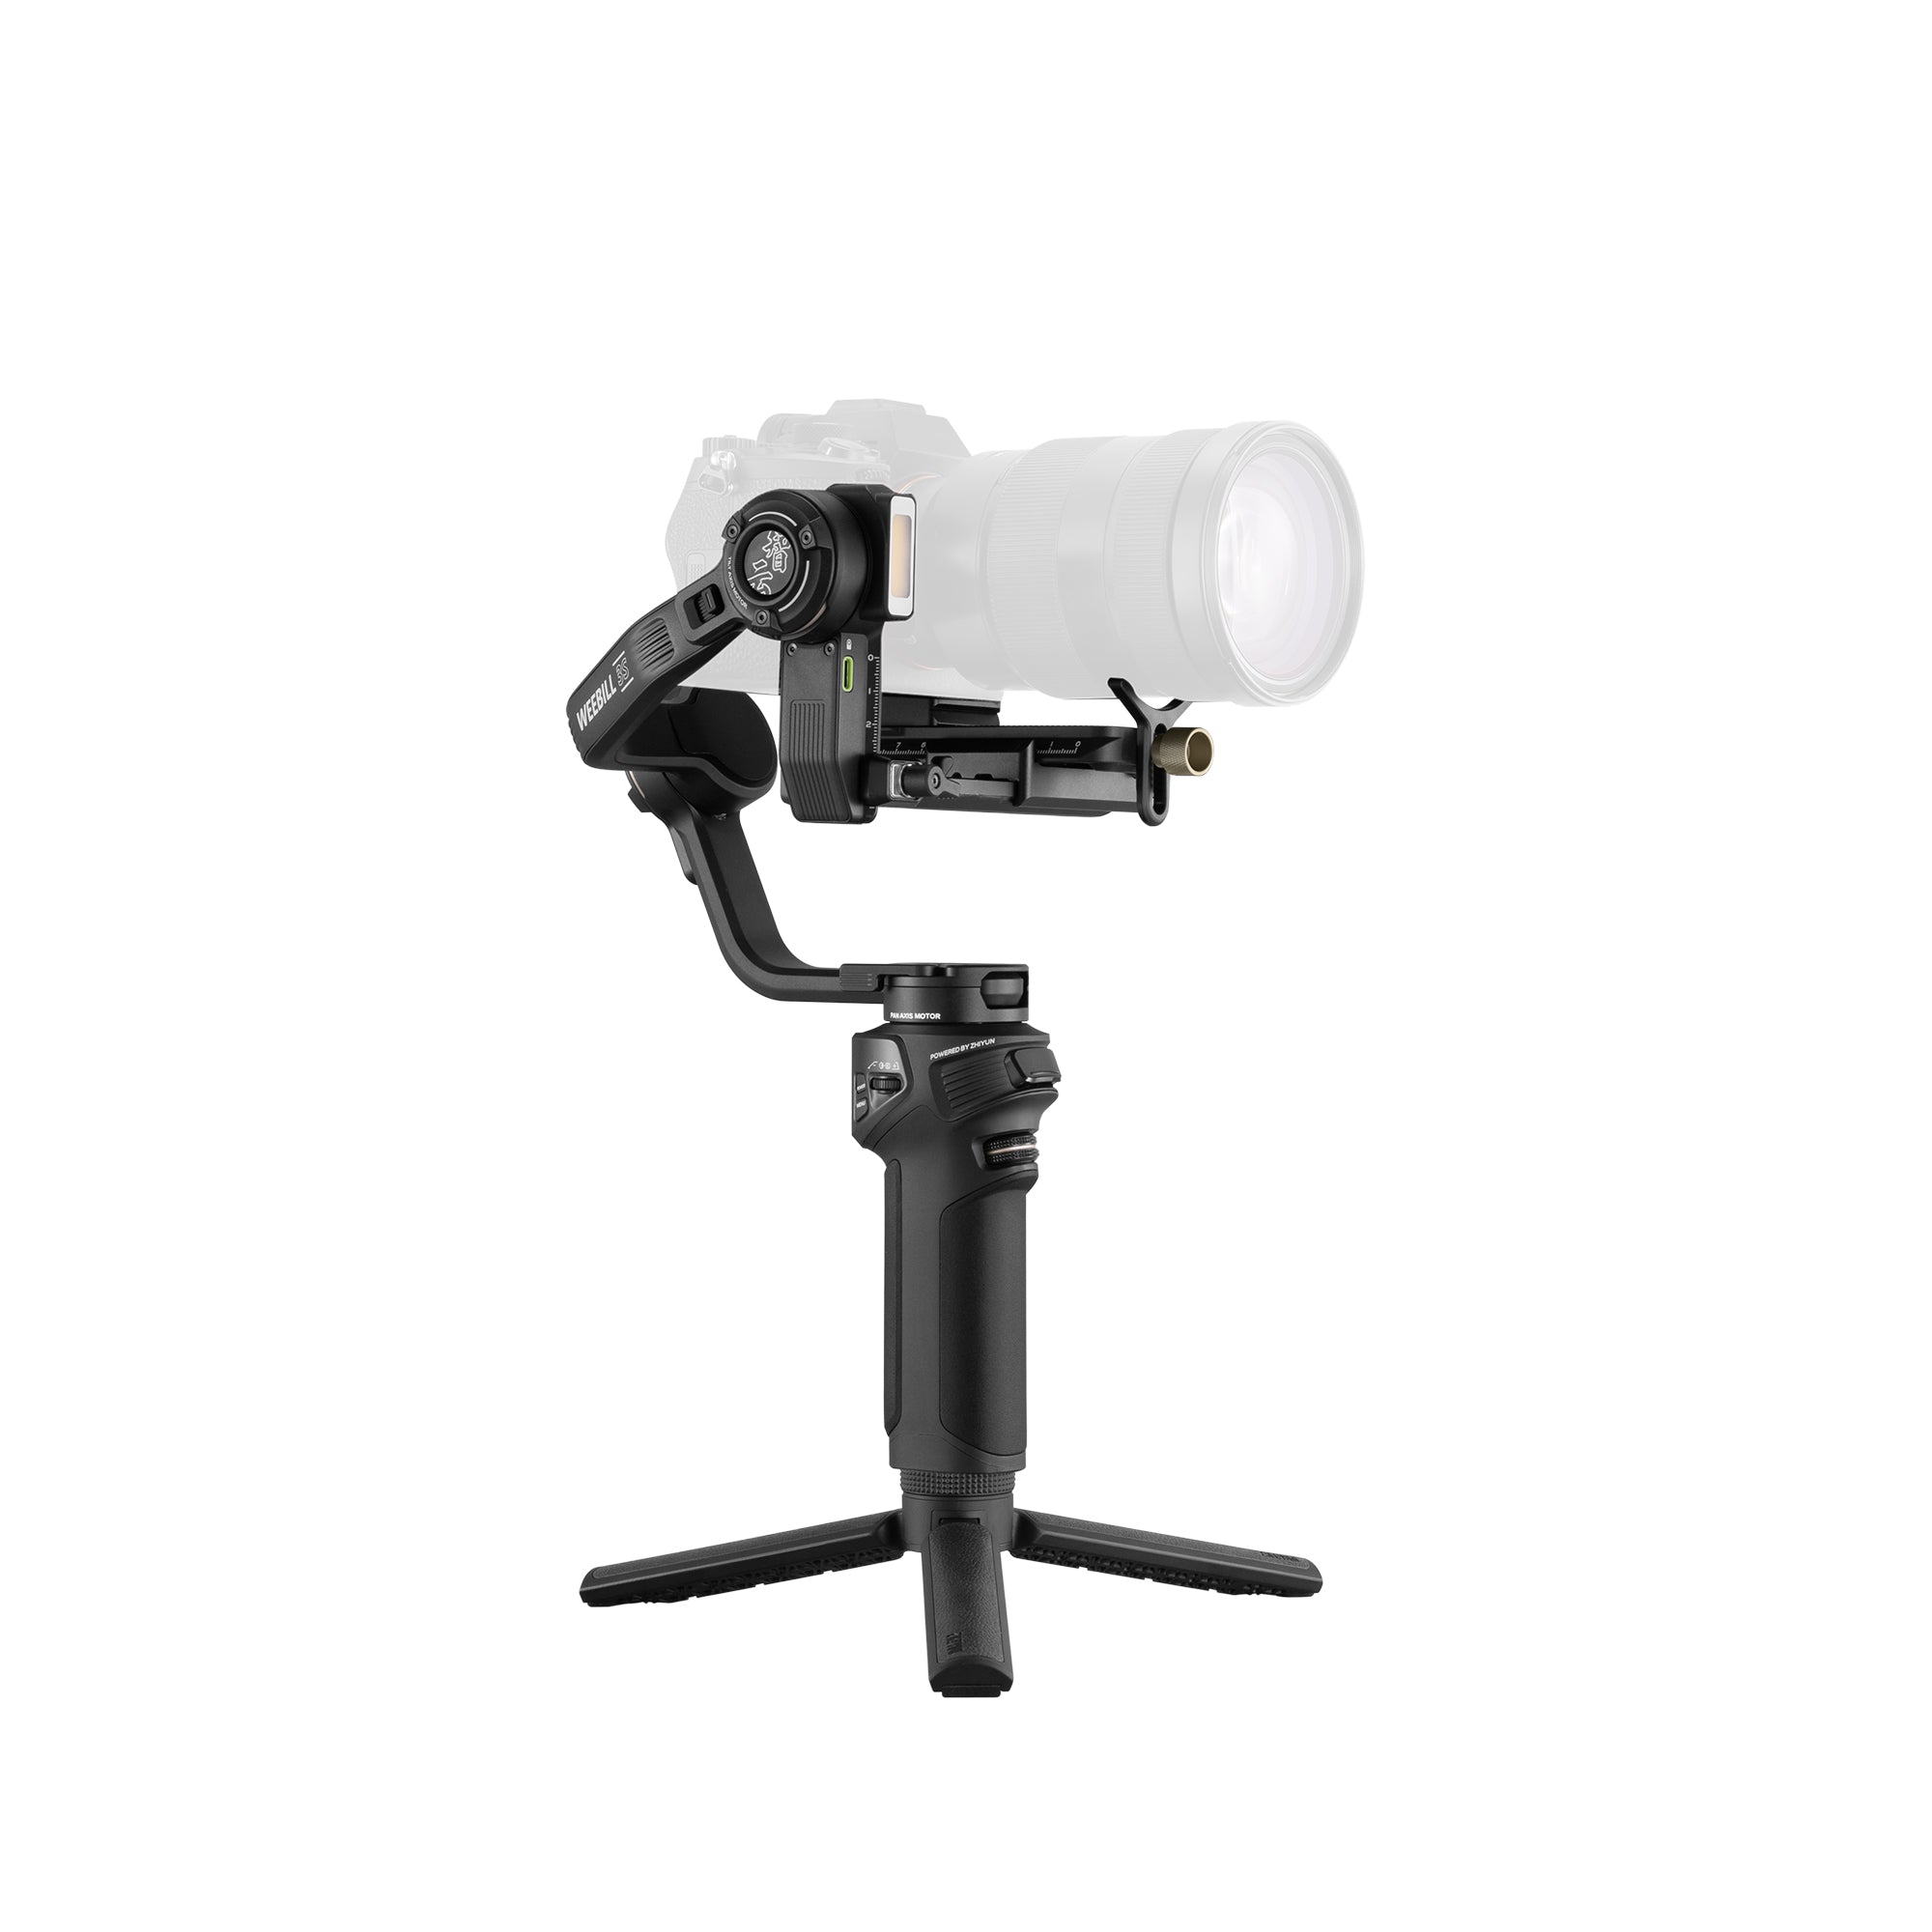
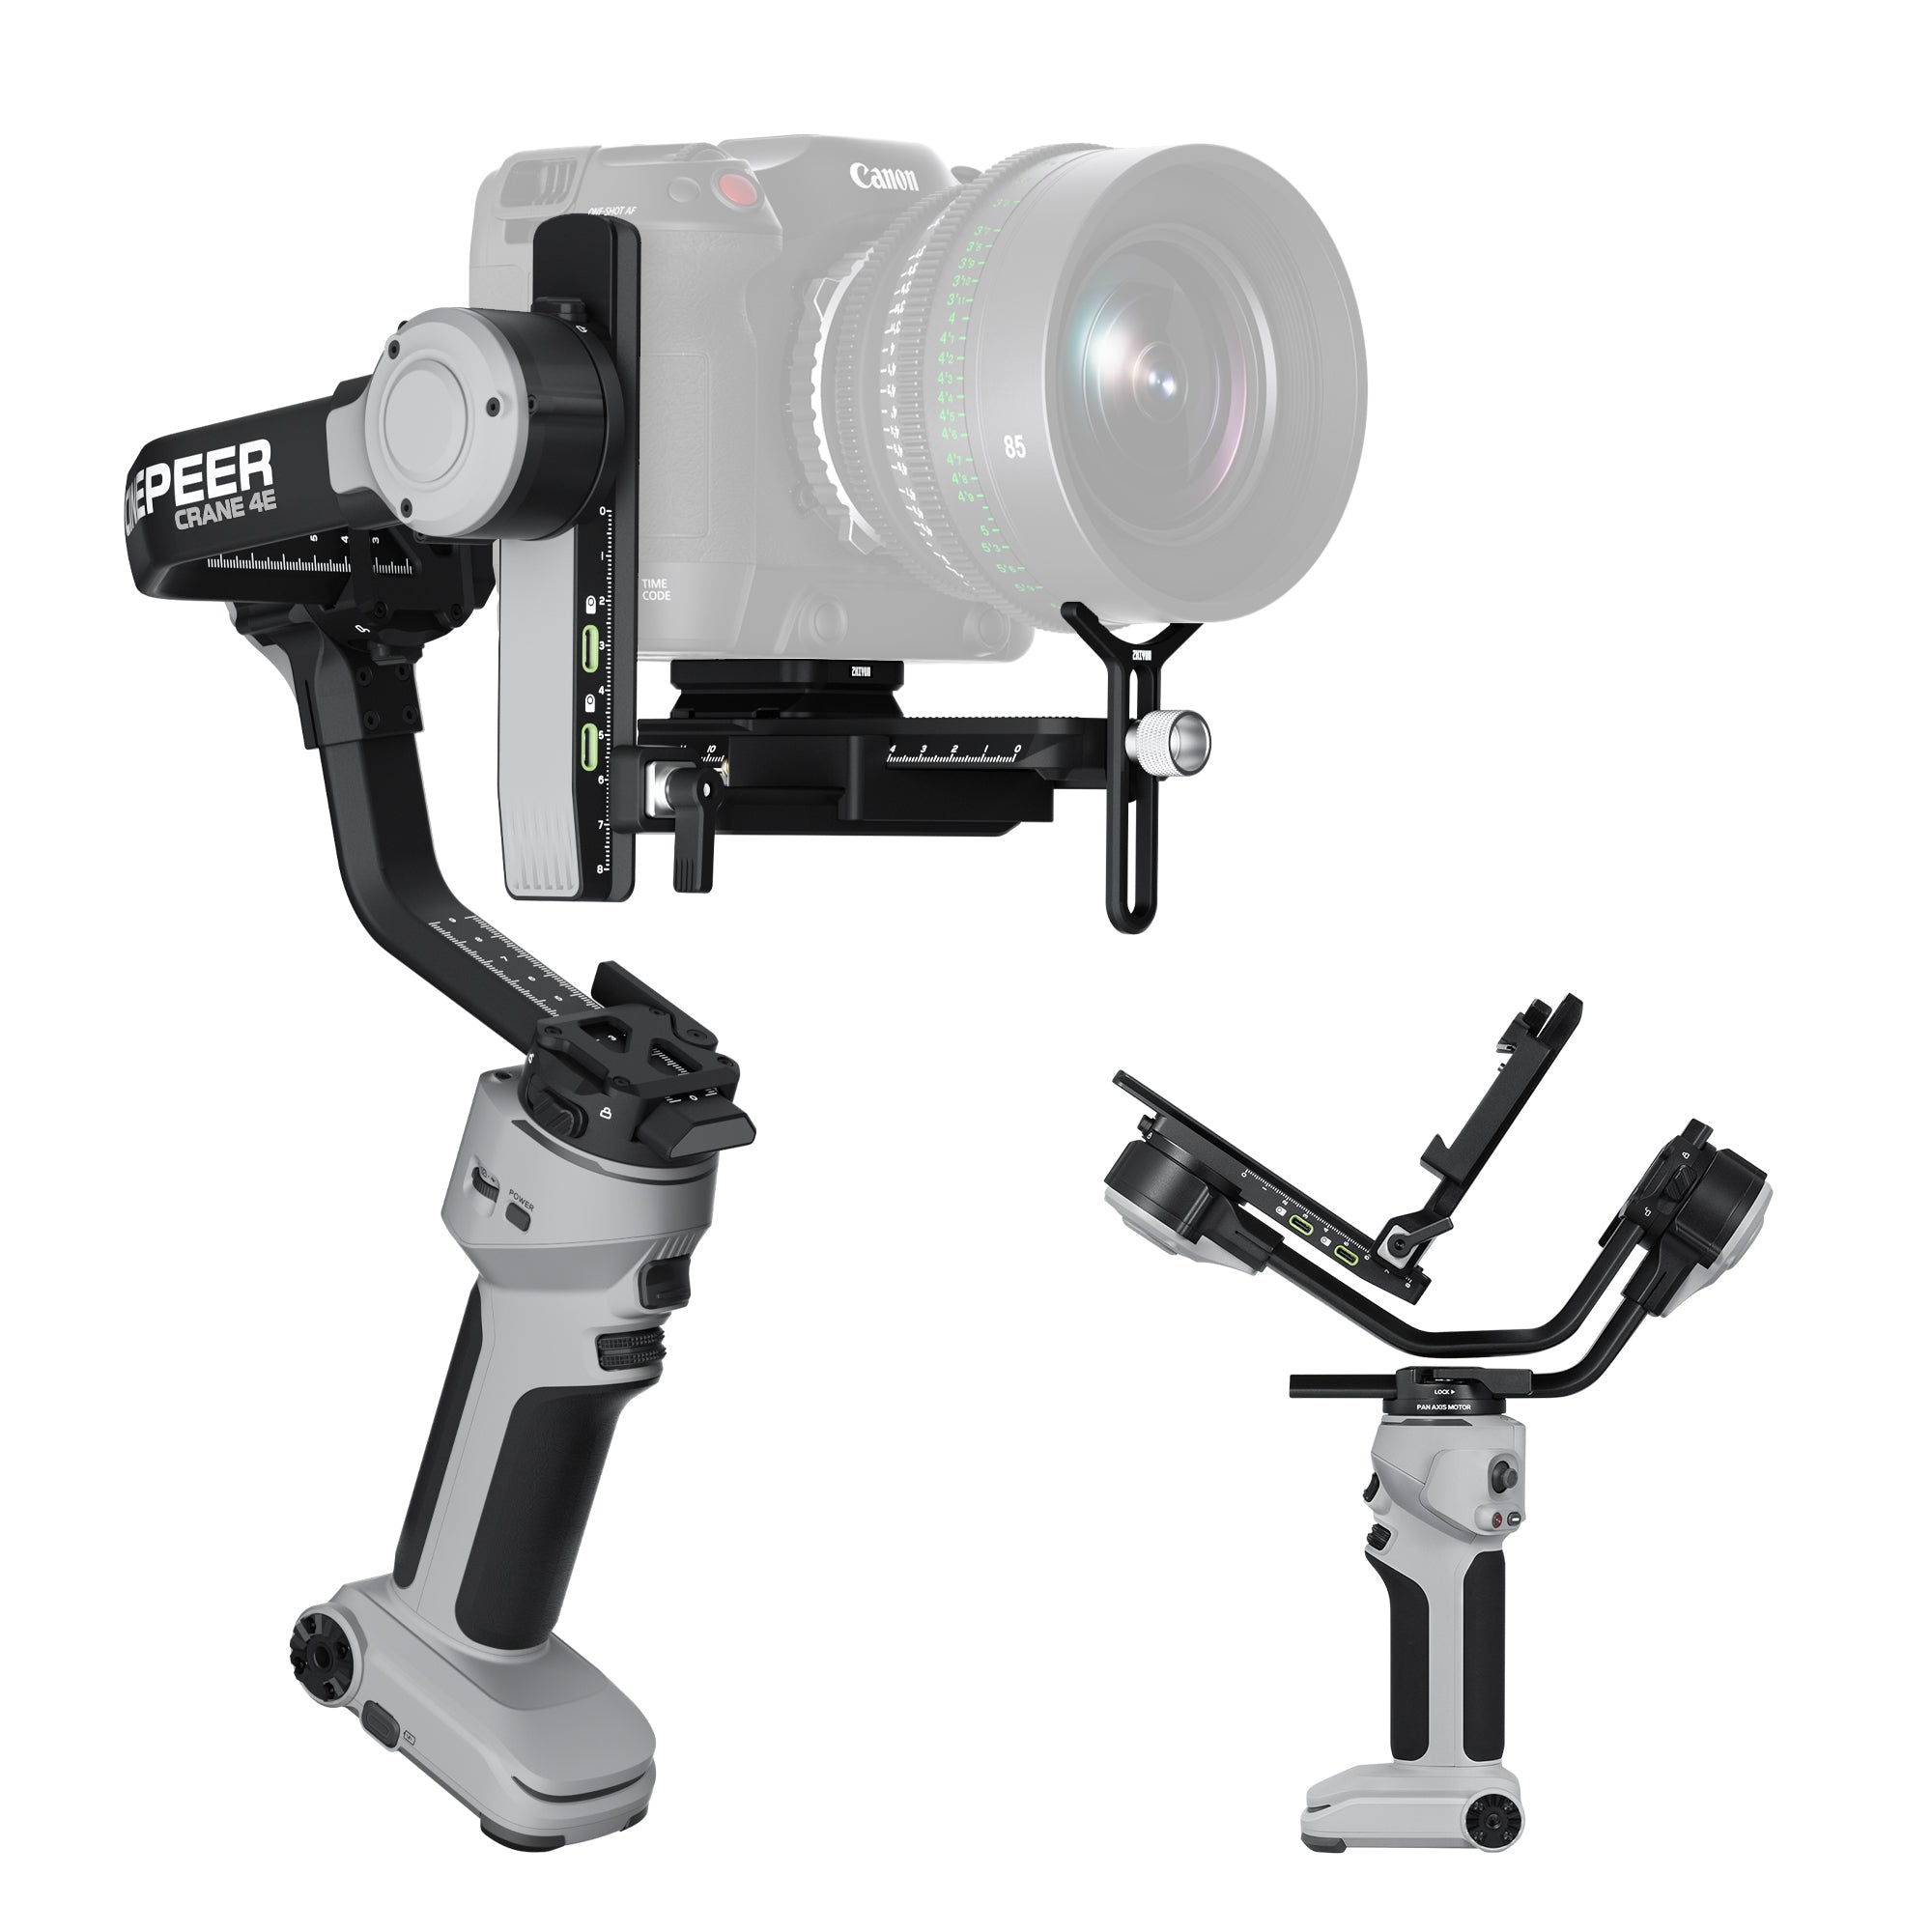
The challenge is keeping the movement smooth. Handheld movement may work for raw documentary content, but cinematic portrait videos usually need more control. This is where the ZHIYUN Weebill 3E becomes valuable for location creators. Its lightweight 3-axis stabilization helps reduce shake while allowing the camera to move naturally around the subject.

For solo photographers and videographers, portability matters. A portrait shoot often involves walking between locations, changing lenses, adjusting lighting, and directing the model at the same time. A compact gimbal setup makes it easier to capture moving shots without turning the session into a heavy production.
When using gimbal movement for portrait videos, keep the motion slow and intentional. Fast moves can make the footage feel like a technical demonstration rather than a portrait. Let the movement match the subject’s emotion. For soft romantic portraits, use gentle forward motion or slow side tracking. For fashion-style portraits, use stronger walking shots, low-angle movement, or controlled orbit shots.
Depth also comes from layering. Place the subject in the middle of the frame with foreground elements such as leaves, door frames, windows, curtains, or city lights. Move the camera slowly through these layers to create parallax. Even a simple portrait scene can feel more cinematic when the camera reveals depth instead of staying flat.
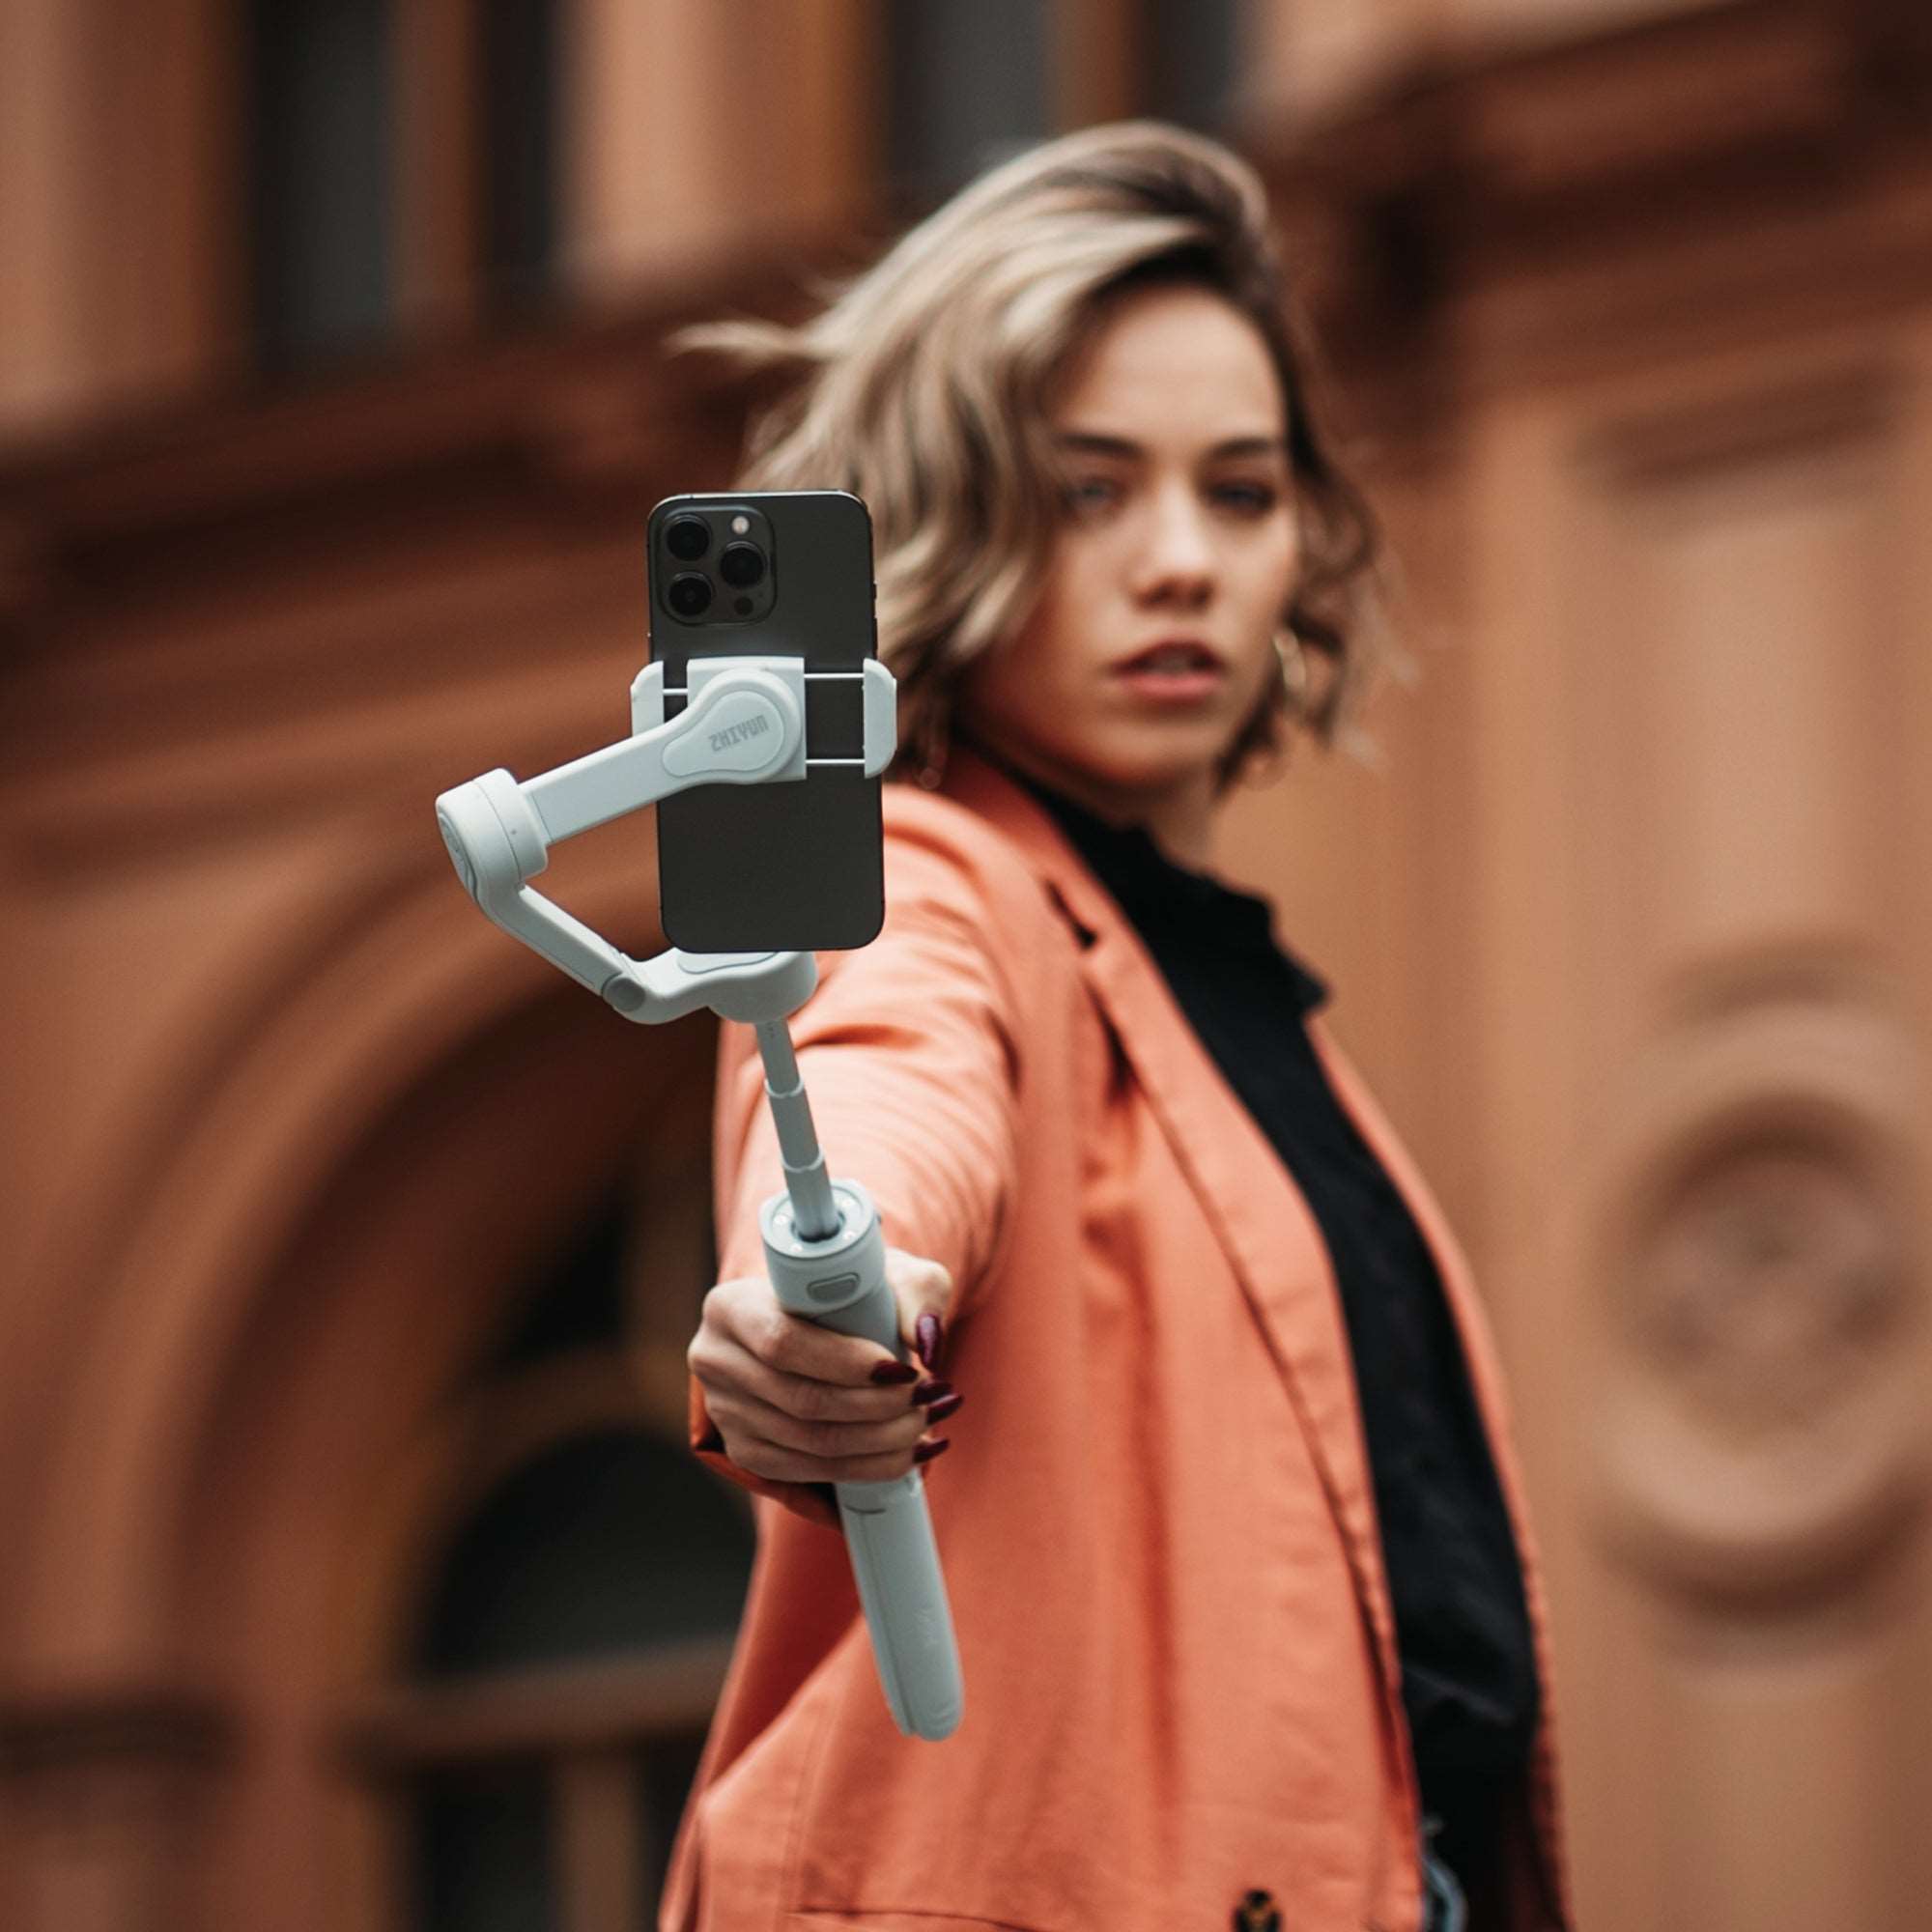
Vertical shooting is also useful for portrait content. Many final deliverables are now designed for short-form platforms, so capturing stable vertical clips on location can save time in post-production. This is especially useful when creating portrait reels, outfit videos, model portfolio clips, or social media teasers.
A good portrait video should not feel like random movement. It should feel like the camera is gently guiding the viewer’s attention toward the subject.
Using Creative RGB Color Contrast to Express Character Mood
Color is one of the fastest ways to change the emotion of a portrait. A neutral white light can make the image clean and natural, while colored light can suggest mystery, confidence, romance, tension, or fantasy. For cinematic portraits, RGB lighting gives creators more control over mood and character.
The most practical way to use RGB color is not to cover the whole face with strong color. In most portrait work, skin tone should remain believable. Instead, use RGB light as an accent. Add blue or cyan to the shadow side of the face for a cooler cinematic mood. Add red, orange, or magenta in the background for warmth and energy. Use green carefully for experimental or stylized portraits.
Color contrast works best when the subject and background have different tones. For example, a warm key light on the face with a blue background creates a classic cinematic contrast. A neutral face light with magenta or teal rim lighting can make a modern fashion portrait stand out. At night, colored LED light can also help separate the subject from dark streets, black clothing, or low-contrast backgrounds.
The ZHIYUN MOLUS X100 RGB can be used as both a practical portrait light and a creative RGB tool. During the main portrait session, it can provide clean white light for natural skin tones. When the shoot moves into a more stylized direction, it can add color to the background, side of the face, hair, or clothing.

For outdoor portraits, try matching or contrasting with the environment. In a sunset scene, a warm light can extend the golden-hour mood. In an urban night scene, a blue or purple accent can echo neon signs. In a forest or garden, a soft warm light can help the subject stand out from green surroundings without making the scene look artificial.
The most important rule is restraint. RGB lighting should support the subject, not overpower them. If the color becomes too strong, reduce brightness, move the light farther away, or use it only on the background. The final image should still feel like a portrait, not just a lighting effect.
Cinematic portrait photography is about control and emotion. A strong concept gives the shoot direction. Portable lighting shapes the face. Smart location planning solves environmental problems. Smooth camera tracking adds movement and depth. RGB color contrast brings mood and personality into the frame.
With a lightweight setup built around tools such as the ZHIYUN MOLUS X100 RGB and ZHIYUN Weebill 3E, creators can move quickly between locations while still producing polished, cinematic portrait content. Whether shooting still photos, portrait reels, model portfolios, or branded lifestyle visuals, the right combination of planning, lighting, movement, and color can turn an ordinary location into a powerful visual story.