










One-Light Video Setup: How to Create Professional Results with Minimal Gear
Professional-looking video does not always require a studio filled with equipment. For interviews, talking-head videos, livestreams, product demonstrations and short-form content, one carefully placed light can often create better results than several poorly controlled fixtures.
A one-light video setup is especially useful for solo creators, small studios and location shoots because it is faster to assemble, easier to control and more practical to transport. The key is to treat the single fixture as more than a source of brightness. Its position, distance, angle and softness determine how the subject’s face, background and overall scene appear on camera.
This guide explains how to build a flexible one-light setup and adapt it to different types of content without making the production unnecessarily complicated.
Why One-Light Setups Work
A one-light setup gives the creator one clear lighting direction. This produces more natural contrast than placing several sources around the camera without a specific purpose.
With one main light, you can control:
· Facial shape;
· Shadow depth;
· Skin exposure;
· Eye reflections;
· Background brightness;
· The visual mood of the scene.
The setup can also be expanded without adding another powered fixture. A reflector, white wall, curtain or tabletop can redirect existing light and act as fill.
For many creators, this is more useful than immediately building a traditional three-point lighting arrangement. It allows them to understand how one source affects the subject before adding more equipment.
Where Should You Place One Video Light?
A reliable starting position is approximately 30 to 45 degrees to one side of the camera and slightly above the subject’s eye level.
Aim the light downward toward the face. This usually creates natural shadows under the nose, chin and cheekbones while keeping both eyes visible.
Avoid placing the light directly beside the camera
A light positioned too close to the lens axis can make the face look flat. It reduces natural shadow and may create a bright, front-facing appearance that lacks depth.
This placement can still work for beauty demonstrations or simple livestreams, but it is less suitable when the goal is a cinematic portrait or professional interview.
Avoid moving the light too far to the side
If the light reaches a 90-degree side position, half of the face may become too dark. That can be effective for dramatic content, but it is usually too contrast-heavy for business videos, tutorials and product demonstrations.
Check the subject through the camera
Do not judge the setup only by looking at the room. Review the image on the camera or phone and check:
· Whether the face is correctly exposed;
· Whether highlights are too bright;
· Whether the eyes have visible catchlights;
· Whether the shadow side still contains detail;
· Whether glasses produce reflections;
· Whether the background distracts from the subject.
Small position changes often make a larger difference than increasing the brightness.
How Distance and Diffusion Change the Result
A light source appears softer when it is larger relative to the subject. In practice, this usually means placing a diffused light closer to the face.
Soft light creates gradual transitions between highlights and shadows. It is suitable for interviews, beauty videos, tutorials and lifestyle content.
Harder light creates sharper shadows and stronger texture. It can work for dramatic portraits, music videos and highly stylized product scenes.
Use a softbox or diffusion
A modifier spreads the light across a larger surface before it reaches the subject. This helps reduce harsh facial shadows and bright skin highlights.
A compact photography light can therefore produce very different results depending on whether it is used directly or through diffusion.
Move the light before changing output
When possible, adjust the distance before relying only on brightness controls.
Moving the fixture closer makes it appear softer and more dominant. Moving it farther away creates broader coverage but may produce harder shadows and require more output.
Creators working in bedrooms, home offices or compact studios should also watch for unwanted spill on the background. Bringing the light closer to the subject can help illuminate the face without brightening the entire room.
One-Light Setup for Talking-Head Videos
Talking-head videos include YouTube tutorials, interviews, online courses, business presentations and livestreams.
For a clean setup:
1. Place the subject at least one meter away from the background when space allows.
2. Position the light 30 to 45 degrees from the camera.
3. Raise it slightly above eye level.
4. Angle it toward the face and upper body.
5. Use a reflector or light-colored wall to soften the opposite-side shadow.
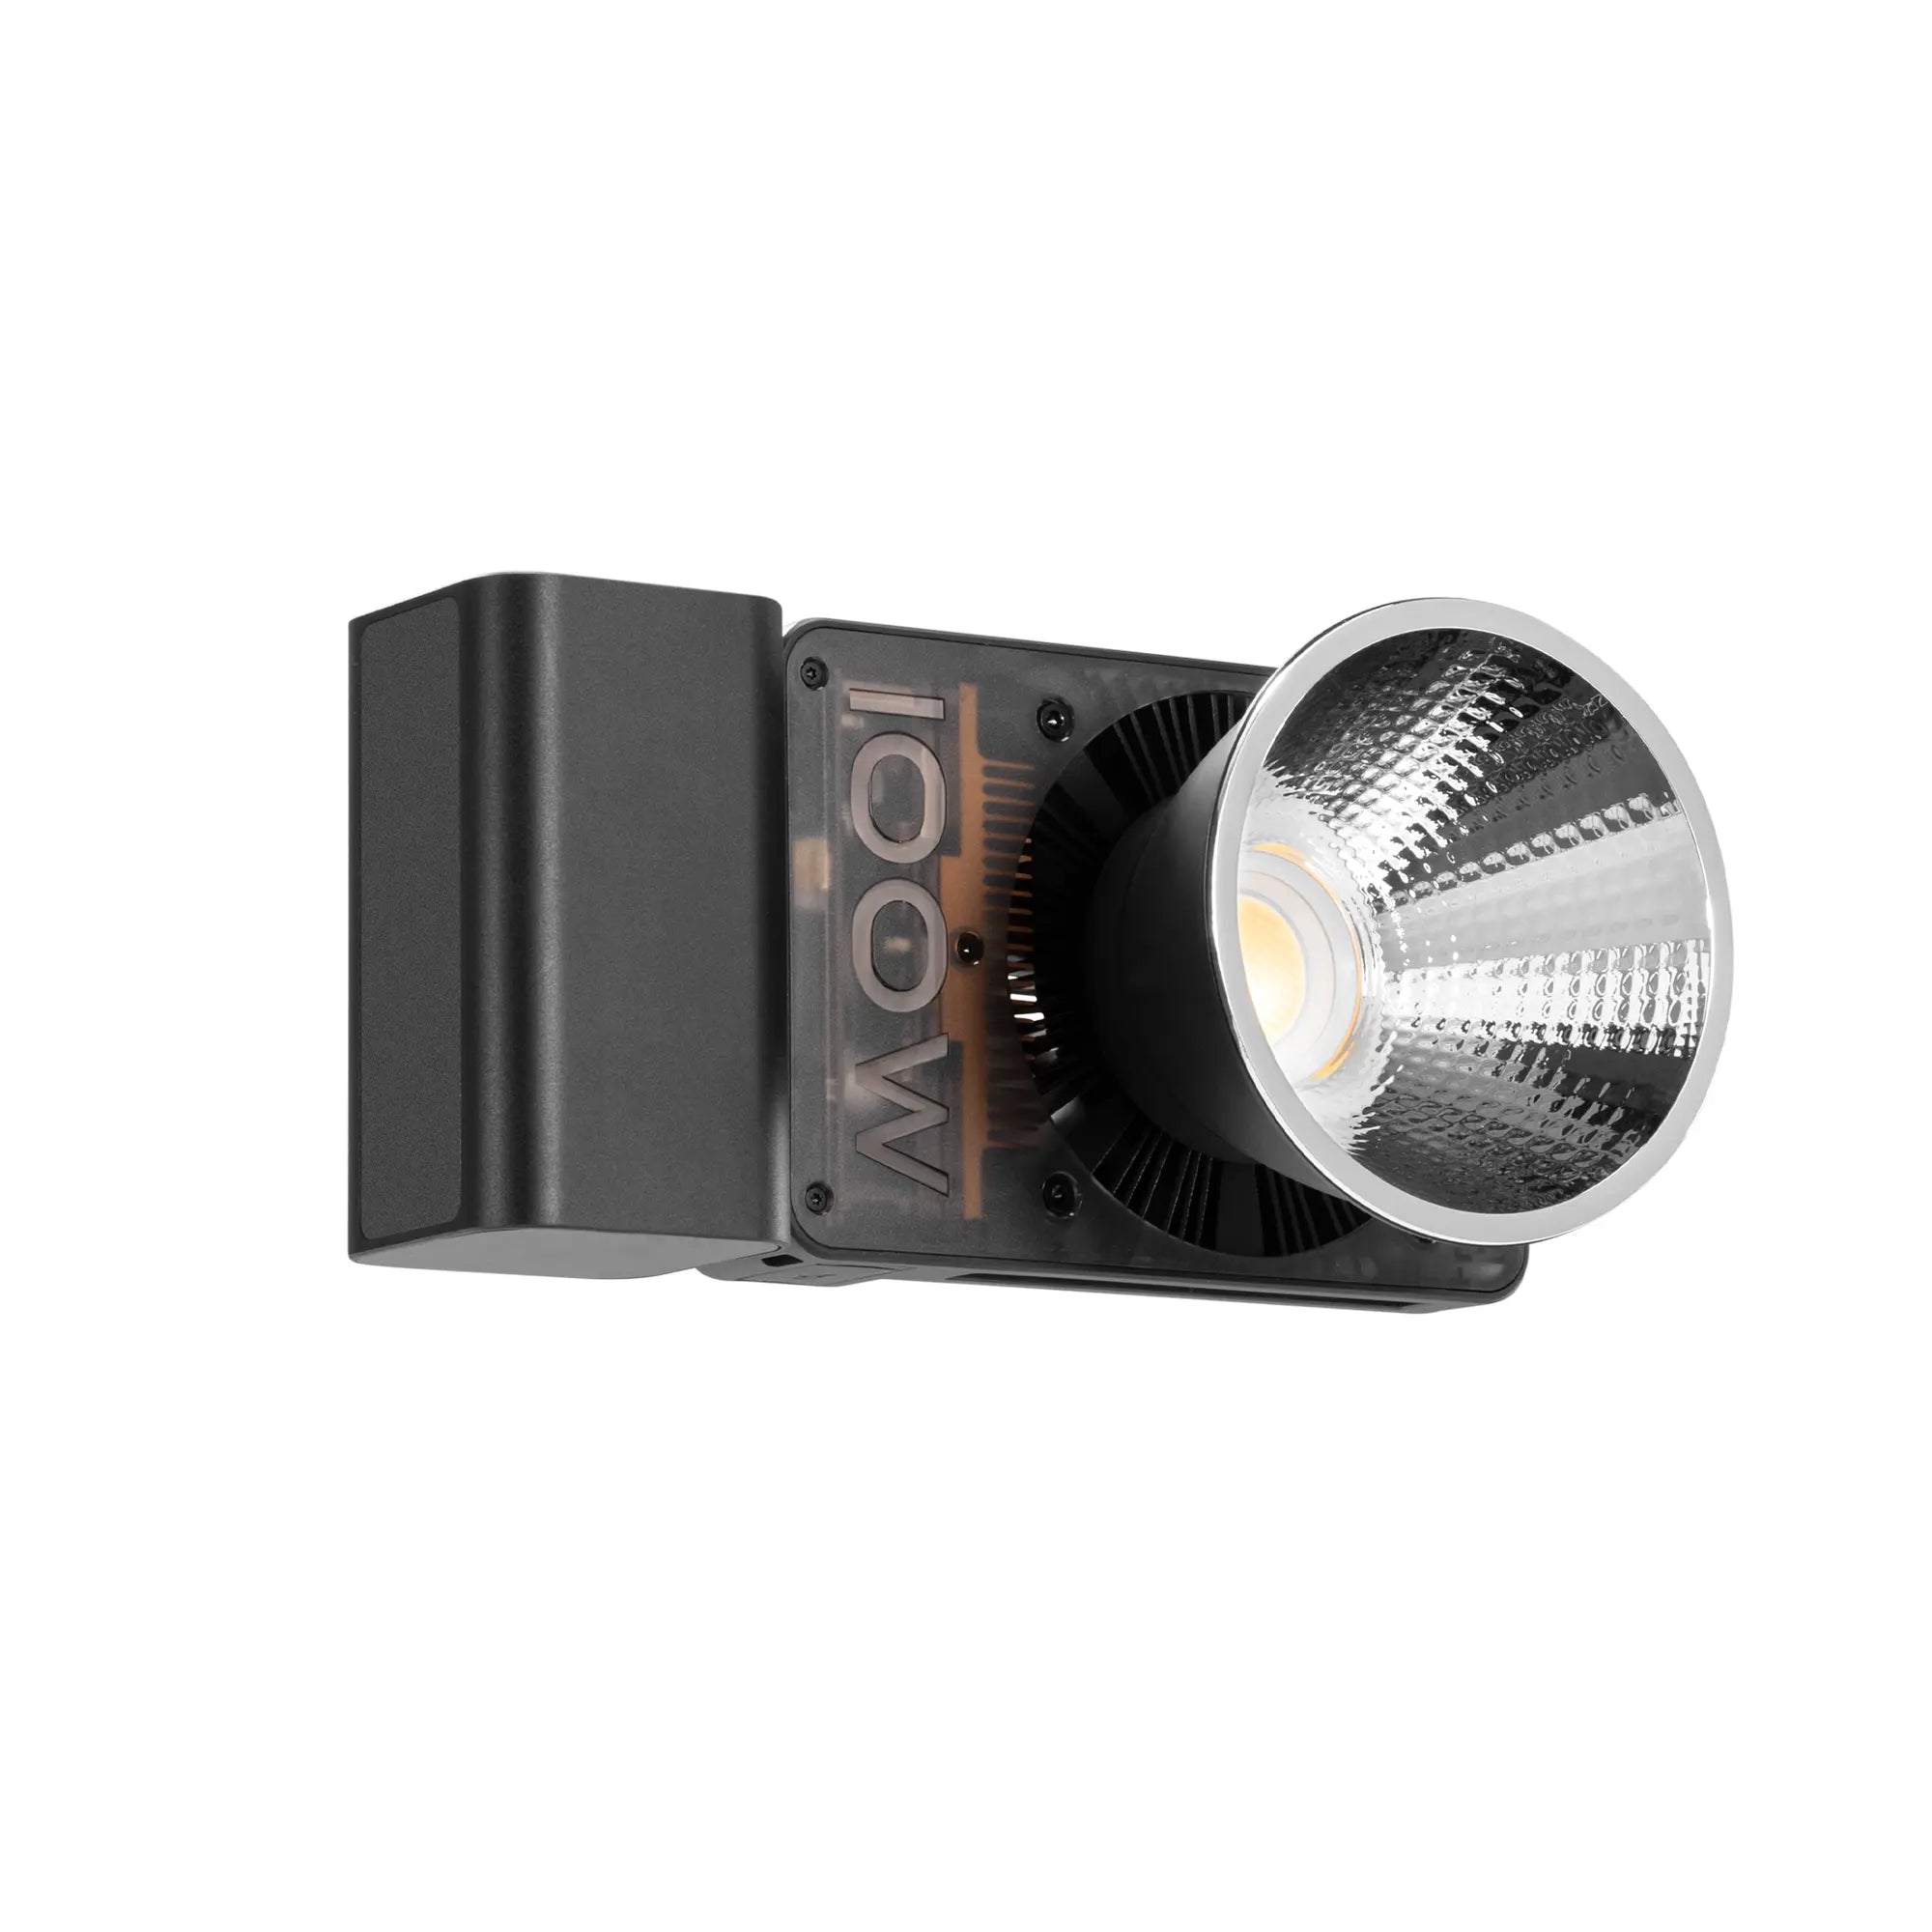
The ZHIYUN FIVERAY M40 SE is a compact bi-color light designed for portable video production. Its adjustable color temperature and direct brightness controls make it suitable for talking-head content, livestreaming and location work where a quick setup is important. ZHIYUN lists the M40 SE as a lightweight pocket light with a hard-shell softbox included in its standard kit.

Match the room lighting
If the room contains warm lamps, a warmer color-temperature setting can help the main light blend naturally with the background.
If daylight is entering through a window, use a cooler setting to reduce the difference between the subject and ambient light.
Avoid automatic white balance when recording longer clips. A fixed white-balance setting helps prevent the skin tone from changing during the video.
One-Light Setup for Portraits and Beauty Content
Portrait and beauty content generally benefits from softer illumination.
Place the light closer to the camera than you would for a dramatic interview. Keep it slightly above eye level and angle it downward.
For beauty and makeup tutorials:
· Use broad diffusion;
· Keep the shadow side visible but not too dark;
· Fix the camera white balance;
· Avoid mixing several different light colors;
· Check whether the light exaggerates skin texture;
· Keep the subject’s face evenly exposed during movement.
If stronger fill is needed, place a white reflector below or opposite the light. This can soften shadows beneath the eyes and chin without requiring another fixture.
A white tabletop, foam board or wall can perform the same role in a compact creator studio.
One-Light Setup for Product Videos
Product lighting requires attention to shape, material and reflections.
A light placed directly in front of the product may make it visible, but it can also flatten texture. Moving the light slightly to the side helps reveal edges and surface details.
Matte products
Matte products are generally easier to light. Position the source at 30 to 45 degrees and adjust the height until the shadows show the product’s form.
Glossy or reflective products
Glossy packaging, metal and glass can reflect the fixture itself. Use diffusion and adjust the angle until the reflection becomes controlled and intentional.
Add color without another fixture
For creative product shots, one RGB light can provide both illumination and color. The ZHIYUN FIVERAY M20C is a compact 20W RGB light with adjustable white light and full-color control, making it useful for tabletop products, mobile creation and small-space setups. Official specifications list a 2500K–10000K adjustment range and app-based wireless control.

A fiveray m20c can be positioned behind or beside the product to create a colored background, edge highlight or visual accent. When accurate product color is required, use neutral white light for the main exposure and reserve saturated RGB effects for the surroundings.
How to Create Depth with Only One Light
A common concern is that a one-light setup will look flat. In most cases, depth can be created through placement and set design rather than additional fixtures.
Separate the subject from the background
Increasing the distance between the subject and background creates natural depth and makes the background easier to control.
Light the subject from the side
A slightly angled source produces one brighter side and one darker side, giving the face or product a three-dimensional appearance.
Use practical background lights
A desk lamp, monitor, window or decorative fixture can appear in the background without becoming part of the main lighting system.
Control background exposure
If the background is too bright, move the main light closer to the subject and reduce the camera exposure. This allows the subject to remain well lit while the background becomes darker.
Use foreground elements
A plant, desk edge, camera or blurred object in the foreground can add visual layers without changing the lighting setup.
M40 SE vs M20C for a One-Light Setup
The two lights suit different creative priorities.
|
Consideration |
FIVERAY M40 SE |
FIVERAY M20C |
|
Lighting type |
Bi-color white light |
RGB and adjustable white light |
|
Best for |
Interviews, livestreams and practical key lighting |
Creative products, portraits and colored backgrounds |
|
Main advantage |
Higher white-light output and simple control |
Full-color flexibility |
|
Typical user |
Vloggers, educators and mobile production teams |
Creative creators and small studio users |
|
Setup style |
Clean and natural lighting |
Neutral or stylized lighting |
Choose the zhiyun fiveray m40 se when the priority is a practical key light for faces, interviews and everyday video production.
Choose the zhiyun fiveray m20c when creative color, compact size and flexible background effects are more important.
Some creators may eventually use both: the M40 SE as the main key and the M20C as an RGB background or edge light. However, either fixture can still support a useful one-light workflow when positioned carefully.
Common One-Light Setup Mistakes
Increasing brightness instead of improving placement
More output does not automatically improve the image. Adjust the angle and distance first.
Keeping the light too far away
A distant compact light may create harder shadows and illuminate too much of the room.
Ignoring the background
Even when only one fixture is used, background brightness and color strongly affect the final image.
Mixing incompatible color temperatures
Warm room lamps and cool key lighting can create inconsistent skin tones. Match or intentionally separate the colors.
Using saturated RGB directly on the face
Strong RGB color can distort skin tone. Use it deliberately rather than as the default for every video.
Forgetting eye reflections
A portrait often feels more engaging when a clear catchlight appears in the eyes.
One-Light Setup Checklist
Before recording, confirm:
· The light is slightly above eye level;
· The subject is correctly exposed;
· The shadow side keeps usable detail;
· Skin tone looks natural;
· Reflections are controlled;
· The background supports the subject;
· White balance is fixed;
· The fixture and stand remain outside the frame;
· The setup can be recreated consistently.
FAQs
Is one light enough for professional video?
Yes. One carefully positioned and diffused light can produce professional results for interviews, portraits, livestreams and product videos.
Should the light be placed in front or to the side?
Start 30 to 45 degrees to one side of the camera. Move it closer to the lens axis for softer, flatter beauty lighting.
Do I need a reflector?
No, but a reflector is an inexpensive way to reduce shadows without adding another powered light.
Is bi-color or RGB better?
Bi-color lighting is practical for natural-looking interviews and everyday video. RGB provides more creative color options for products, backgrounds and stylized portraits.
Can a compact light work as the main key?
Yes, especially in small rooms and close-range setups. Distance, diffusion and ambient light determine how much output is required.
Final Thoughts
A one-light setup encourages creators to make intentional decisions about direction, contrast and subject placement.
Instead of adding more equipment immediately, begin with one reliable zhiyun light, move it around the subject and observe how the image changes. Add diffusion or a reflector only when it solves a visible problem.
Minimal gear does not mean limited creativity. A carefully positioned light can support interviews, portraits, livestreams, product videos and mobile content while keeping the setup fast, portable and easy to repeat.