


A Comprehensive Guide to Mastering Sunrise and Sunset Photography Techniques
Introduction
The golden hour, that magical time just before sunrise and just after sunset, offers photographers a unique opportunity to capture nature's beauty in its most vibrant hues. For both seasoned photographers and enthusiastic beginners, mastering the art of shooting sunrises and sunsets is an exciting challenge that can greatly enhance your photography skills. This guide will walk you through essential tips and techniques to help you make the most of these fleeting moments and create images that truly stand out.
- Timing Is Everything
To capture the best sunrise and sunset photos, timing is crucial. It’s not just about the moments when the sun is at the horizon but also the period before and after. For sunrises, aim to arrive at least 30 minutes before the sun rises. This early arrival lets you photograph the sky as it transitions from the dark of night to the soft blues and eventually to warm oranges and pinks. The pre-sunrise colors are often the most breathtaking. Similarly, for sunsets, waiting until the sun has dipped below the horizon can provide spectacular colors and dramatic effects, especially if there are clouds to catch the light.

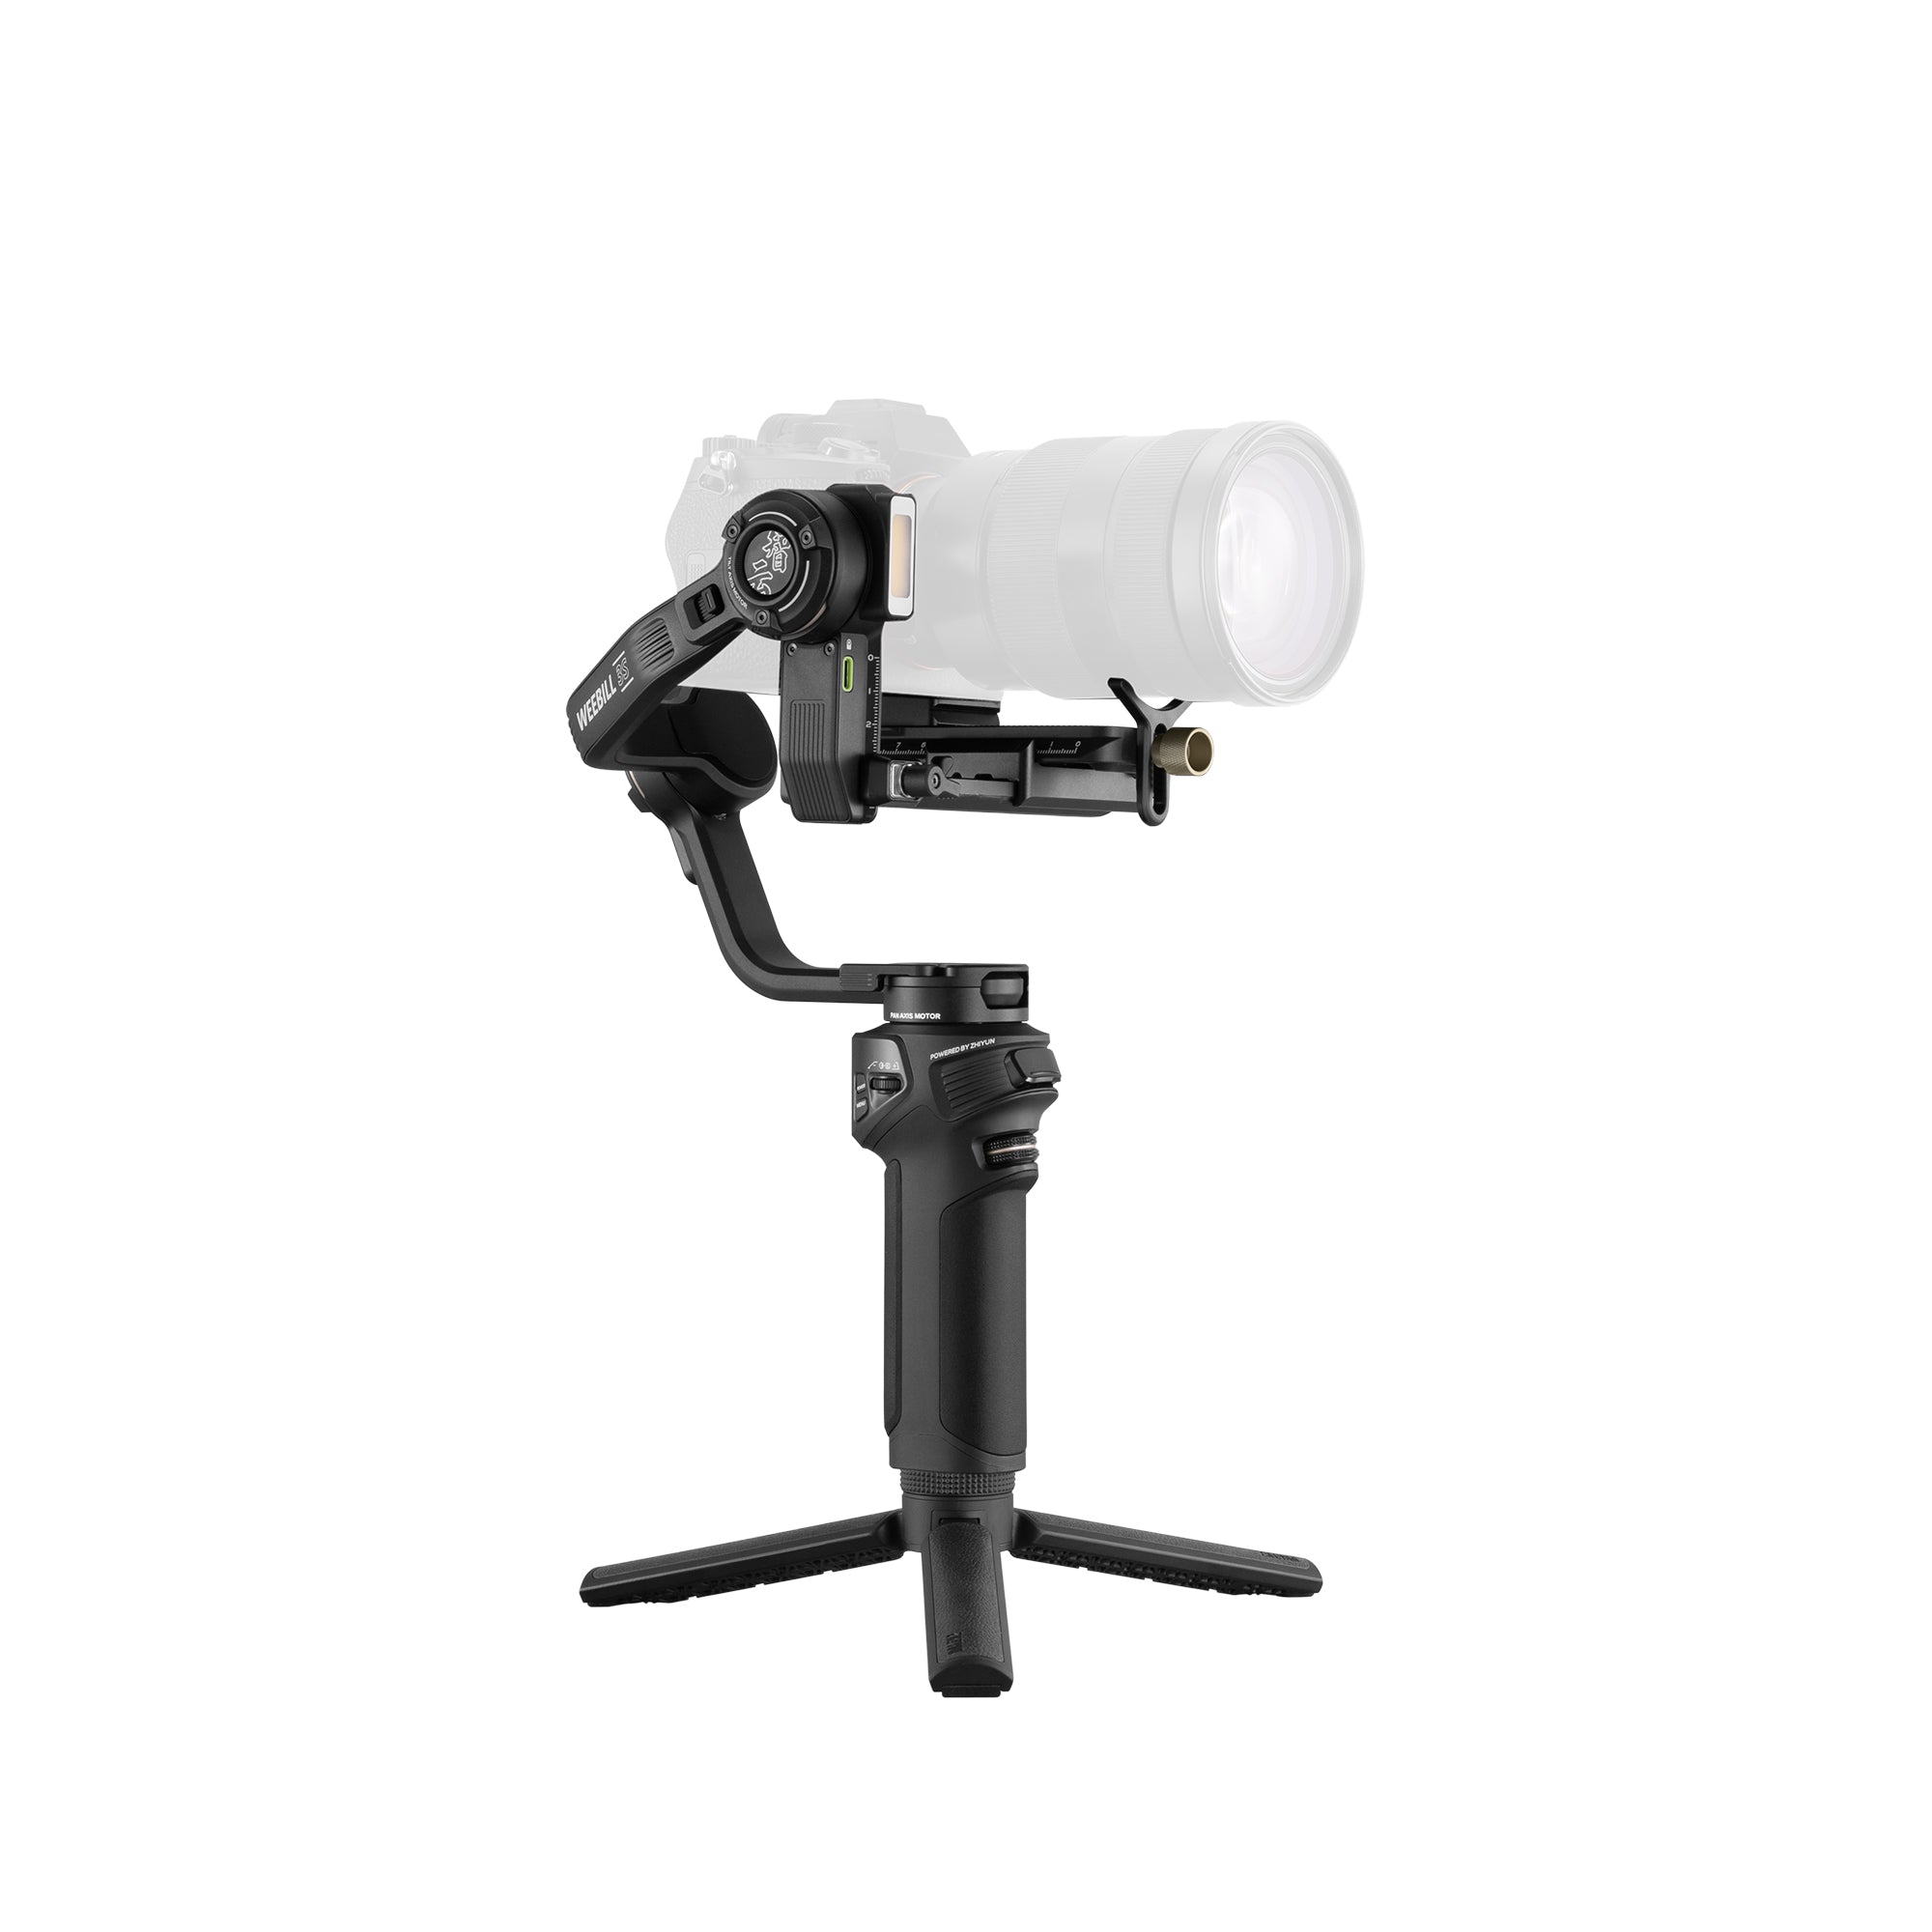
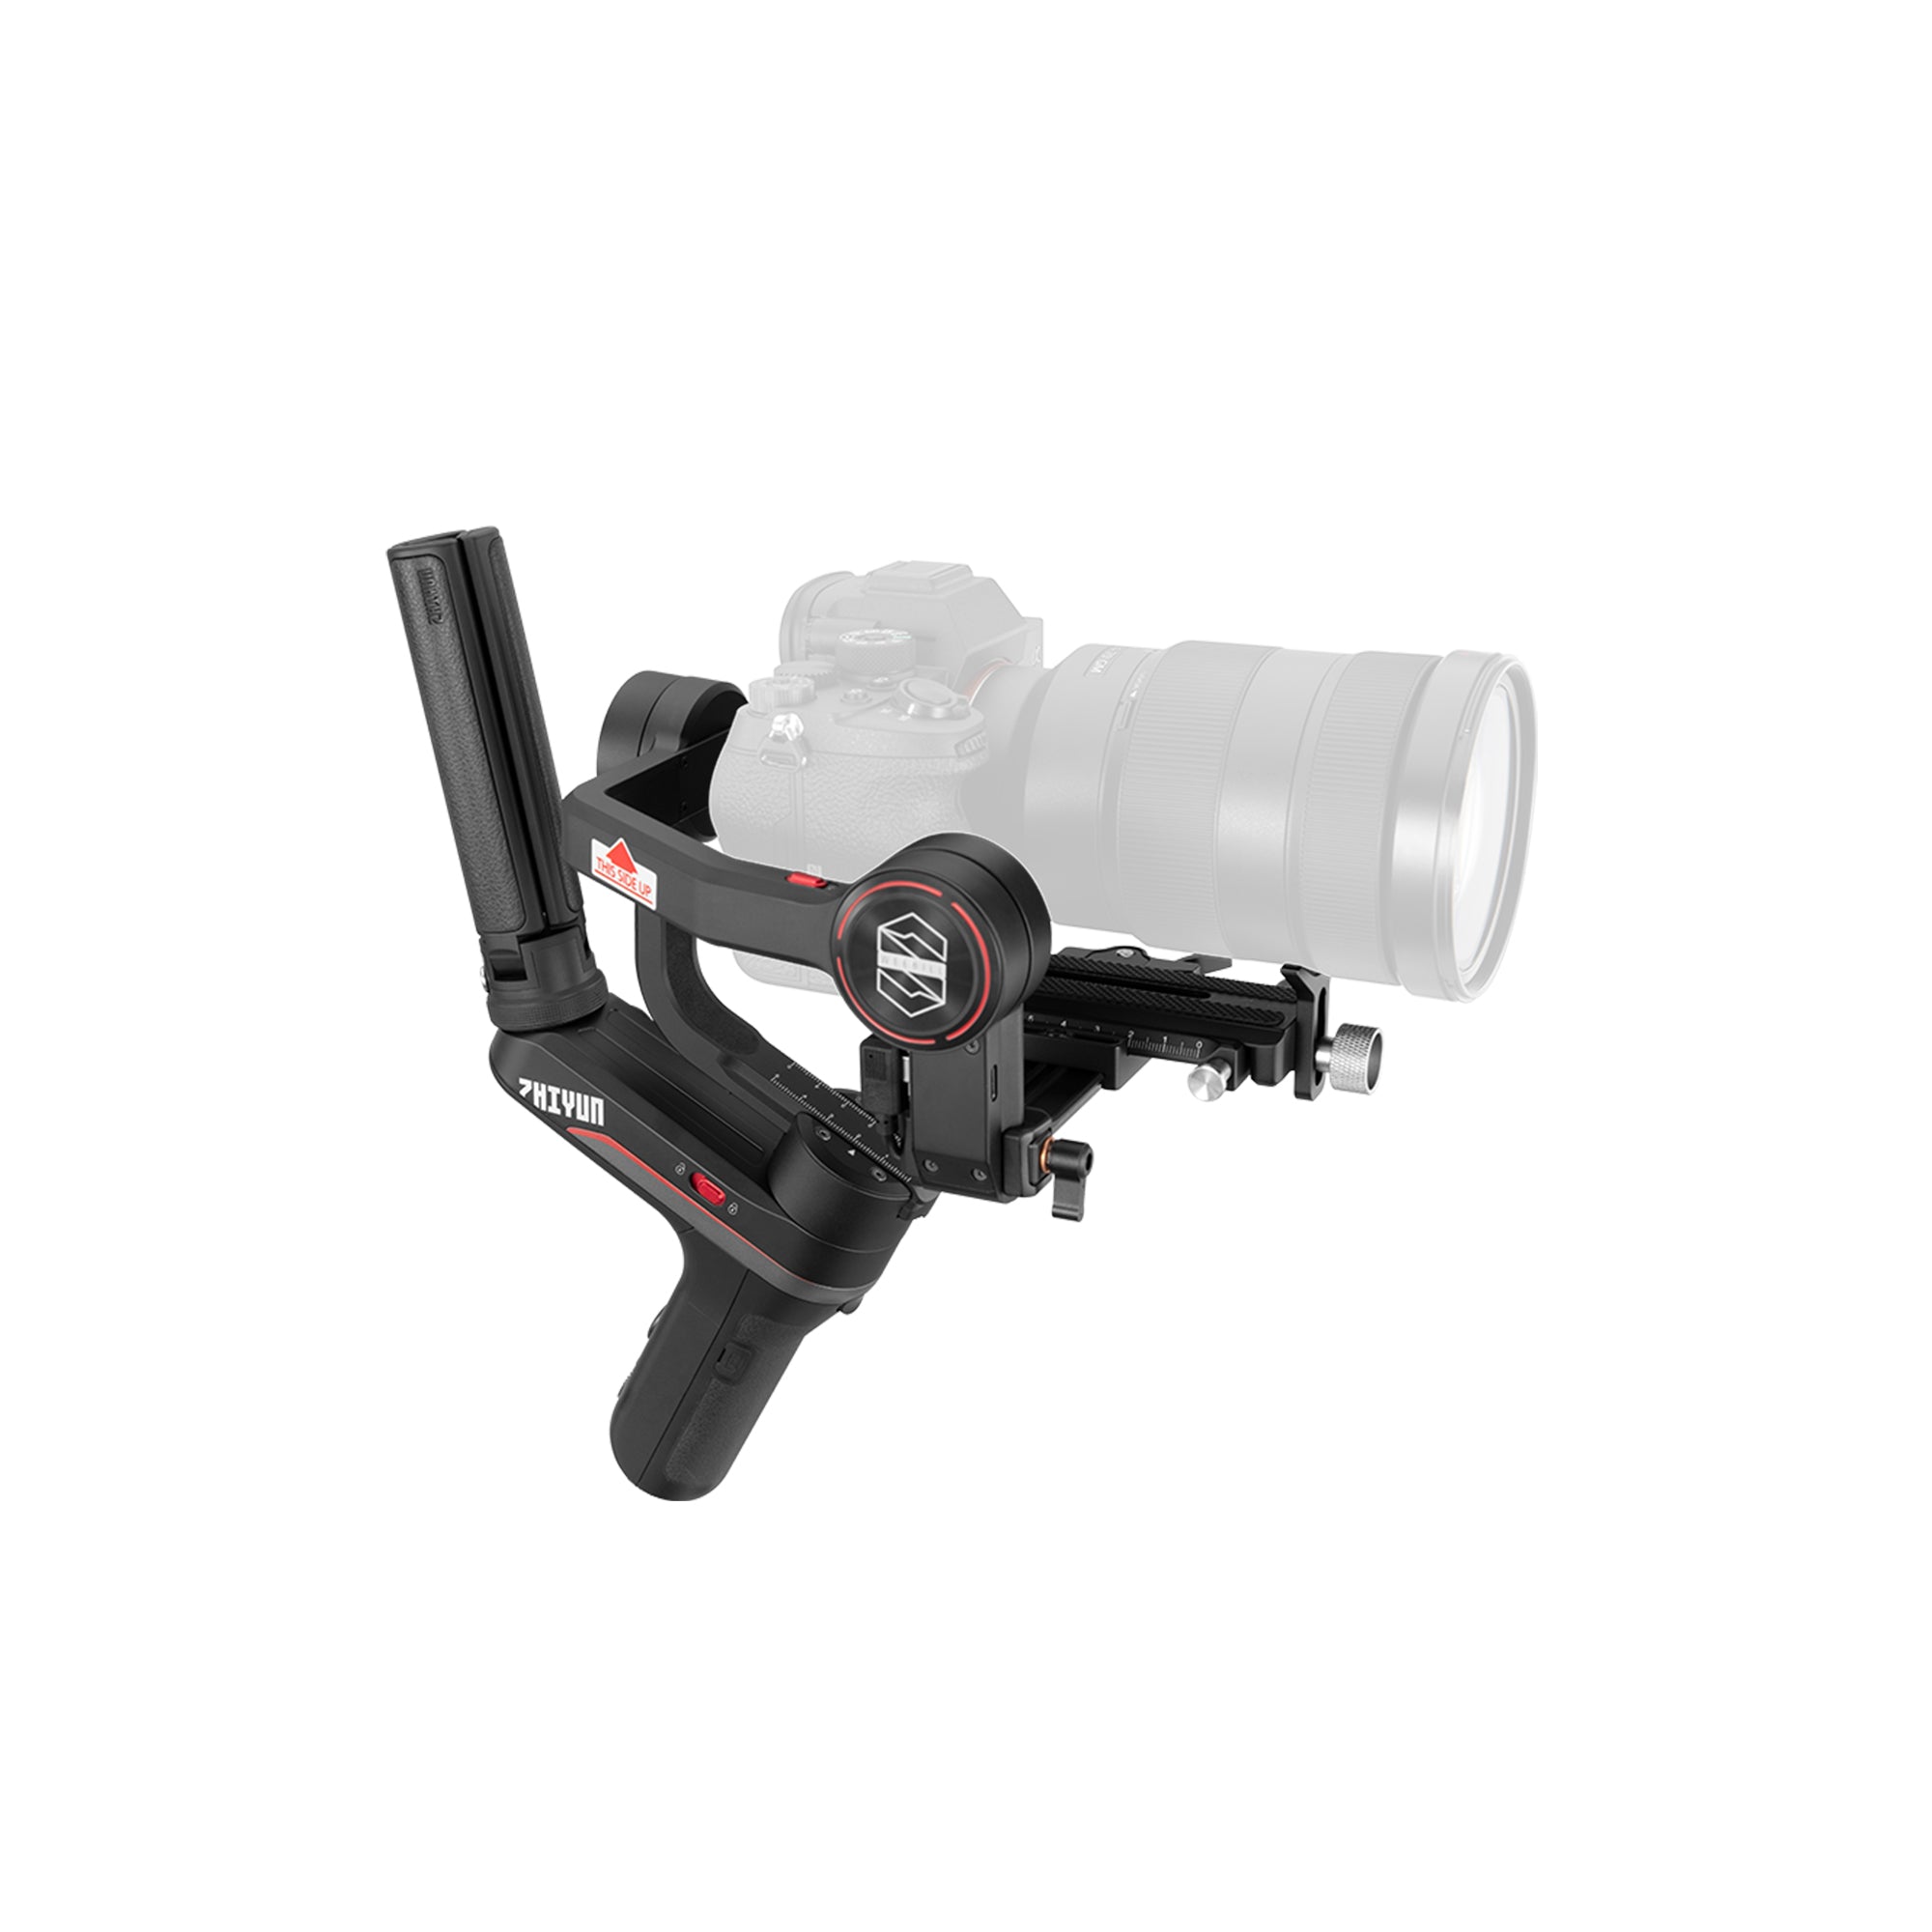
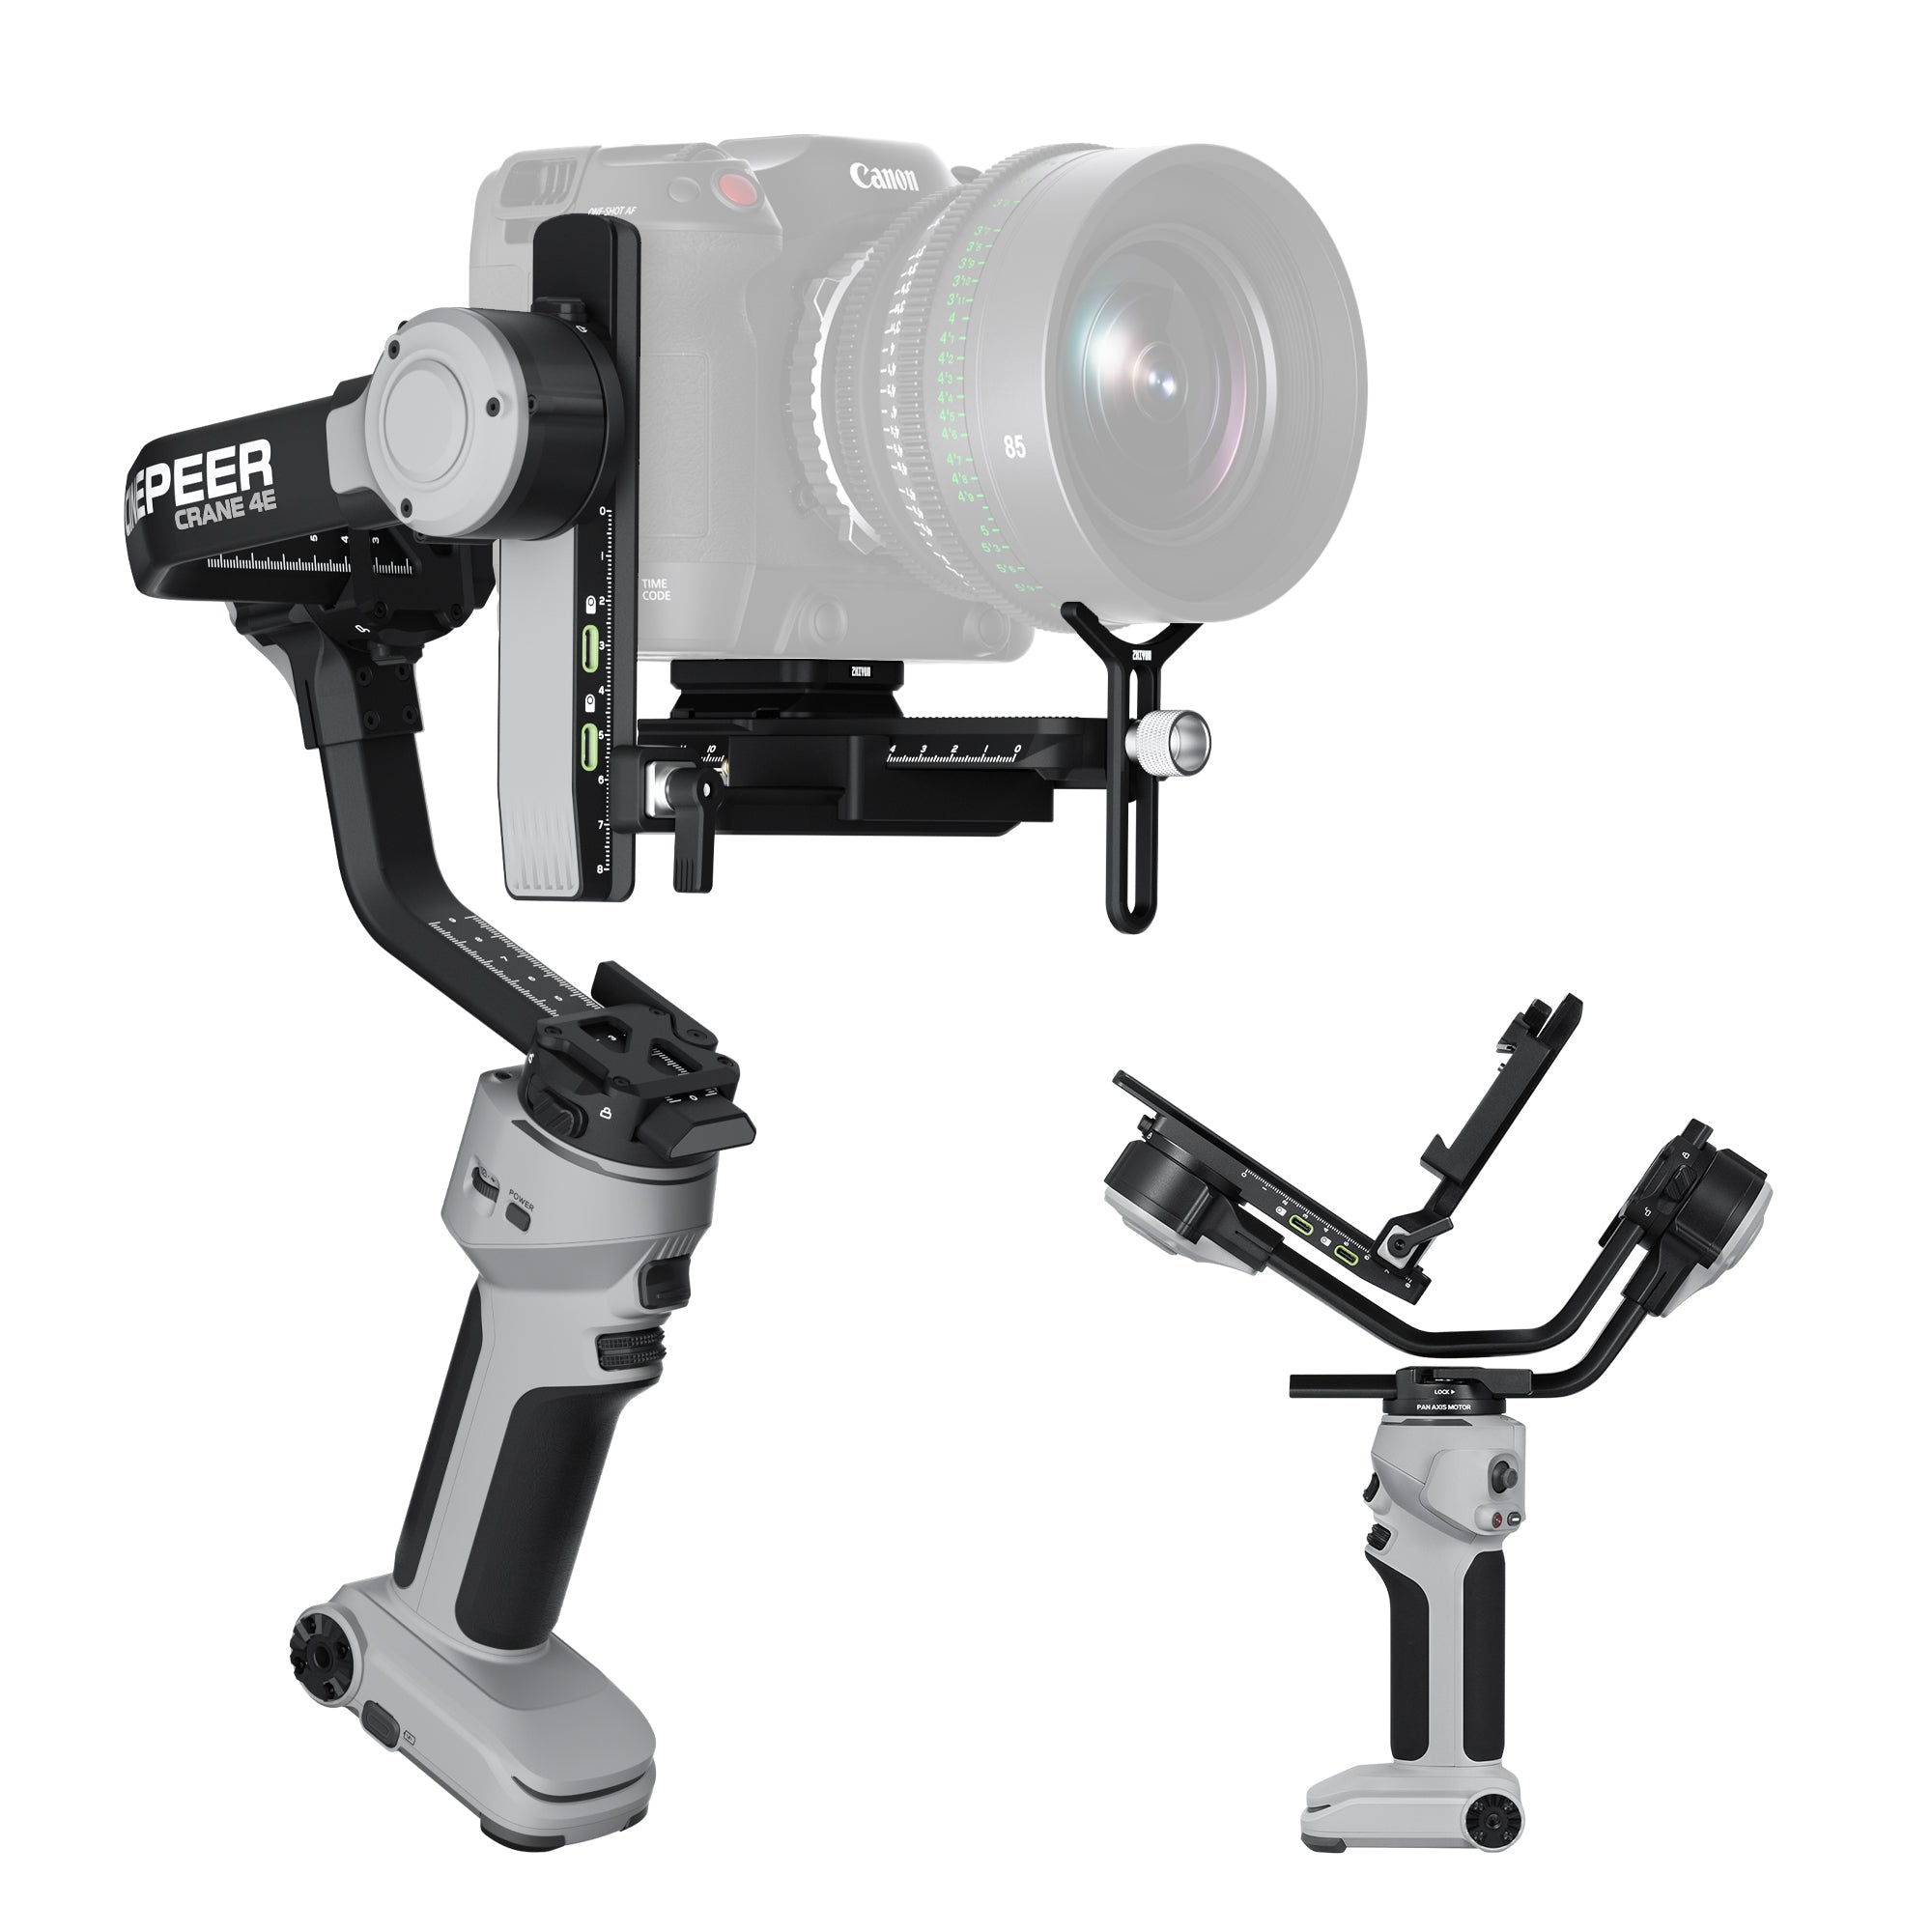
- Use a Camera Stabilizer
A camera stabilizer is indispensable for sunrise and sunset photography due to the low light conditions. It ensures that your camera remains steady during longer exposures, which are often necessary to capture the subtle lighting of the golden hour. Without a camera stabilizer, even the slightest camera shake can result in blurry images. ZHIYUN Crane 4 is lightweight and handles heavy cameras with ease. Photographers can carry it out without pressure. Meanwhile, ZHIYUN CINEPEER WEEBILL 3E is ultra-compact and minimizes fatigue with its Sling Mode 2.5, providing up to 16 hours of runtime and the flexibility to operate while charging. Both stabilizers ensure steady, professional-quality footage during those magical moments of the day.

- Master Your Camera Settings
Understanding and manipulating your camera settings is key to achieving stunning results. Use manual mode to have full control over your exposure settings. Start with an aperture of f/8 to f/11 to ensure a deep depth of field, which keeps the entire scene in focus. Set your ISO as low as possible, typically ISO 100, to reduce noise and maintain image quality. Adjust your shutter speed based on the light conditions; during the early moments of sunrise or as the sun sets, you might need slower shutter speeds to capture the full range of colors.
Experiment with different shutter speeds to find the right balance for your scene. Remember that as the light changes quickly during these times, you may need to adjust your settings frequently to keep up.

- Play with White Balance
White balance can greatly influence the mood and color temperature of your photos. For sunrises, a lower Kelvin setting (around 2500-3000K) can enhance the cool, tranquil feeling of the early morning light. Conversely, for sunsets, use a higher Kelvin setting (around 6000-7000K) to bring out the warm, golden tones. Adjusting white balance helps you capture the atmosphere you want and can reduce the need for extensive color correction in post-processing.
- Consider Using Filters
Filters are valuable tools for managing light and enhancing your photos. A graduated neutral density (GND) filter helps balance the exposure between the bright sky and darker ground, preventing the sky from being overexposed while keeping the foreground details visible. For sunsets where the sun is near the horizon, a reverse GND filter can be more effective, as it provides a darker gradation in the center where the sun is located. These filters can make a significant difference in achieving a professional look in your images.

Conclusion
Capturing the perfect sunrise or sunset requires more than just being at the right place at the right time; it involves careful preparation and technical knowledge. By arriving early, using the right equipment, mastering your camera settings, playing with white balance, and utilizing filters, you can transform fleeting moments into stunning photographs. Embrace the challenge, experiment with different techniques, and most importantly, enjoy the process of capturing these beautiful, ephemeral moments of nature.
Continue reading: Illuminate the Night: How to Add Light for Stunning Night Photography
FAQs:
Q: How does a tripod improve my sunrise or sunset photos?
A: A tripod stabilizes your camera during low light conditions, enabling you to use longer exposures without introducing blur from camera shake.
Q: What is the benefit of using a graduated neutral density (GND) filter?
A: A GND filter balances the exposure between the bright sky and the darker foreground, ensuring that both elements are properly exposed without overexposing the sky.
Q: How does white balance affect the mood of my photos?
A: White balance adjusts the color temperature of your photos, allowing you to emphasize warm tones for sunsets or cooler tones for sunrises, enhancing the mood and atmosphere of your images.
Q: What is the impact of aperture settings on sunrise and sunset photos?
A: Using an aperture of f/8 to f/11 provides a deep depth of field, ensuring that both the foreground and background are in focus. This setting is ideal for capturing the expansive scenes typical of sunrise and sunset photography, maintaining clarity across the image.