










RGB Lighting Setup Guide for Cinematic Videos and Creative Portraits
RGB lighting can transform an ordinary room, studio corner, or outdoor location into a visually distinctive set. A controlled wash of blue behind a subject can suggest isolation or calm. A warm orange edge light can create energy and separation. Magenta and cyan can turn a simple portrait into a fashion-inspired image.
The challenge is that adding color does not automatically make a scene cinematic. Poorly placed RGB lights can distort skin tones, flatten the face, create distracting shadows, or make the background look disconnected from the subject. A successful RGB lighting setup begins with a clear visual purpose and a controlled relationship between white light and colored light.
For creators using portable lighting from ZHIYUN, RGB fixtures can support interviews, music videos, creative portraits, product films, fashion content, short-form videos, and small studio productions without requiring a large lighting truck.
Decide What the RGB Light Should Do Before Choosing a Color
Every light in a scene should have a job. Before selecting a hue, decide whether the RGB light will be used as:
· A background wash
· A rim or hair light
· A colored fill light
· A practical-light enhancement
· A motivated light that appears to come from a sign, window, screen, or fixture
· A stylized key light
For most portrait and video work, RGB light is easiest to control when it is used as an accent rather than the main key light. A neutral or slightly warm key light preserves natural skin tone, while the colored light creates separation or atmosphere.
For example, a talking-head video can use a soft white key light at approximately 45 degrees from the subject. A blue light can then be aimed at the background, while a subtle warm rim light is placed behind the subject. The result feels dimensional without making the face look unnaturally colored.
A more experimental music video may deliberately use colored light on the face. In that case, the color should still support the story rather than being selected simply because it looks bright on the fixture.
Build the Scene Around a Clean Key Light
A cinematic color setup usually starts with a reliable key light. The key determines facial shape, exposure, eye reflections, and the overall direction of the scene.
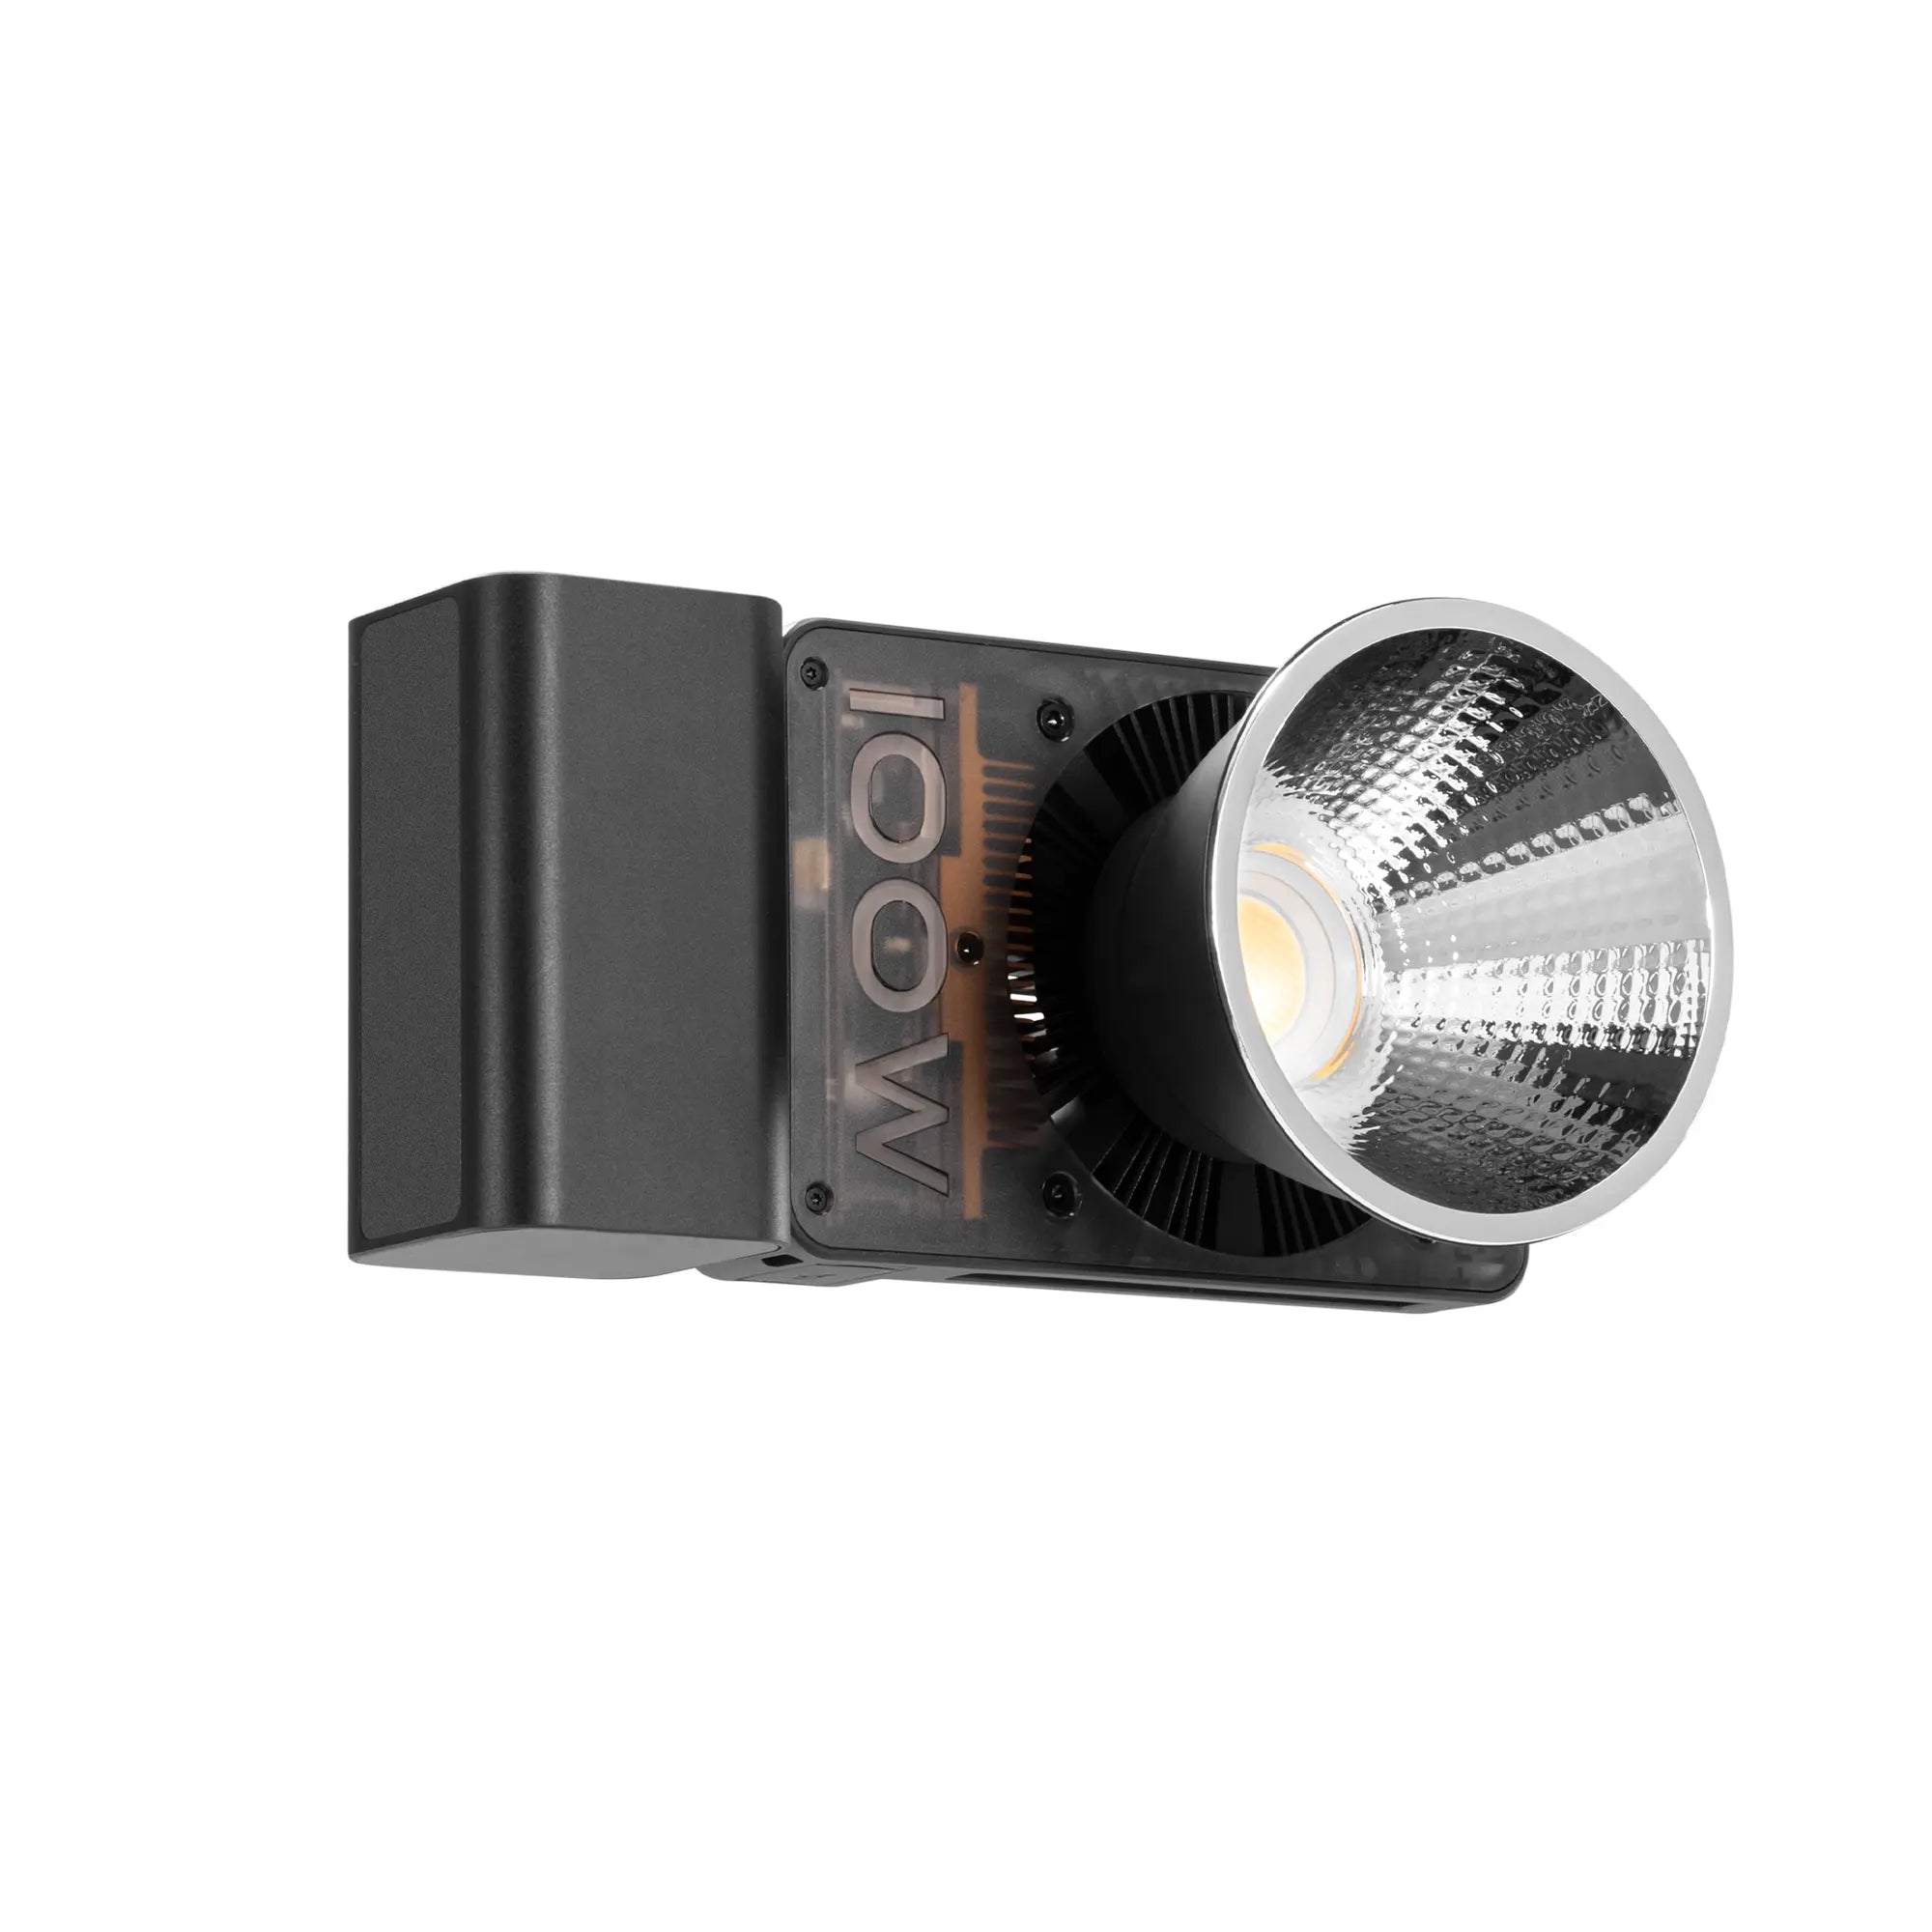
The ZHIYUN MOLUS X100 RGB can serve as either a clean key light or a creative RGB source. In a compact portrait setup, use it with an appropriate modifier to soften the light on the face. Once the neutral skin exposure is established, additional color can be introduced into the background or shadow side.
Keep these principles in mind:
Place the key slightly above eye level.
Move it to the side for more facial dimension.
Bring it closer for softer light.
Move it farther away for wider and more even coverage.
Use diffusion when bare light creates harsh texture or sharp shadows.
Do not begin by turning every light to a different saturated color. First establish one clear key direction. Then add color one layer at a time.

Use Complementary Colors to Create Visual Contrast
Color contrast helps the subject remain visible against the environment. Complementary or near-complementary combinations are common in cinematic lighting because they create strong separation.
Popular combinations include:
· Teal and orange
· Blue and amber
· Cyan and red
· Purple and yellow
· Magenta and green
Teal and orange work well because cooler background tones contrast naturally with warmer skin. Blue and amber can create a night-interior atmosphere. Magenta and cyan are often used for fashion, music, nightlife, and technology-related content.
However, complementary colors do not need to be equally bright. If both colors are heavily saturated and placed at the same intensity, they may compete for attention. Choose one dominant color and use the second as an accent.
For a portrait, the background might receive a stronger blue wash while a soft warm light creates a subtle edge on the subject. For a product video, one side of the product can receive cyan light while a weaker magenta source reveals shape on the opposite side.
Place RGB Lights for Depth, Not Just Color
A colored wall is not automatically a dimensional background. Light placement determines whether the color appears flat, graduated, textured, or separated from the subject.
To create a controlled background pool, move the fixture closer to the wall and aim it toward a specific area. To create a wider wash, move the light farther away. Angling the light across a textured wall can reveal surface detail and create a more cinematic pattern.
For rim lighting, place the fixture behind and to one side of the subject. Aim it toward the back of the head, shoulder, or clothing rather than directly into the camera. Check for flare and reposition the light or add a flag when necessary.
For larger sets, the ZHIYUN MOLUS X200 RGB provides a practical option when the light must cover a wider area, work through a modifier, or remain effective at a greater distance. It can be used for full-body fashion shots, wider interview frames, studio background effects, and commercial video sets.
The larger the space, the more important it becomes to control spill. Use grids, flags, barn doors, or careful fixture placement to stop colored light from contaminating the subject’s face.

Protect Skin Tone from Unwanted Color Spill
One of the most common RGB lighting mistakes is allowing a background light to spill across the face. The creator may see an attractive colored background, while the camera records blue cheeks, magenta shadows, or an uneven skin tone that becomes difficult to correct.
To reduce color spill:
Increase the distance between the subject and background.
Aim the RGB light away from the subject.
Use a grid or directional modifier.
Reduce saturation before reducing overall exposure.
Add a neutral fill light if the shadow side becomes too strongly colored.
Check the result on the camera monitor rather than judging only by eye.
Some creative portraits intentionally use split-color lighting across the face. Even then, the placement should be precise. The transition line between colors should complement facial structure rather than cutting awkwardly across the nose or eyes.
Makeup, clothing, and skin tone also affect the result. A color that works on a black jacket may reflect strongly from white fabric. Always test the complete styling under the final lighting.
Three Practical RGB Lighting Setups
Setup 1: Cinematic Talking-Head Video
Use a neutral key light at 45 degrees from the subject. Place a weaker fill or reflector on the opposite side. Aim an RGB fixture at the wall behind the subject, choosing a color that contrasts with the wardrobe.
This setup is suitable for YouTube videos, interviews, educational content, and branded creator videos.
Setup 2: Two-Color Creative Portrait
Place one colored light behind and to the left of the subject. Place a second color behind and to the right. Add a softer neutral light near the camera to preserve facial detail.
This creates colored edges while maintaining a readable face.
Setup 3: Dramatic Music or Fashion Scene
Use one RGB light as a side key and another color on the background. Allow deeper shadows and use haze, reflective materials, or textured surfaces to reveal the light beams and color transitions.
This setup is more stylized and should be tested carefully to avoid losing detail in saturated highlights.
Common RGB Lighting Mistakes
Using too many colors is the fastest way to make a scene look visually confused. Two well-controlled colors are often more effective than four or five unrelated hues.
Other common problems include:
· Overexposing saturated colors
· Using colored light as a substitute for proper key lighting
· Ignoring white balance
· Allowing RGB spill onto product labels or skin
· Making every scene use the same teal-and-orange look
· Selecting colors that conflict with wardrobe or set design
· Changing hue between shots without continuity planning
An effective cinematic lighting setup is built through restraint. Color should guide attention, separate visual layers, and support emotion.
With tools such as the ZHIYUN MOLUS X100 RGB and MOLUS X200 RGB, creators can move between natural white-light setups and expressive RGB environments without rebuilding the entire production. The strongest results come from treating color as part of the story rather than an effect added at the last moment.