










How to Take Better Selfies With a Phone Gimbal: Beginner Tips and Best Tools
Learning how to take better selfies comes down to good light, the right camera distance, and intentional framing—not expensive gear alone.A phone gimbal becomes especially useful when you want smoother moving clips, full-body photos, or hands-free shots without asking someone else to take them. This guide shows how to improve everyday selfies and choose a setup that matches the way you shoot.
Start With the Basics of How to Take a Better Selfie
If you are learning how to take a better selfie, fix the light and camera position before adding accessories. A gimbal can give you more freedom to frame the shot, but it cannot correct a dark face, a distracting background, or an overly close camera angle.

Find Your Best Light and Keep the Background Clean
Soft, even light is usually the easiest way to make a selfie look natural. Stand near a window indoors, or face open shade outside, so the light reaches your face without creating deep shadows under your eyes. If the sun is behind you, move a few steps or turn slightly until your face is no longer the darkest part of the frame.
Your background should add context without stealing attention. A café, skyline, trail, or concert crowd can make the image feel more personal, but check for bright signs, clutter, or objects that seem to grow out of your head. A clean frame gives viewers a clear place to look first: you.
Set the Phone at a Natural Height and Comfortable Distance
Hold the phone around eye level or just slightly above it, then angle it down only a little. Shooting from too low can exaggerate the chin and nostrils, while holding the phone too close can make facial features look wider than they do in person.
Distance matters more than most people expect. Extending your arm, using an extension rod, or placing your phone on a tripod gives the camera room to capture your face and surroundings without the “phone pressed against my face” look. For a more deliberate self-portrait, use the timer and step back instead of trying to reach the shutter while posing.
Basic Tools for Better Selfies
The right tool depends on the shot you want.For creators building a simple mobile setup, a gimbal stabilizer can add stability and hands-free flexibility for solo shooting.
|
Setup |
Best for |
What it helps with |
Main limitation |
|
Phone only |
Quick face selfies |
Fast framing and easy sharing |
Limited distance and less stable movement |
|
Handheld smartphone gimbal |
Travel clips, walking selfies, group shots |
Smoother movement and wider framing |
You still need to hold the device |
|
Hands-free smartphone gimbal |
Full-body photos, solo trips, tutorials |
Stable framing, timers, remote control, and tracking |
Requires a stable placement and a short setup time |
Handheld Smartphone Gimbal

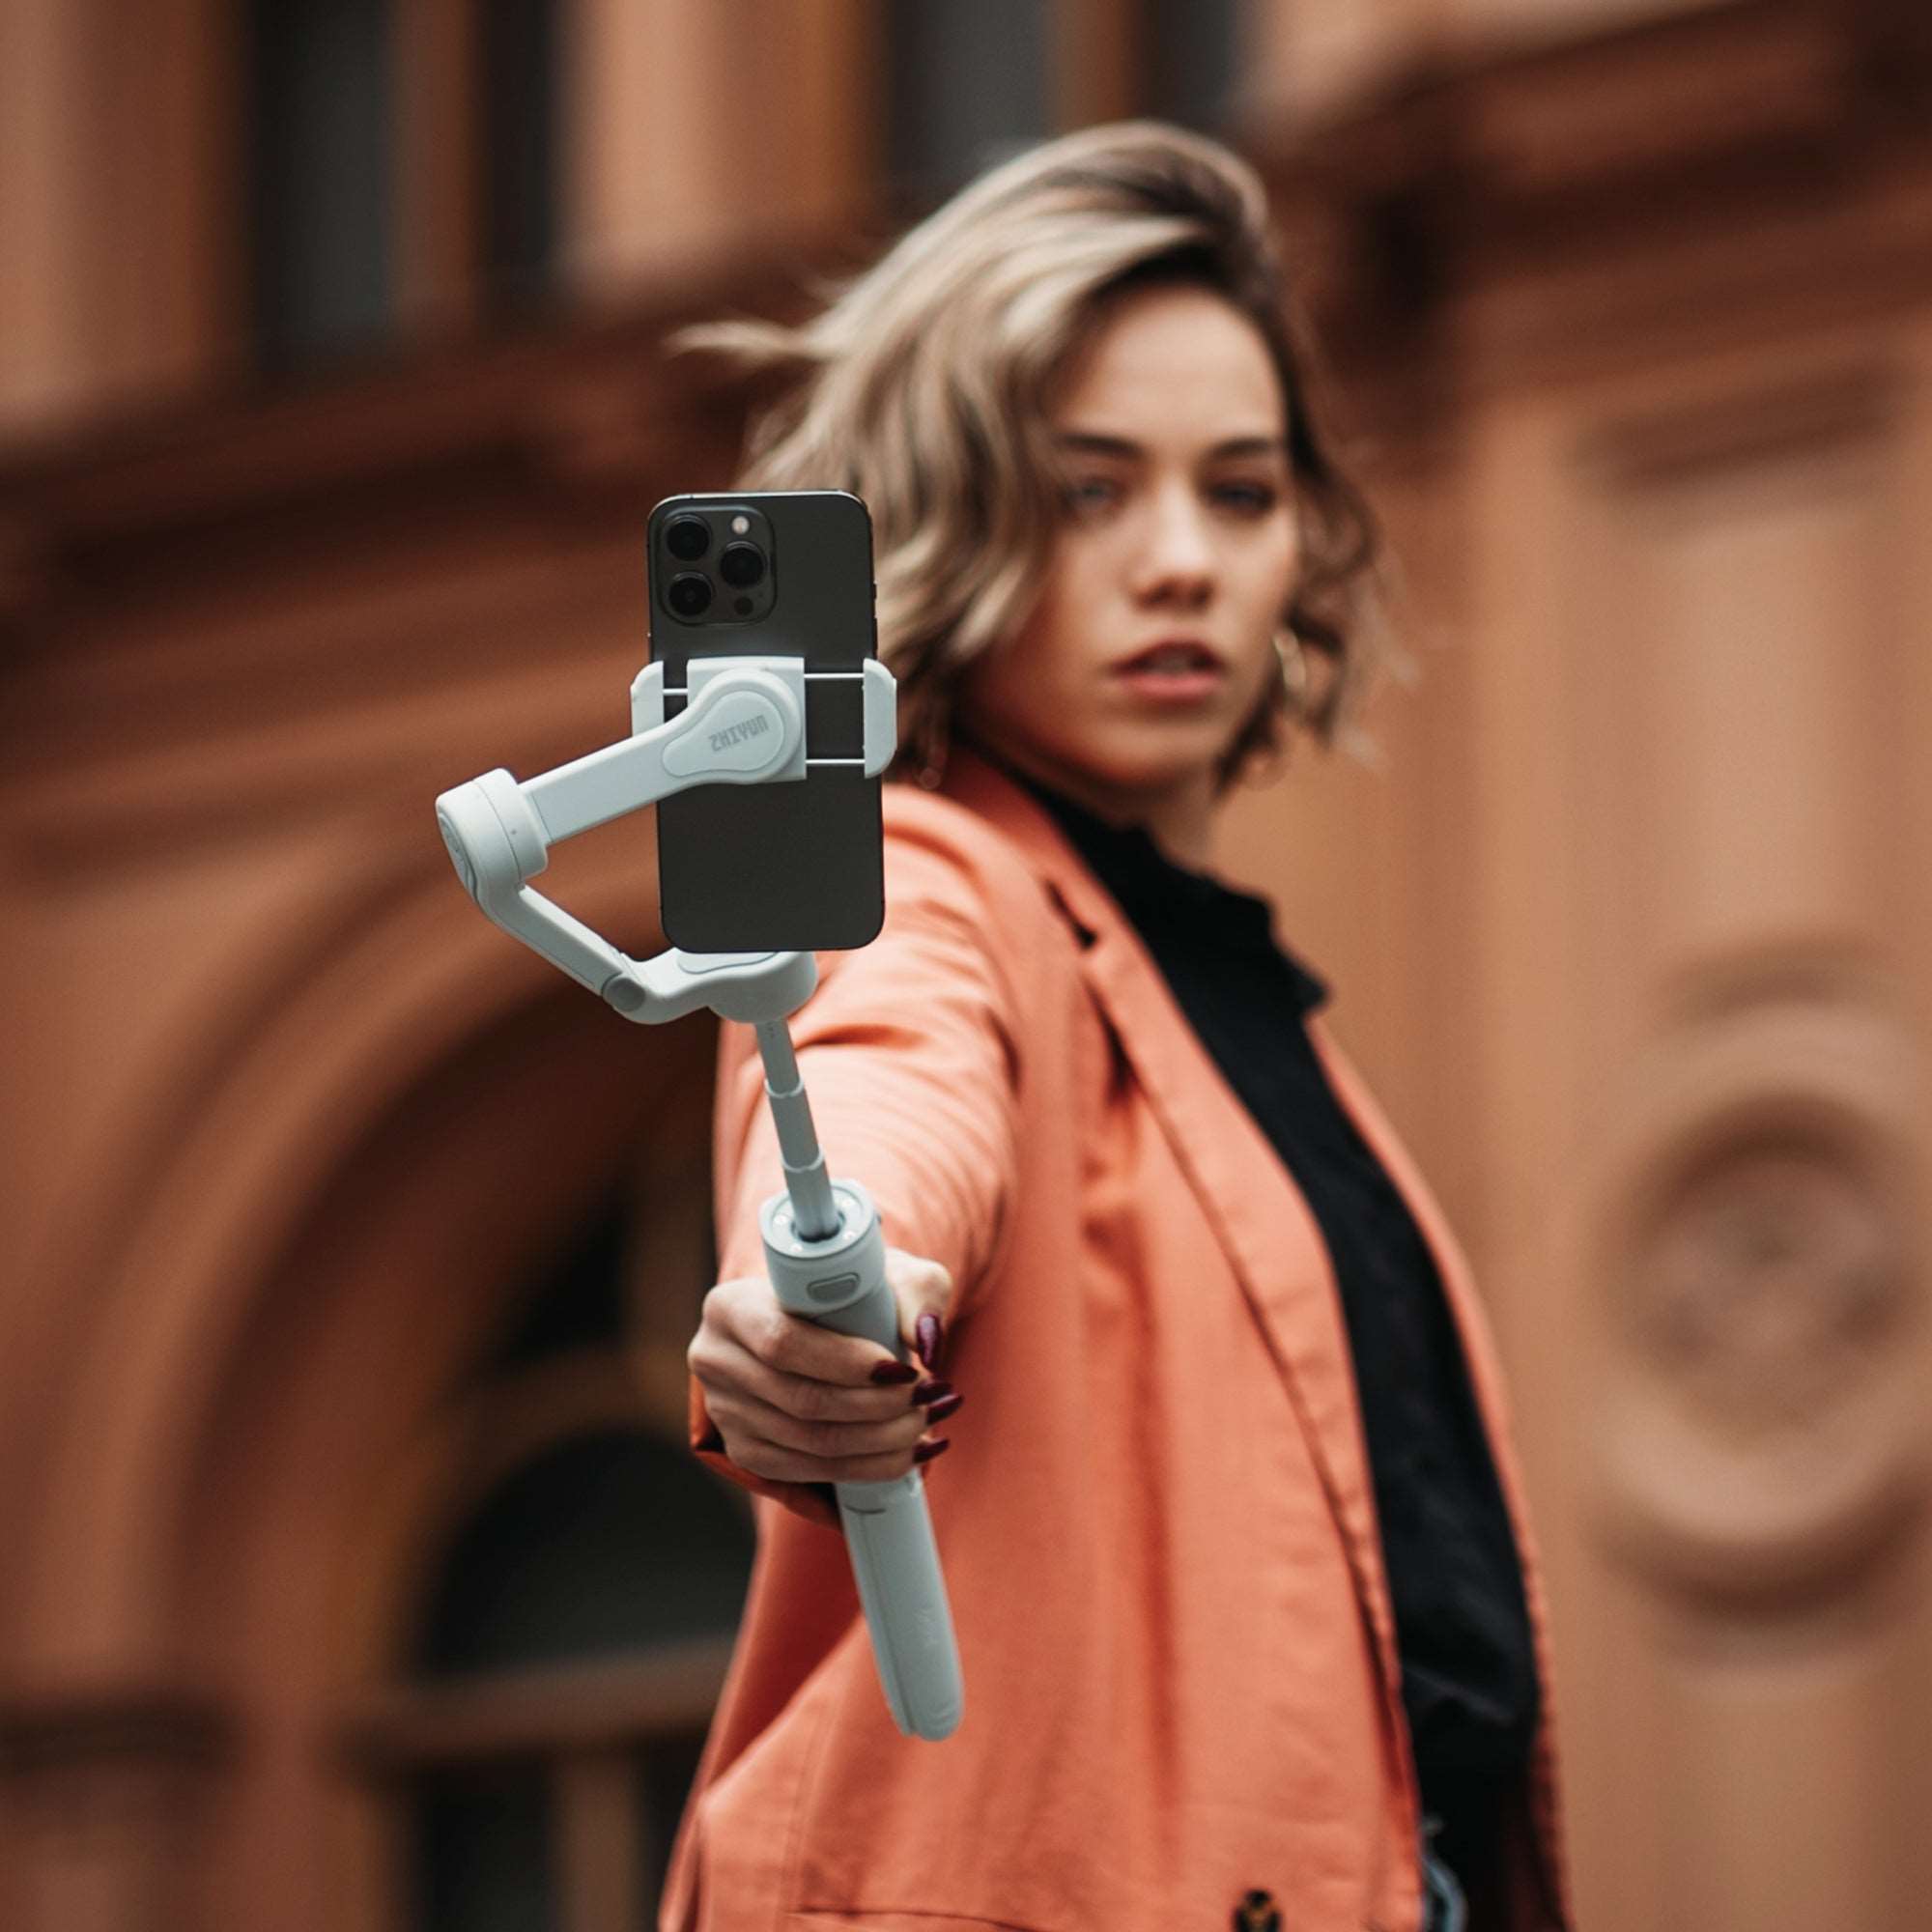
A handheld smartphone gimbal is useful when the setting is part of the story. Think of walking through a downtown street, showing a mountain overlook, or recording a quick travel update without the small shakes that can make phone footage feel rushed. It also gives you a more comfortable way to hold the phone farther from your face.
A compact gimbal earns its place on a solo trip when it lets you capture more without packing a separate tripod, light, and remote. The ZHIYUN Smooth Q5 Ultra Combo brings three-axis stabilization, AI tracking, wireless remote control, and built-in fill lighting into one setup. That means you can keep a walking clip steady, step back for a wider selfie, or start a hands-free shot with less interruption to the moment.
Hands-Free Smartphone Gimbal
Hands-free shooting solves a different problem: you want to be in the photo without constantly walking back to your phone. Set the gimbal on a stable surface, give yourself enough room to move, and use a timer, remote, or compatible gesture control to trigger the shot.
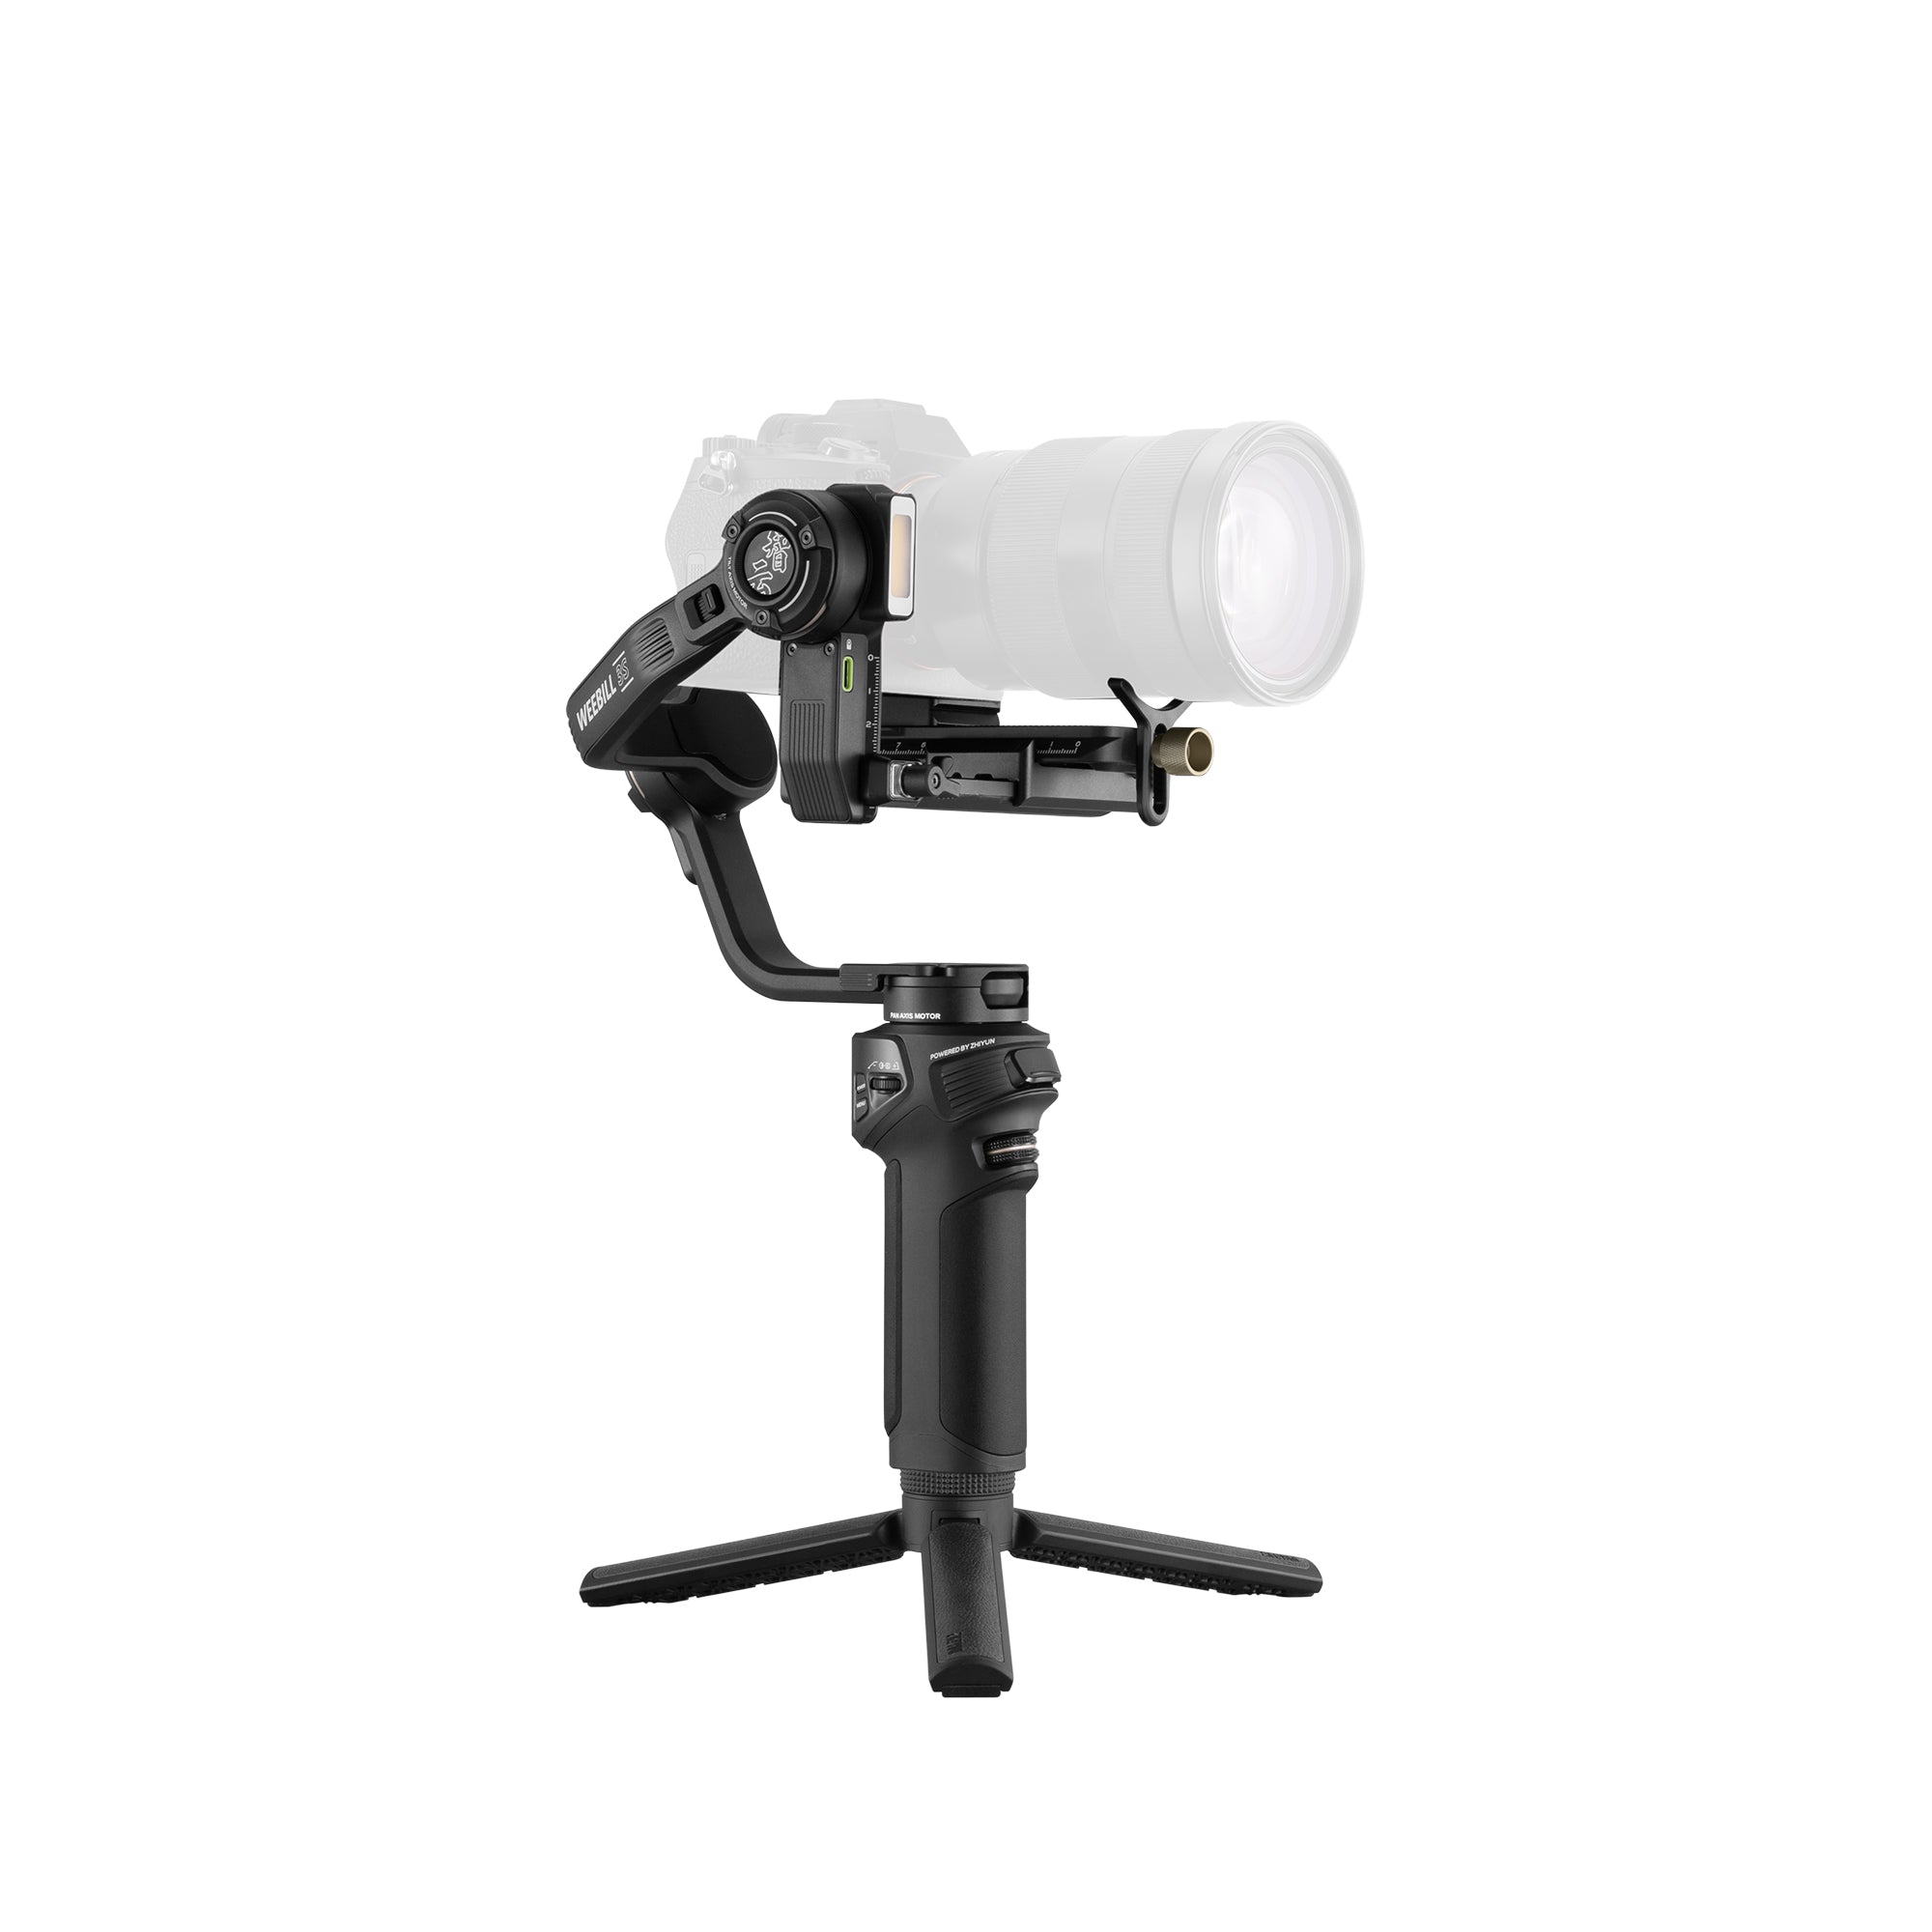
When you are moving through the frame or shooting after sunset, simply placing the phone on a tripod is not always enough. The ZHIYUN Smooth 5S AI Pro adds AI tracking to help keep you framed, three-axis stabilization for smoother motion, and integrated lighting options for dim indoor or evening scenes.
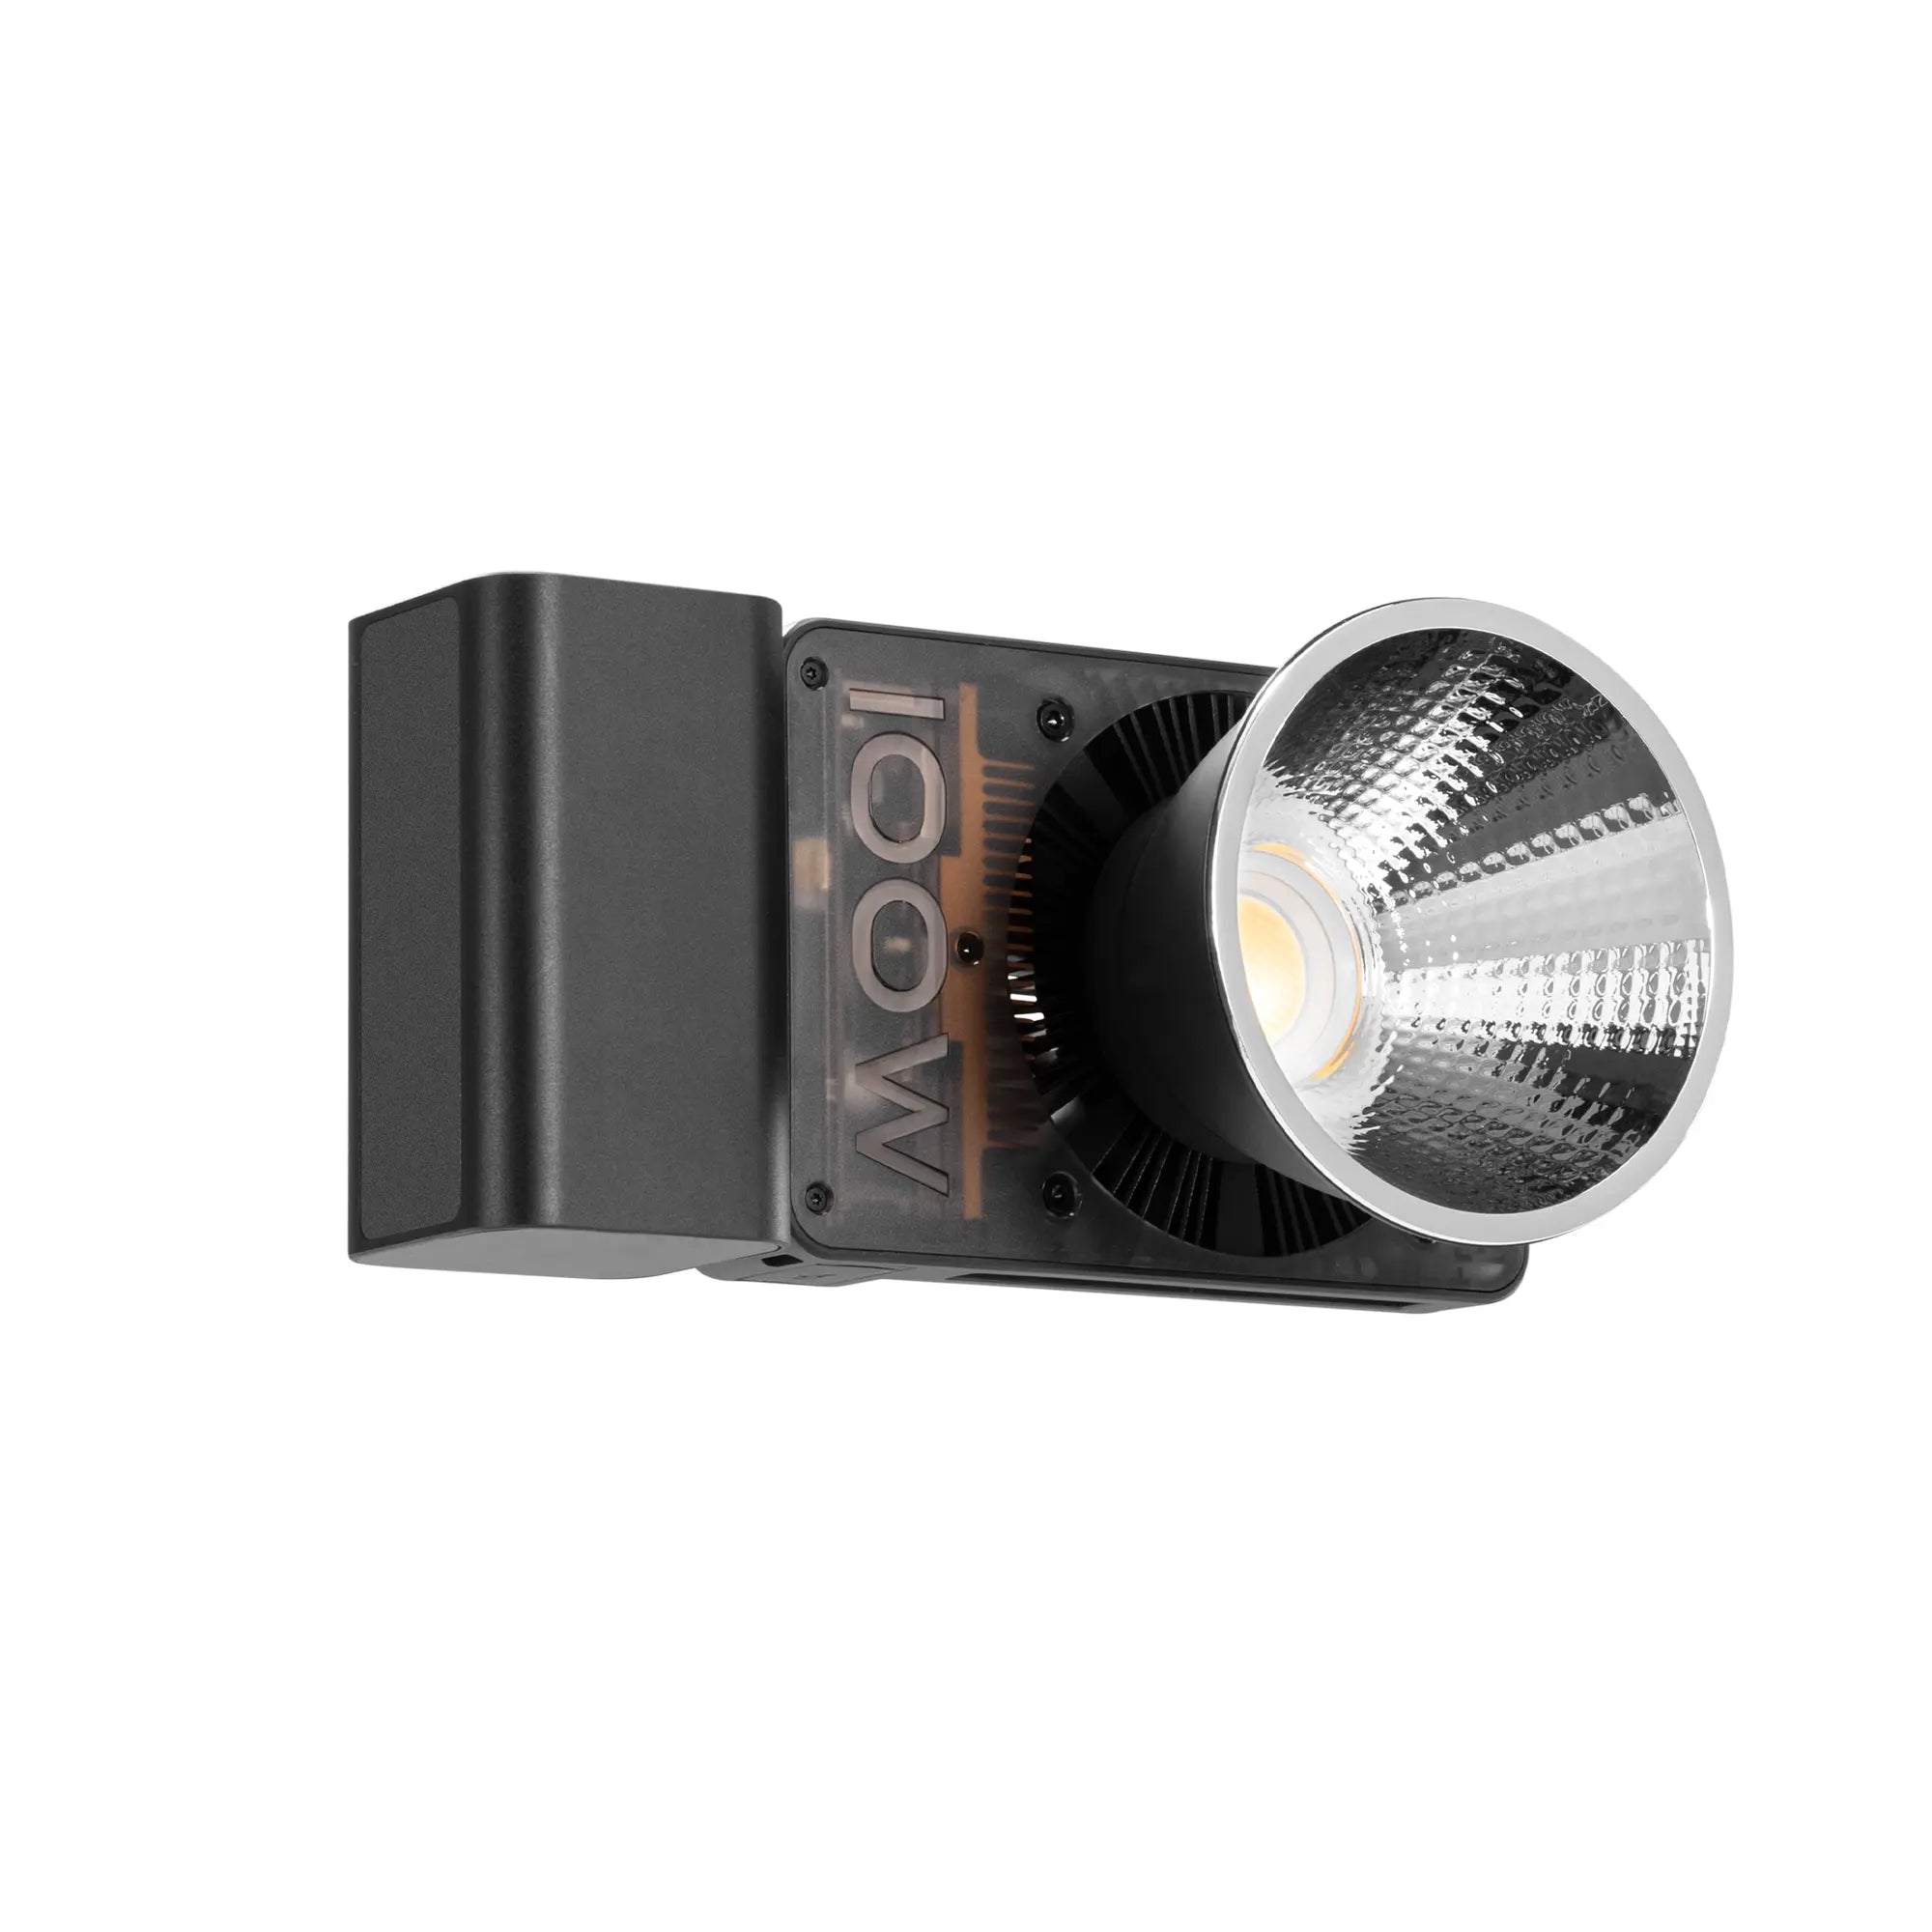
For workouts, tutorials, or more styled solo content, you can also explore the product page’s official AI Tracker and Pocket RGB Light pairing. Adding a compact light such as the ZHIYUN molus-x100-rgb gives you more control over facial lighting and background mood when available light is not enough.

Tips to Make Your Selfies Look Better
The best tips to take better selfies are usually small, repeatable adjustments rather than dramatic poses or heavy editing. Once the light and framing are working, focus on looking comfortable in the moment.
Keep Your Pose Relaxed
Tension is easy to spot in a selfie. Drop your shoulders, loosen your jaw, and avoid pressing your arm tightly against your body. Instead of facing the camera perfectly straight, turn your body slightly and let your face come back toward the lens.
Looking directly into the camera lens, rather than only at your preview, also makes the image feel more connected. If direct eye contact feels too formal, look just past the lens or focus on something in the scene. A small change in expression often looks more believable than forcing a wide smile.
Add Depth to the Background
A selfie looks flatter when you stand against a blank wall with no separation between you and the background. Step a few feet forward when possible, then use the scene behind you as a second layer in the composition.
For example, place yourself near the edge of a trail instead of directly in front of a view, or stand beside a café window rather than against the counter. This creates depth without requiring complicated camera settings. The key is to give the image a foreground, a subject, and a background.
Take a Few Versions of Each Shot
Do not expect the first frame to be the keeper. Take one image to check light and framing, then change only one thing at a time: your camera height, your stance, or your distance from the lens.
- Take a technical test shot to check light and framing.
- Adjust one element instead of changing everything at once.
- Capture several relaxed variations, then choose the one with the most natural expression.
This approach is faster than endlessly retaking the same pose without knowing what is wrong.
What to Watch Out for When Taking Selfies
Even a well-planned selfie can look off when one small detail goes unnoticed. These mistakes are common because phone cameras make it easy to shoot quickly, but they are also easy to fix before you publish.
Shooting Too Close to Your Face
Close selfie distances can stretch facial features through perspective, particularly when the front camera sits only inches from your face. A clinical photography study found that smartphone photos taken at 8 inches and 12 inches showed 18% and 12% more midface stretching, respectively, than the study’s 60-inch reference images. If your face looks wider, your nose appears more prominent, or the image feels cramped, add distance rather than relying on a filter.
A handheld smartphone gimbal with an extension option can help, but even a timer and a stable surface can make a noticeable difference. More distance gives you a more natural perspective and room to include your surroundings.
Using Harsh Overhead Light
Overhead lights can create dark eye sockets and strong shadows under the nose and chin. If you are indoors, face a window or turn toward a softer lamp instead of standing directly under a ceiling fixture.
At night, avoid pointing a bright light straight at your face from very close range. A softer, slightly off-center light usually looks more balanced and preserves the mood of the location.
Letting Filters Look Unnatural
Filters can be fun, but heavy skin smoothing, extreme color shifts, and artificial blur often make a photo feel less like you. Start with a well-lit, properly framed image, then make small adjustments to brightness, warmth, or contrast only if they improve the photo.
The best edit is usually the one viewers do not immediately notice.
Conclusion
A better selfie starts with light, distance, and a relaxed pose. Add a phone gimbal when you want smoother movement, a wider composition, or the freedom to take full-body photos on your own. Start simple, review a few test shots, and let the setup support the moment instead of distracting from it.
FAQ
Are mobile phone gimbals worth it for photos?
They can be worth it when you want hands-free self-portraits, group photos, wider travel shots, or steadier video. For a quick close-up selfie, your phone alone is usually enough.
What are some tips for beginners who are interested in mobile photography?
Begin with soft light, a clean lens, and a simple background. Practice changing one variable at a time, such as camera height or distance, so you can see what improves the photo.
Are gimbals good for photos?
A gimbal does not change your phone’s camera quality, but it can improve how you position the phone. Its biggest advantage for still photos is helping you create stable, hands-free compositions.
Is a gimbal good for iPhone photography?
Yes, provided your iPhone fits the gimbal’s compatibility range. A gimbal can be helpful for timer shots, rear-camera self-portraits, and smoother video, while the iPhone camera app handles the final photo settings.
How to Take Better Selfies With iPhone?
Use the grid to keep the frame balanced, tap your face to set focus and exposure, and use the timer when you want more distance from the camera. Portrait mode can be useful when there is enough separation between you and the background, but it should support the composition rather than become the whole effect.