










How to Do Light Painting Photography: A Beginner’s Guide
by Leegglaya on Nov 19, 2026To create light painting photography, secure the camera on a tripod, use a long exposure, and move a light through the scene while the shutter remains open. Start with manual mode, a low ISO, and an exposure of several seconds, then adjust the settings according to the brightness and movement of the light. This guide covers the essential equipment, camera settings, shooting process, and common mistakes beginners should understand.
What Is Light Painting Photography?
Light painting photography is a long-exposure technique that records the path or effect of a moving light source. Because the shutter remains open for several seconds or longer, the camera captures light added at different moments as part of a single photograph.
There are two main approaches. In light drawing photography, the light points toward the camera to create visible lines, letters, or patterns. In the second approach, the light remains outside the frame or points away from the lens while the photographer uses it to illuminate selected parts of a person, object, or environment.
Both methods can appear in the same image. A photographer might illuminate a person from the side, for example, and then add a colored arc behind the subject before the exposure ends.

What Gear Do You Need for Light Painting Photography?
You only need a camera, a stable tripod, and a light source to get started. Additional tools such as RGB light sticks and remote shutter releases can help you create more controlled effects.
A Camera With Manual and Bulb Modes
A mirrorless camera or DSLR with manual exposure controls is the most flexible option. Manual mode allows you to set aperture, shutter speed, and ISO independently. Bulb mode keeps the shutter open for longer than the camera’s standard exposure limit, which is useful for complex patterns or large scenes.
Some smartphones also support long exposures through a native camera mode or compatible app. Phone results depend on the available exposure controls and how aggressively the device processes low-light images.
A Sturdy Tripod and Remote Shutter Release
Even slight camera movement can blur the stationary parts of the scene. Place the camera on a stable tripod, avoid extending the center column when it is not needed, and keep the tripod away from surfaces that may move during the exposure.
A remote shutter release prevents the camera from shifting when the exposure begins. If one is not available, use the camera’s two-second timer. For more guidance on tripods, focusing, and exposure after dark, see this guide to night photography.
Flashlights, Portable LEDs, and Creative Light-Painting Tools
A small flashlight is enough for writing letters and drawing basic shapes. Colored gels, LED tubes, fiber-optic tools, and RGB lights provide more control over the color, width, and texture of each trail. Photographers can compare different photography lights based on output, color controls, battery power, and portability.
Broader patterns are easier to create with a light that has a longer illuminated surface. The zhiyun cinepeer cf100 combines a handheld stick design with full-color RGB control, a 2700K–6500K color-temperature range, and a built-in battery. Its shape can produce wide arcs, circles, and bands of color without requiring several separate tools.
At full brightness, the light may produce overexposed trails, especially when used close to the camera. Start with a lower output and adjust it according to the exposure results. Lower the output or move the light more quickly if the trails lose their color and become solid white.

What Camera Settings Work Best for Light Painting?
|
Camera Setting |
Recommended Starting Point |
Purpose |
|
Shooting Mode |
Manual (M) |
Control exposure independently |
|
ISO |
100–200 |
Reduce noise and protect highlights |
|
Aperture |
f/8–f/11 |
Control light intake and depth of field |
|
Shutter Speed |
10–30 seconds |
Allow enough time to draw |
|
Focus |
Manual Focus |
Keep the working area sharp |
|
File Format |
RAW |
Retain more editing flexibility |
These settings are starting points rather than fixed rules. Adjust shutter speed according to how long the drawing takes, and change the aperture or light output if the trails are too bright or too faint.
Use Manual Mode, Shoot in RAW, and Start With a Low ISO
Manual mode prevents the camera from changing exposure while you work. RAW files retain more highlight, shadow, and color information, which provides greater flexibility when editing the finished image.
Begin at ISO 100 or 200 when the camera is on a tripod. A low ISO protects highlight detail in bright trails and reduces noise during longer exposures. Raise it only when the surrounding scene remains too dark and extending the exposure is impractical.
Set the Aperture to Control Light-Trail Brightness
An aperture around f/8 is a practical starting point because it provides useful depth of field while limiting the amount of light reaching the sensor. If the trails are overexposed, use a smaller aperture such as f/11. If they are too faint, try f/5.6 or reduce the speed of the light movement.
Aperture affects both the trails and the environment, so check the complete scene rather than judging the light pattern alone.
Choose a Shutter Speed That Gives You Enough Time to Draw
Shutter speed determines how much time you have to complete the pattern. Simple letters may require five to ten seconds, while an orb or a carefully illuminated foreground may take 30 seconds or longer.
Use Bulb mode when the planned movement exceeds the camera’s normal shutter-speed limit. A remote release that can lock the shutter open is especially helpful for longer sequences.
Focus on the Working Area, Then Switch to Manual Focus
Autofocus may struggle once the scene becomes dark. Before beginning, place a person, flashlight, or other visible object where the drawing will occur. Focus on that object, confirm sharpness with the camera’s magnified display, and then switch the lens to manual focus.
Avoid touching the focus ring after it has been set. Marking the working area on the ground can also help the person holding the light remain within the focused zone.
How to Create a Light Painting Photo Step by Step
Start with a simple pattern, such as a circle or a wave. Once you understand how the light moves during a long exposure, you can experiment with more complex shapes and subject lighting. Keep the camera fixed, repeat the same movement, and change only one setting between attempts.
Step 1: Set Up the Tripod and Compose the Scene
Choose a dark location with enough space to move safely. Frame the photograph before turning off nearby lights, and look for reflective surfaces, signs, or bright windows that could distract from the pattern.
Leave room around the intended drawing. A light trail can extend farther across the frame than expected, particularly when the person drawing cannot see the camera’s composition.
Step 2: Focus on the Working Area and Switch to Manual Focus
Ask the person holding the light to stand in the center of the drawing area. Illuminate that position, focus carefully, and switch to manual focus to prevent the camera from searching again when the shutter button is pressed.
Take a short test photograph without drawing. Confirm that the background and any stationary subjects appear sharp before continuing.
Step 3: Choose Your Starting Exposure Settings
Begin with manual mode, RAW, ISO 100, f/8, and an exposure of approximately 15 seconds. Take a frame with the light turned off to see how much ambient light the camera records.
If the background is already too bright, shorten the exposure, close the aperture, or move to a darker location. If it is completely black but should remain visible, extend the shutter time before raising ISO.
Step 4: Start the Exposure and Draw or Paint With Light
Trigger the shutter, enter the frame, and move the light along the planned path. Keep the source facing the camera when creating visible trails. Letters usually need to be written backward from the photographer’s perspective so they appear correctly in the finished image.
Painting a person or object requires a different technique. Point the light toward the subject and sweep it evenly across the areas you want to reveal. Keep the source moving to prevent bright spots, and avoid shining it directly into the lens unless a visible flare or trail is intentional.
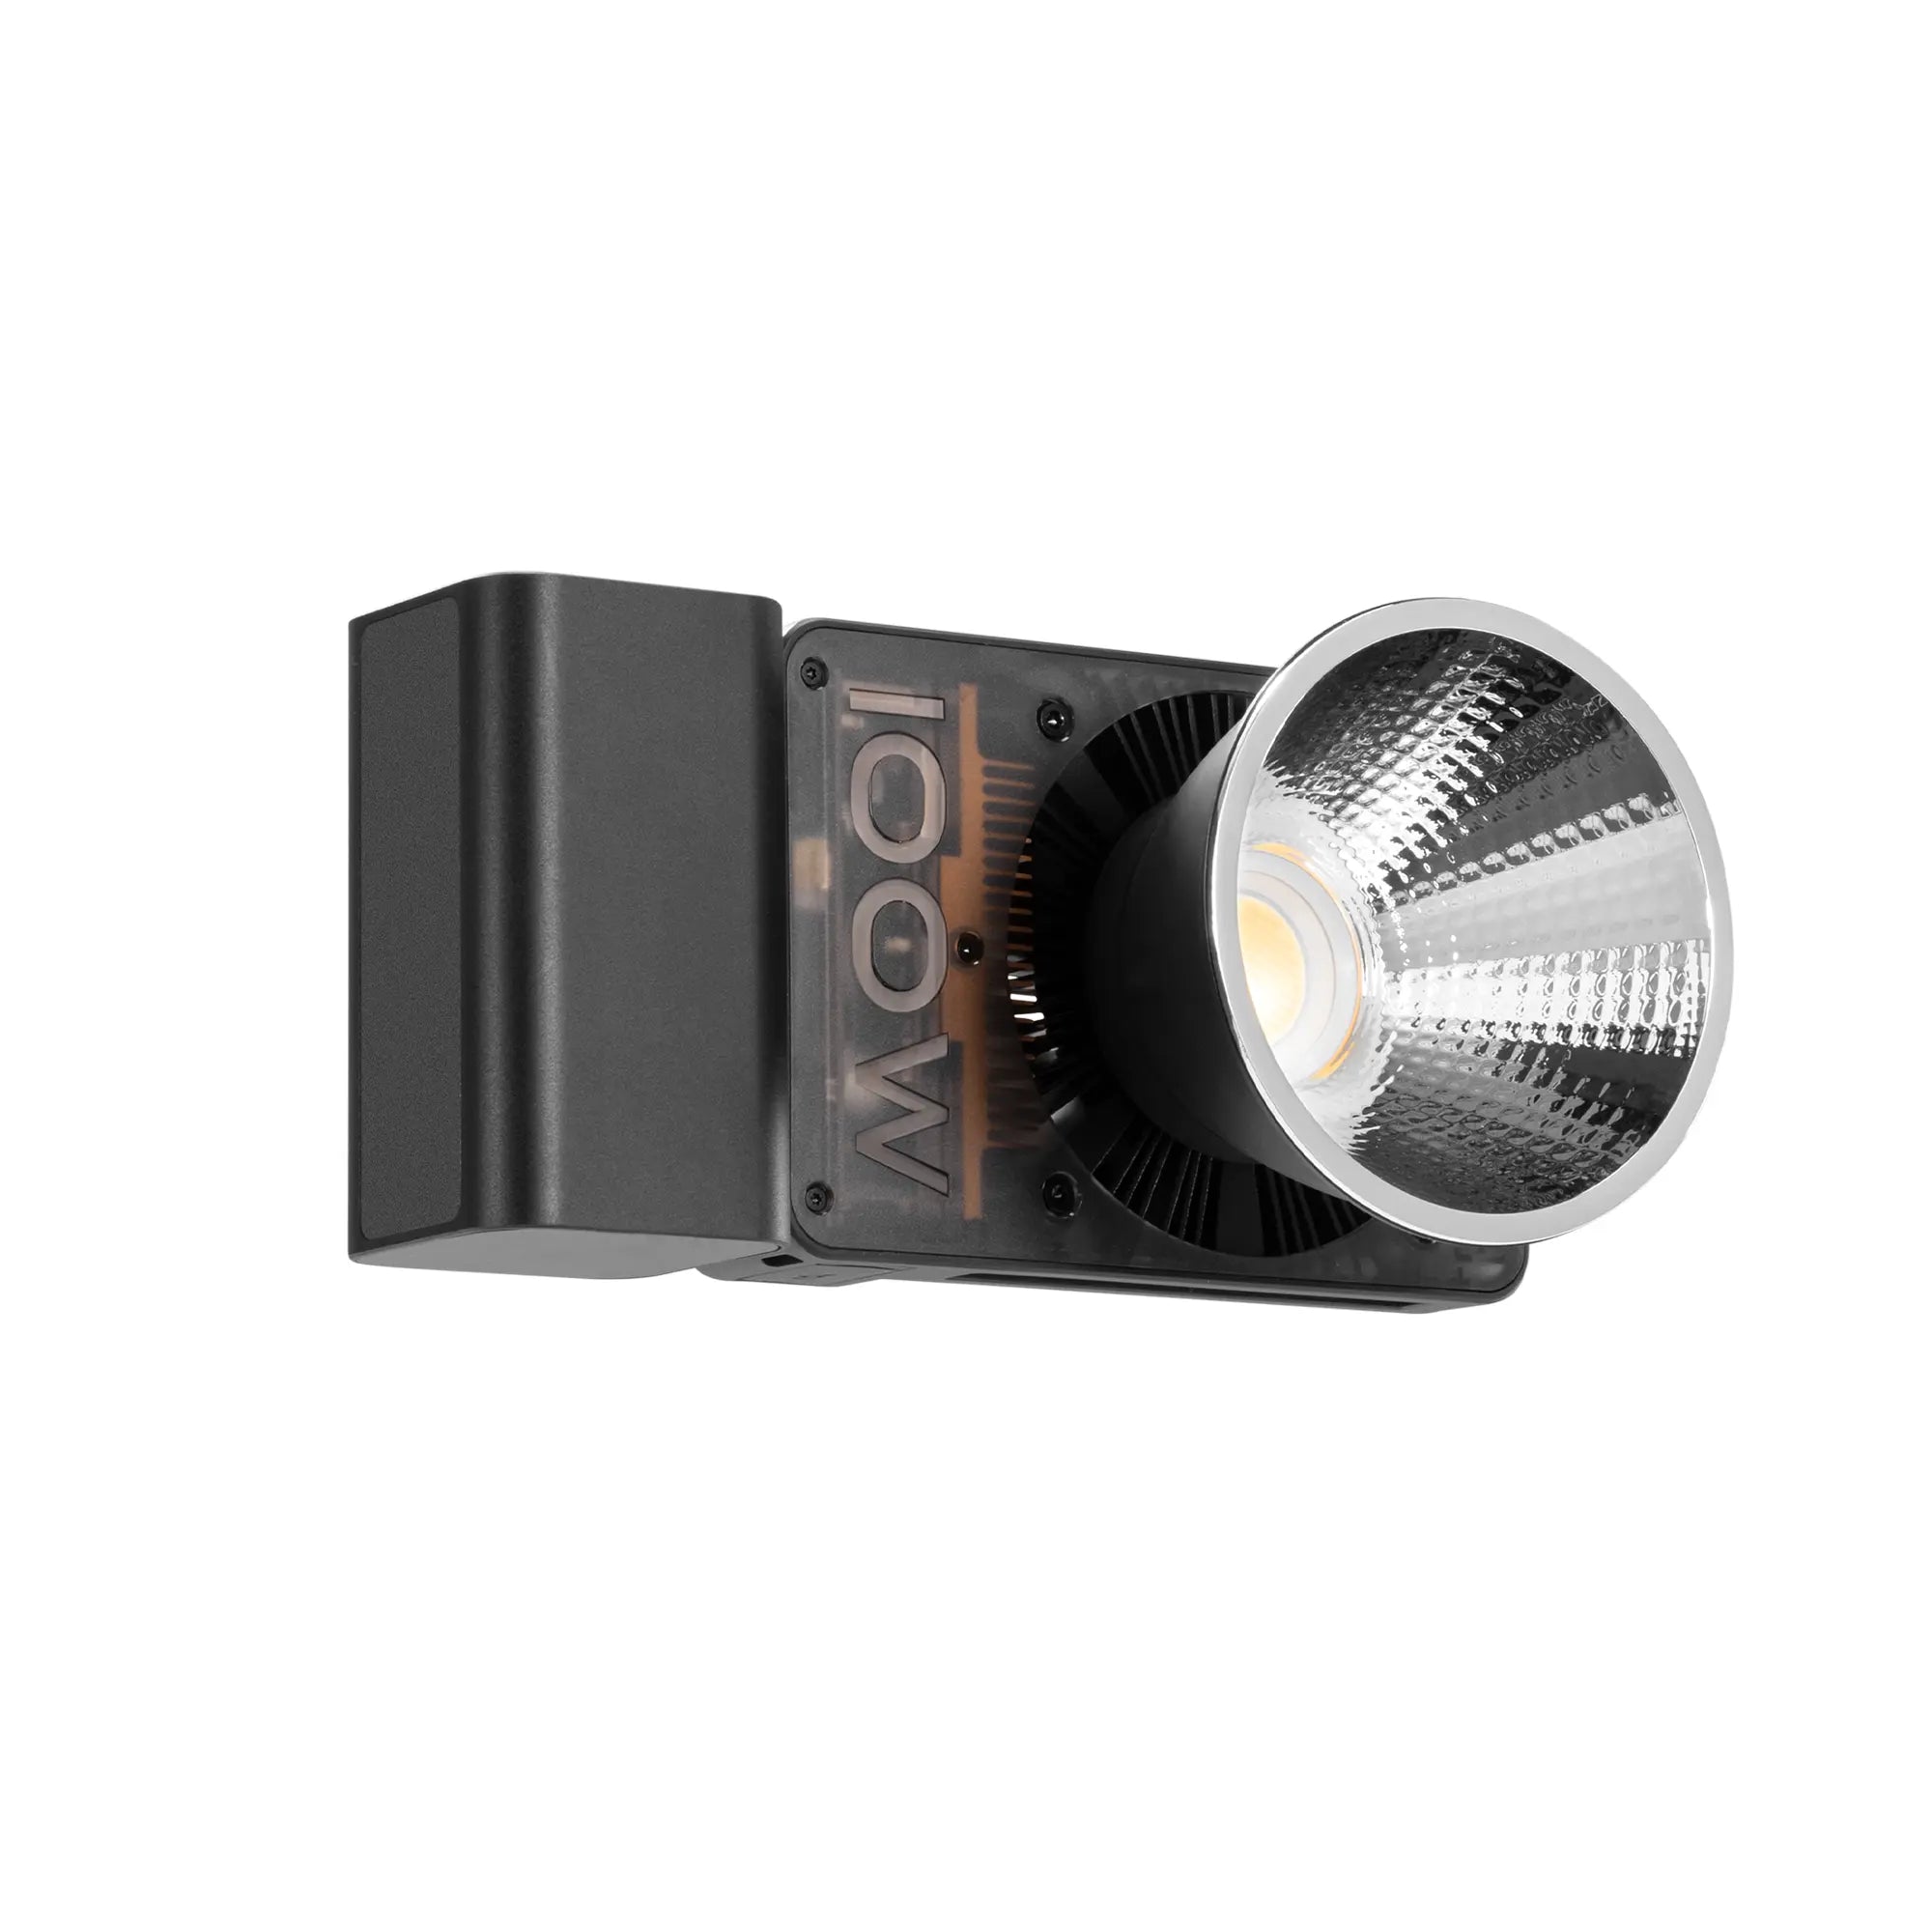
When one exposure requires lighting several parts of the scene, a portable, battery-powered source is easier to reposition. The zhiyun fiveray m60 ultra provides 60W RGB output in a compact 430 g body, allowing it to move between the subject, foreground, and background during the same exposure. Its adjustable colors can also separate different areas of the composition, while brightness control helps prevent nearby surfaces from becoming overexposed.
The same photography lighting basics used in conventional portraits still apply. Light direction reveals shape and texture, distance affects intensity, and color influences how clearly the subject stands apart from the background.
Step 5: Review the Photo and Adjust One Setting at a Time
Check the trail brightness, background exposure, focus, and position after each attempt. If the light pattern is too bright, lower the source output, move it faster, or close the aperture. If it is too faint, use a wider aperture, move more slowly, or increase the light output.
Change only one variable between test shots. This makes it easier to identify which adjustment improved the image. Complex results usually come from several controlled attempts rather than one unusually long exposure.
What Are the Most Common Light Painting Mistakes?
A few common mistakes can make light painting harder than it needs to be. Watch out for the following when taking your first shots:
- Moving the camera or tripod during the exposure
- Trying to autofocus after the scene becomes dark
- Using a light that is too bright for the selected aperture
- Standing still long enough to become visible in the frame
- Pointing the light toward the camera when trying to illuminate a subject
- Forgetting to write letters backward
- Walking outside the focused or composed area
- Changing ISO, aperture, and light output at the same time
- Ignoring unwanted ambient light or reflections
- Using bright or hazardous light effects near roads, people, wildlife, or flammable materials
Dark clothing can make the person holding the light less visible, but movement matters more. Keep moving and avoid standing between an illuminated surface and the camera.
Conclusion
Learning how to do light painting photography is mainly a process of controlling time, movement, and brightness. Begin with a tripod, manual focus, low ISO, and one simple light source. Once the basic exposure is consistent, introduce color, subject illumination, and more complex patterns without changing several variables at once.
FAQ
How Do You Do Light Painting Photography With a Phone?
Secure the phone on a tripod and select a manual, Pro, or long-exposure mode. Choose the lowest practical ISO, focus on the working area, and use a shutter speed long enough to complete the pattern. If the native camera does not provide these controls, a compatible long-exposure app may be required.
What Are Some Easy Light Painting Ideas for Beginners?
Start with circles, waves, hearts, initials, or an outline around a stationary object. Simple symmetrical patterns are easier to repeat than detailed drawings. Another beginner-friendly option is to illuminate one side of an object from outside the frame.
What Colors Do Not Photograph Well?
No color is universally unsuitable, but highly saturated red and blue can lose detail when they are overexposed. Bright mixed colors may also merge into white. Lower the light output and check individual color channels on the histogram when accurate color separation matters.
What Is the Three-Light Rule?
The term usually refers to three-point lighting, which uses a key light, fill light, and backlight. It is common in portrait and video production but is not required for light painting. A single movable source can perform several lighting roles during one long exposure.
What Are the Best Tools for Light Painting in Photography?
Useful tools include flashlights, RGB light sticks, LED tubes, colored gels, fiber-optic brushes, remote shutter releases, and small portable LEDs. The best choice depends on whether you want narrow lines, broad trails, colored patterns, or controlled illumination on a subject.


