


Beach Videography Guide for Balancing Intense Sunlight and High Winds
Beach videography looks effortless in the final edit: glowing water, soft sand, golden skies, wind-blown hair, and smooth walking shots along the shoreline. But behind the camera, seaside filming is one of the most difficult outdoor shooting environments. Intense sunlight creates harsh contrast. Wind makes handheld footage unstable. Sand can damage gear. Salt air can affect metal parts. Reflections from water can make exposure difficult. Even a simple travel video can become technically challenging if the setup is not planned carefully.
For creators, travel filmmakers, wedding videographers, lifestyle shooters, and commercial teams, beach filming requires a balance between protection, mobility, stabilization, and lighting control. A heavy studio setup is rarely practical on sand, but a phone-only or handheld camera setup may not deliver the smooth cinematic quality clients expect.
This guide explains how to shoot better beach videos under strong sun and high winds, while keeping your gear lightweight and practical. With compact tools from ZHIYUN, creators can build a flexible coastal shooting setup that supports bright outdoor lighting, smooth camera movement, and fast location changes.
Protecting Your Expensive Gear from Sand, Salt, and Water
The first rule of beach videography is simple: protect your gear before you start shooting. A beach may look clean and open, but it exposes cameras, lenses, gimbals, lights, microphones, batteries, and memory cards to several risks at the same time.
Sand is the most obvious problem. Fine sand can enter camera buttons, lens rings, battery doors, tripod locks, and gimbal motors. Once it gets inside moving parts, it can cause grinding, scratches, or long-term wear. Avoid placing cameras or accessories directly on the sand. Use a clean mat, hard case, backpack, or foldable table as your temporary gear station.
Salt is another hidden issue. Sea air contains moisture and salt particles that can stick to metal parts, screws, ports, and connectors. After a coastal shoot, wipe down your camera, lens body, gimbal, light stands, and accessories with a dry microfiber cloth. For equipment that has been exposed to sea spray, clean it carefully according to the manufacturer’s guidance before packing it away for storage.
Water protection is equally important. Even if you are not filming in the water, sudden waves, splashes, or wet sand can damage electronic gear. Keep batteries and memory cards in sealed pouches. Use rain covers or protective sleeves when filming close to water. If the tide is rising, move your gear station farther back before the situation becomes urgent.
Lens protection should be part of your beach workflow. Use a clear protective filter when appropriate, keep a blower and microfiber cloth ready, and avoid changing lenses in windy sand. If you must change lenses, turn your back to the wind, keep the camera mount facing downward, and move quickly.
You should also plan your walking route. Sand makes movement slower and less stable, especially when carrying a camera rig. Before important shots, walk the path once without recording. Look for soft sand, rocks, wet areas, footprints, and sudden slopes. A smooth video often begins with safe, planned movement.
Good beach footage starts with gear discipline. If your setup is clean, organized, and protected, you can focus on composition and motion instead of worrying about damage.
Overpowering the Midday Sun with Compact High-Output Lights
Midday beach sunlight is extremely harsh. The sun is high, shadows are short and dark, and reflective surfaces such as water and sand can create strong glare. For portraits, travel videos, wedding films, or product scenes, this often means the background is bright while the subject’s face falls into shadow.
One common solution is to avoid midday filming and shoot during golden hour instead. However, real projects do not always allow perfect timing. A travel schedule may be fixed, a beach wedding may happen at noon, or a commercial shoot may need a clear blue-sky look. In these cases, a compact high-output light can help balance the subject against the bright environment.
The ZHIYUN MOLUS X100 RGB is useful for beach and outdoor video work because it combines 100W output with a portable body. In strong backlight, it can act as a fill light for faces, helping reduce harsh shadows under the eyes and nose. When the sun is behind the subject, a controlled front or side fill can keep the face visible without destroying the natural beach atmosphere.

When using a portable light outdoors, placement matters. Do not point the light directly from the camera position unless you want a flat look. A 30 to 45-degree angle from the side usually gives the face more shape. If the subject is walking along the shoreline, have an assistant carry the light slightly off-axis or place it on a stable stand away from direct wind.
Color temperature control is important on the beach. Midday sunlight is usually cool and intense, while sunset light becomes warm and golden. The MOLUS X100 RGB’s wide color temperature range allows creators to match or creatively contrast the environment. For natural daytime footage, keep the light close to daylight balance. For sunset portraits, use a warmer setting to blend with the golden sky. For stylized fashion or music video scenes, RGB color can add a creative accent to shadows, hair, or background elements.
Always be careful with wind when using light modifiers. A softbox or reflector can catch wind like a sail. If the beach is windy, use a smaller modifier, add weight to the stand, or keep the light handheld. Safety is more important than creating the largest possible light source.
A good beach lighting setup should support the natural environment. The goal is not to make the scene look like a studio. The goal is to keep the subject clear, the skin tone readable, and the background controlled.
Keeping Coastal Travel Footage Smooth Against Strong Sea Breezes
Wind is one of the biggest reasons beach footage looks unstable. Even if your hands are steady, strong sea breezes can push against the camera body, lens, microphone, and operator. Walking on sand also adds extra body movement, making footage look less controlled.
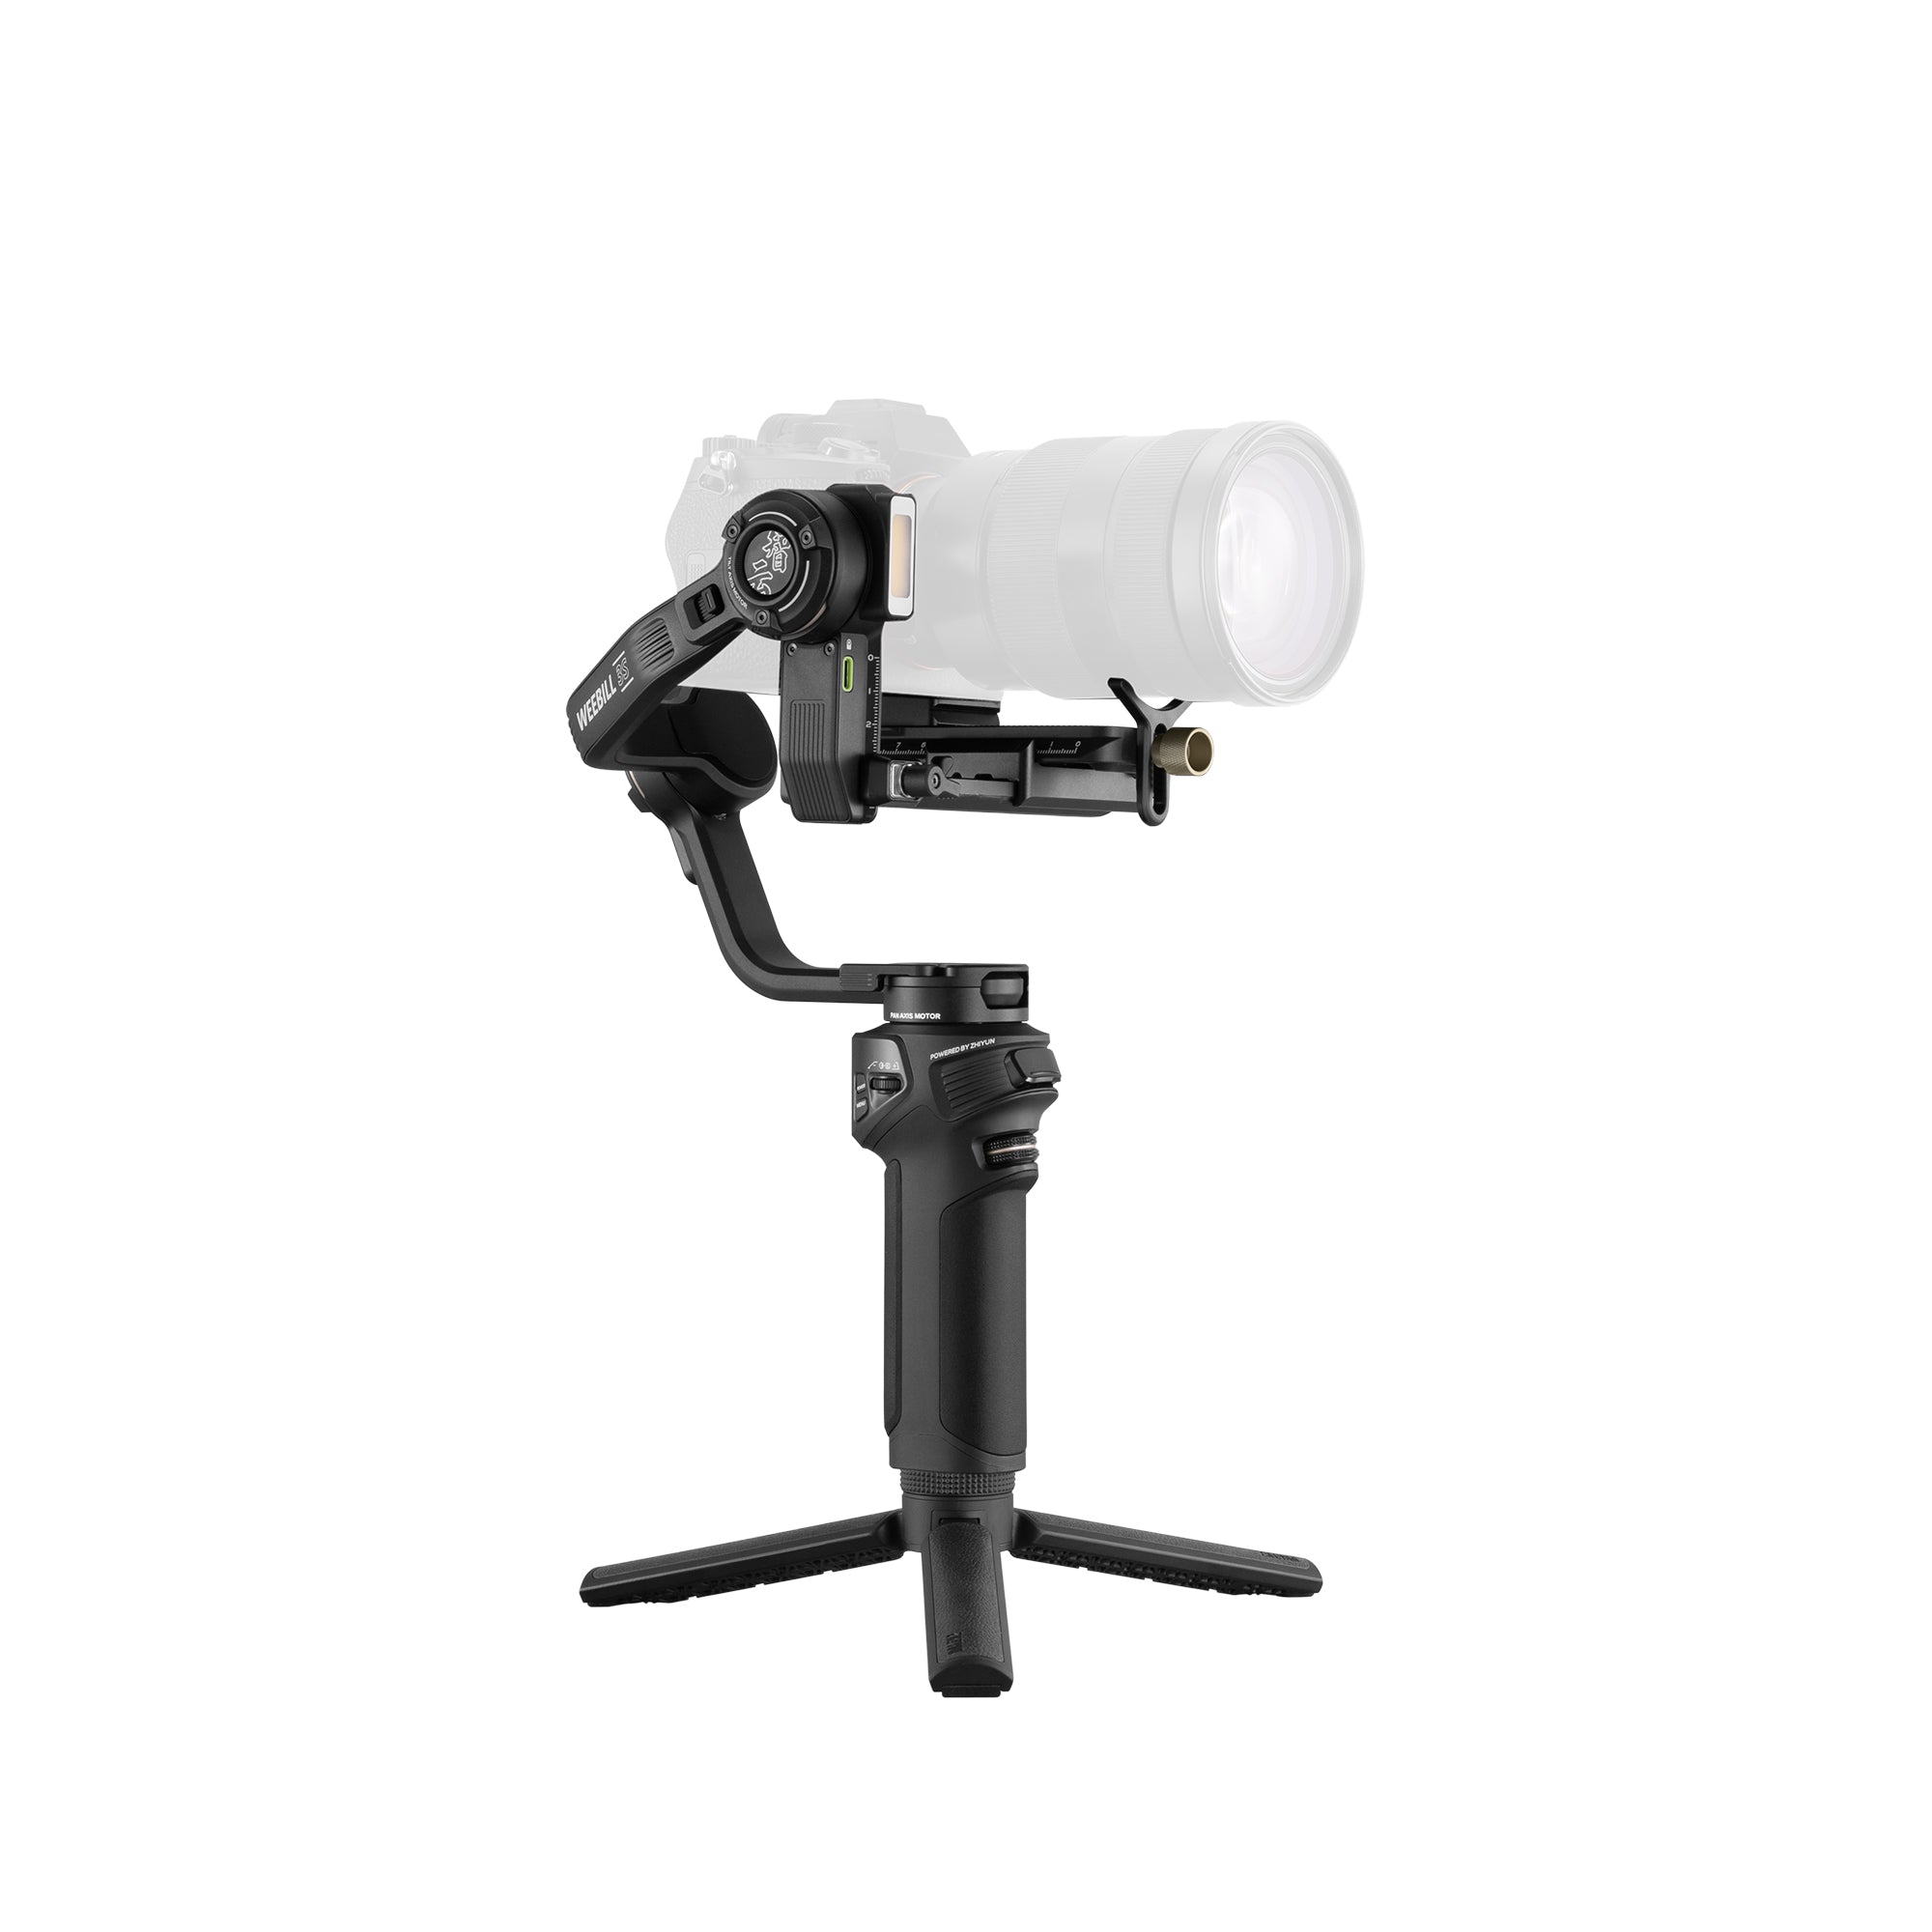
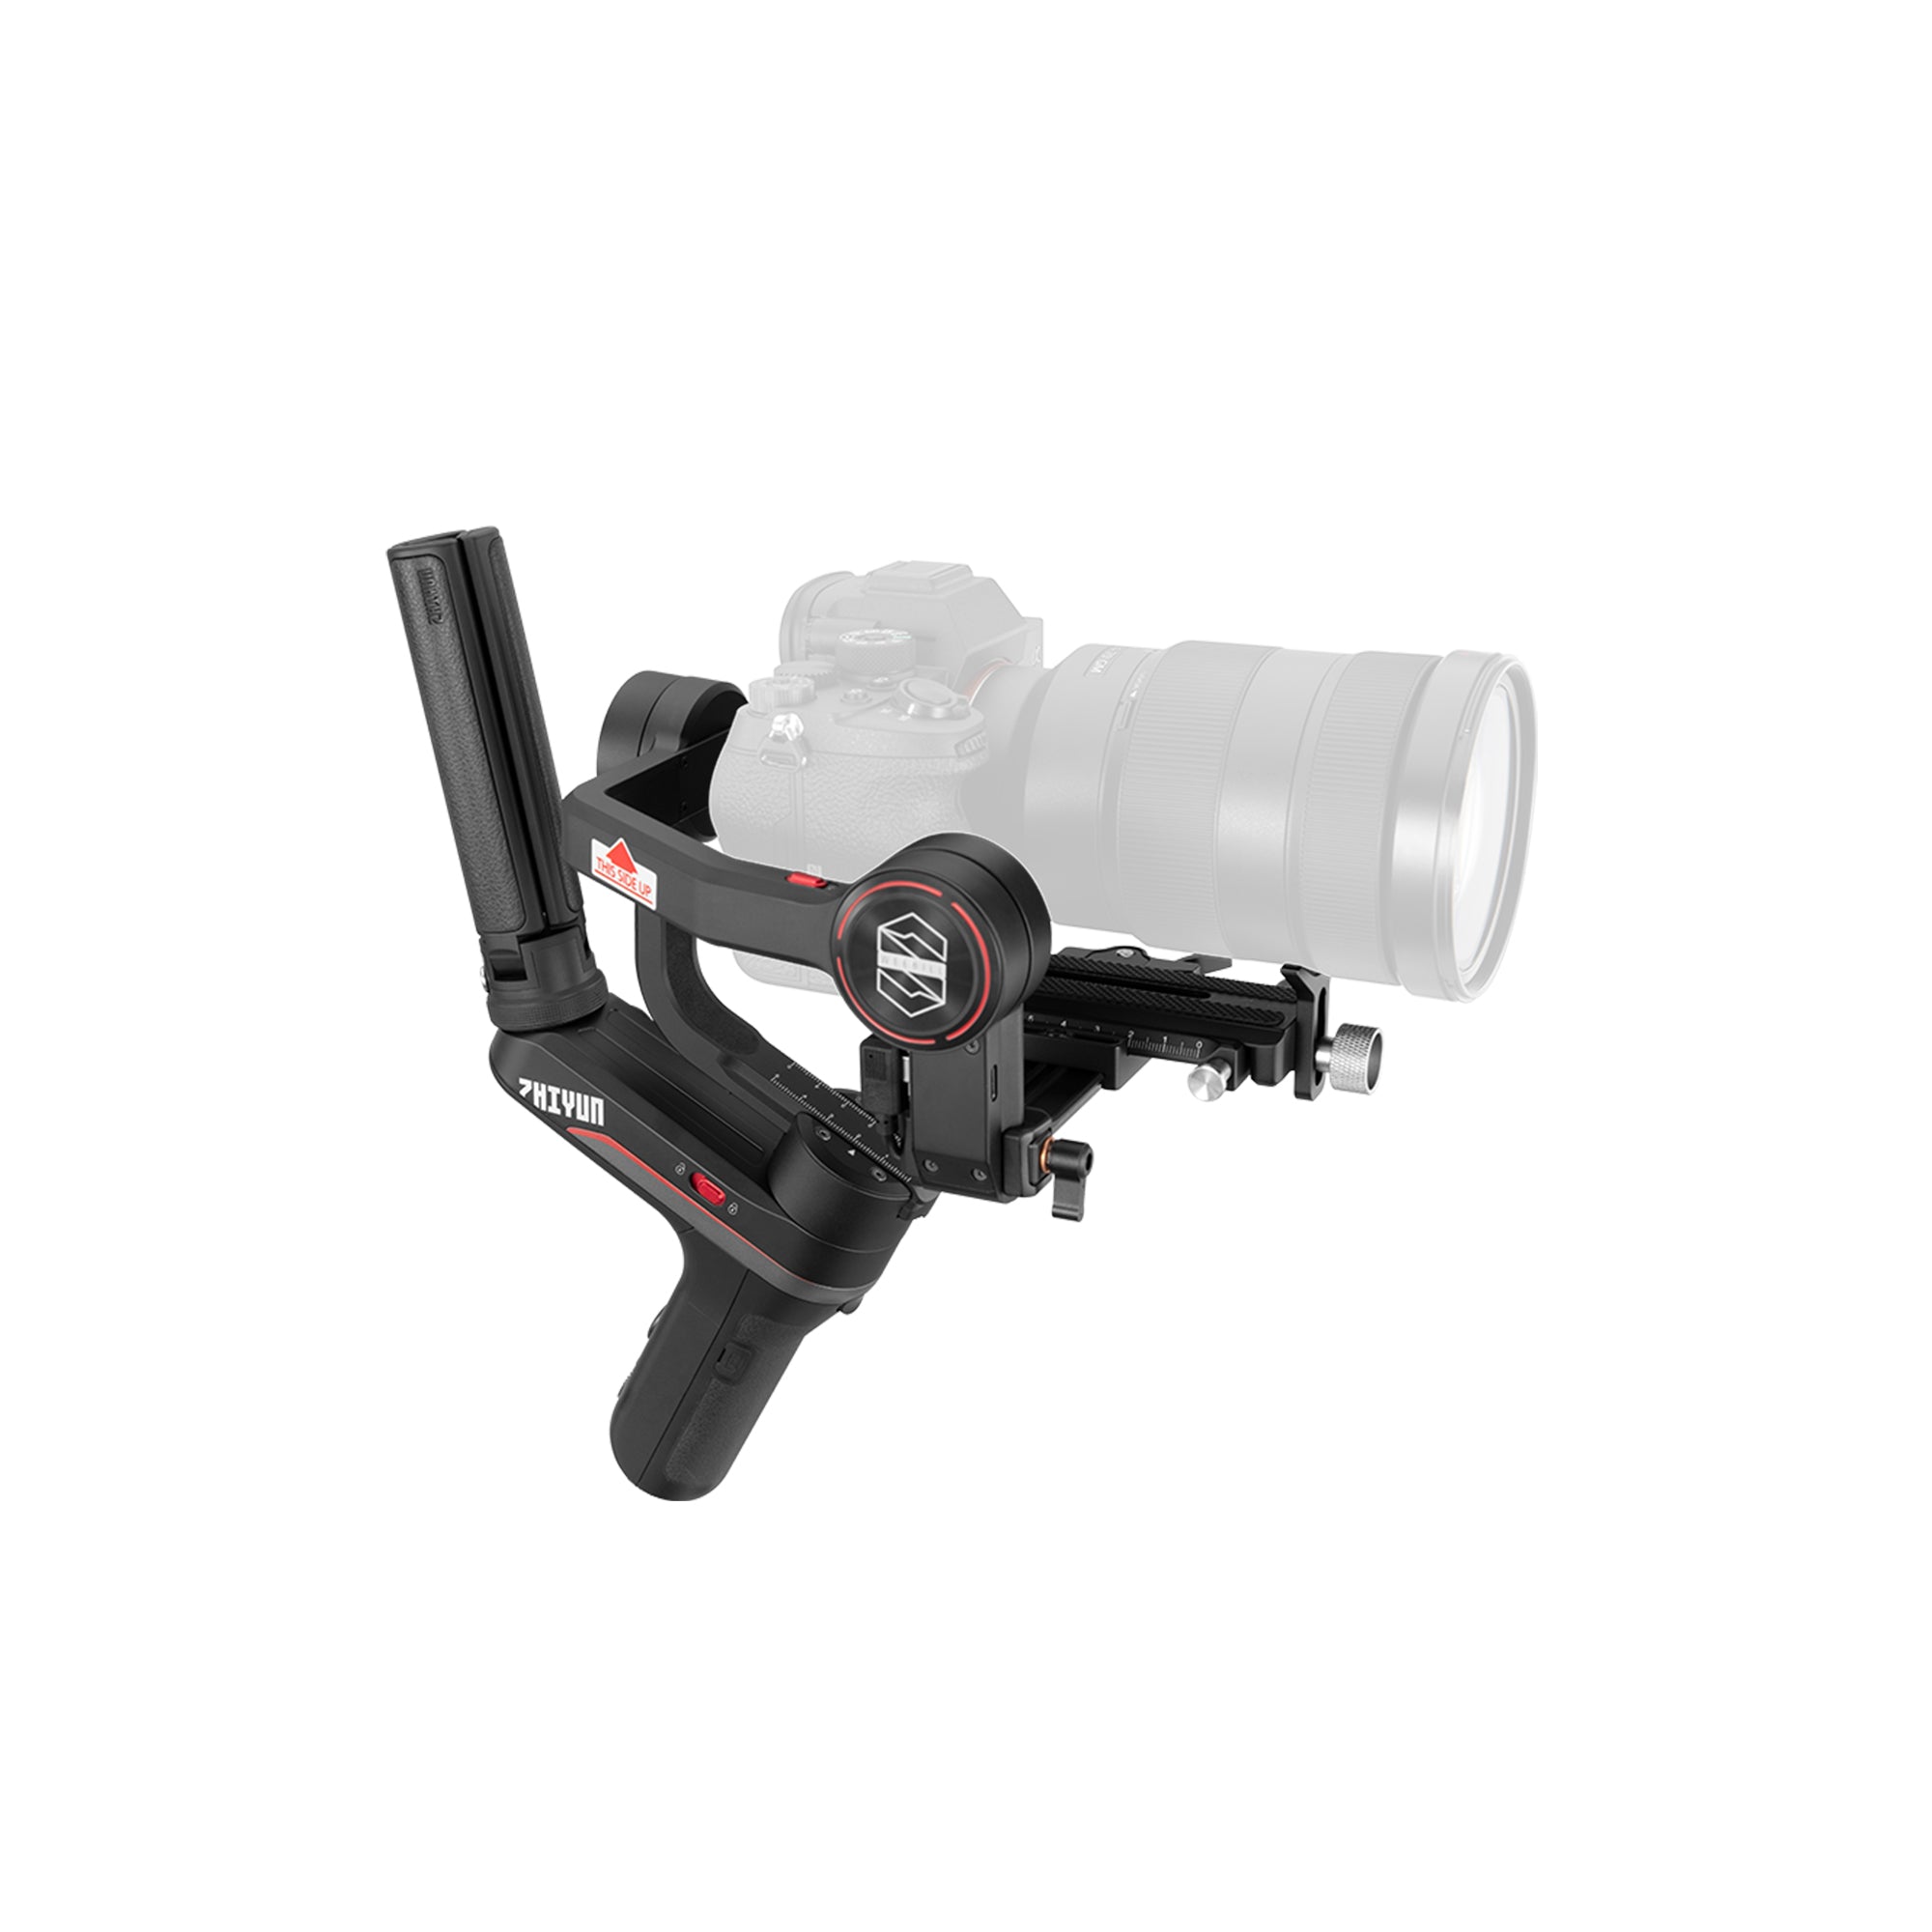
A camera gimbal can help reduce unwanted shake and create smoother movement, especially for walking shots, travel sequences, couple films, product videos, and lifestyle content. For coastal creators using mirrorless camera setups, the ZHIYUN Weebill 3E is a practical choice because it supports mainstream mirrorless and lightweight DSLR setups while keeping the rig compact enough for outdoor mobility.

When filming on sand, movement technique is just as important as stabilization. Keep your knees slightly bent, take slower steps, and avoid sudden direction changes. If the sand is too soft, walk closer to the wet compact sand near the shoreline, but stay safely away from waves. For tracking shots, move parallel to the subject instead of constantly walking backward.
Wind direction also affects the shot. If the wind is pushing directly into the camera and lens, the rig may feel less stable. Whenever possible, position your body to shield the camera from the strongest gusts. If the subject is walking into the wind, use the movement creatively for hair, clothing, and fabric motion, but keep your camera path controlled.
The Weebill 3E’s lightweight body is useful for long outdoor sessions because beach filming often requires walking between different spots: dunes, rocks, shoreline, boardwalks, cliffs, and open sand. A compact setup reduces fatigue, which helps keep footage smoother over time. Fatigue is one of the most common reasons camera movement becomes sloppy near the end of a shoot.
Vertical shooting is also useful for beach content. Many travel videos, lifestyle clips, and creator reels are delivered for TikTok, Instagram Reels, YouTube Shorts, or mobile-first campaigns. A gimbal that supports quick vertical shooting helps capture social content without rebuilding the entire rig.
To create better coastal movement, use simple shot types: a slow follow shot behind the subject, a side tracking shot along the waterline, a push-in toward a seated subject, a reveal from behind rocks or grass, or a low-angle walking shot showing footprints in the sand. Keep each movement short and clean. A few stable shots are more valuable than many shaky attempts.
Chasing the Golden Hour: Creative Tips for Shoreline Shoots
Golden hour is the best friend of beach videography. The sun is lower, the light becomes softer, and the scene gains warmth and depth. Water reflections become more beautiful, skin tones look more flattering, and the sky can add natural color to the frame.
The first step is timing. Golden hour does not last long, especially near the coast where clouds, cliffs, or buildings may block the sun earlier than expected. Arrive early, set up before the light becomes perfect, and prepare your key shots in advance. Do not wait until the sky is already beautiful to start building the rig.
Backlighting is one of the most effective golden-hour techniques. Place the sun behind the subject to create a glowing outline around hair, shoulders, and clothing. This works especially well for beach weddings, fashion films, travel portraits, and lifestyle scenes. Use a portable light or reflector from the front if the face becomes too dark.
Silhouettes are another strong shoreline option. Expose for the sky and let the subject become a dark shape against the sunset. This works well for walking couples, dancers, surfers, yoga poses, musicians, or travel creators standing at the edge of the water. Silhouettes are powerful because they simplify the image and focus attention on shape and movement.
Reflections can also make beach footage more cinematic. Wet sand after a wave can reflect the sky and subject, creating a mirror-like effect. Shoot from a lower angle to include the reflection in the frame. Move slowly, because even small camera movement can change the reflection dramatically.
For more dynamic edits, combine wide establishing shots with close-up details. Capture waves, hands touching water, moving fabric, footprints, sunglasses, beach bags, surfboards, or wind-blown hair. These detail shots make the final video feel richer and help transition between larger scenes.
During golden hour, exposure changes quickly. As the sun drops, the scene can become darker every few minutes. Check exposure often, especially if filming a continuous sequence. Keep your ISO, shutter speed, aperture, and light output ready for small adjustments.
The best golden-hour beach footage feels natural, but it is usually planned carefully. When timing, movement, and lighting work together, the shoreline becomes a ready-made cinematic set.
The Ideal Lightweight Travel Rig for Moving Across Sand
A beach videography kit should be light enough to carry across sand, but complete enough to handle sunlight, wind, exposure changes, and mobile shooting needs. Bringing too much gear slows you down. Bringing too little gear limits your creative options.
A practical lightweight beach video rig may include:
A mirrorless camera with good dynamic range
One wide-angle lens for landscapes and walking shots
One standard zoom lens for flexible subject coverage
The ZHIYUN Weebill 3E for stabilized movement
The ZHIYUN MOLUS X100 RGB for portable fill light and creative color accents
ND filters for controlling exposure in bright sunlight
A protective clear filter for lens safety
A compact microphone with wind protection
Extra batteries and memory cards in sealed pouches
A microfiber cloth, blower, and small cleaning kit
A waterproof or sand-resistant gear bag
A lightweight mat or hard case for a clean gear station
ND filters are especially important for beach video. Bright sunlight may force you to use a high shutter speed or narrow aperture if you do not control the light entering the lens. An ND filter allows you to keep more natural motion blur and maintain a cinematic exposure.
Audio also needs attention. Coastal wind can ruin dialogue, ambient sound, and vlogs. Use a proper windscreen or deadcat on your microphone. If recording speech, position the microphone close to the subject and shield it from direct wind whenever possible. For travel films, record separate ambient sound when the wind is weaker.
Power management matters because beach locations may not have easy access to charging. Bring more batteries than you think you need, and keep them out of direct sun. Heat can affect both comfort and equipment performance, so take breaks and protect electronics when not in use.
For solo creators, keep the setup simple. A camera, gimbal, compact light, ND filter, microphone, and small cleaning kit can cover most beach scenes. For commercial teams, assign clear roles: one person handles camera movement, one manages lighting, one watches gear safety, and one monitors timing and continuity.
Beach videography rewards preparation. When your rig is light, protected, and stable, you can move freely across sand, react to changing light, and capture natural movement without losing control.
In the end, great beach videos are not created by sunlight alone. They come from knowing how to manage harsh contrast, protect gear, stabilize movement, use wind creatively, and choose the right time of day. With a portable setup built around tools such as the ZHIYUN MOLUS X100 RGB and ZHIYUN Weebill 3E, creators can film coastal stories that feel smooth, bright, cinematic, and ready for both horizontal films and vertical social edits.