










Three-Point Lighting Setup Guide for Portraits, Videos and Creator Studios
A good lighting setup does more than brighten a subject. It shapes the face, controls contrast, separates the subject from the background and establishes the mood of the image.
Three-point lighting is one of the most practical setups for portraits, interviews, talking-head videos, beauty content and creator studios. It uses three lighting functions:
· Key light for the main exposure
· Fill light for shadow control
· Backlight for subject separation
You do not always need three identical fixtures. A reflector, window or practical lamp can replace one of the lights, depending on the room and the visual style.
What Is a Three-Point Lighting Setup?
The three lights each serve a different purpose.
|
Light |
Typical Position |
Main Function |
|
Key light |
30–45° from the subject |
Main exposure and facial shape |
|
Fill light |
Opposite the key |
Reduces shadow depth |
|
Backlight |
Behind and above |
Separates subject from background |
The key light should remain the dominant source. The fill supports it, while the backlight adds depth.
For beauty videos, the key and fill may be relatively balanced. For a cinematic portrait, the fill is usually weaker. For interviews, the backlight should be subtle rather than highly visible.
How to Position the Key Light
A reliable starting point is to place the key light 30–45 degrees to one side of the camera and slightly above the subject’s eye level.
This creates natural shadows around the cheekbones, nose and jawline.
If the light is too close to the camera axis, the face may look flat. If it moves too far to the side, the shadow side may become excessively dark.
Use a modifier for softer light
Portraits and talking-head videos usually benefit from softer illumination. Common modifiers include:
· Softboxes
· Diffusion panels
· Reflectors
· Lantern modifiers
· Bounce surfaces
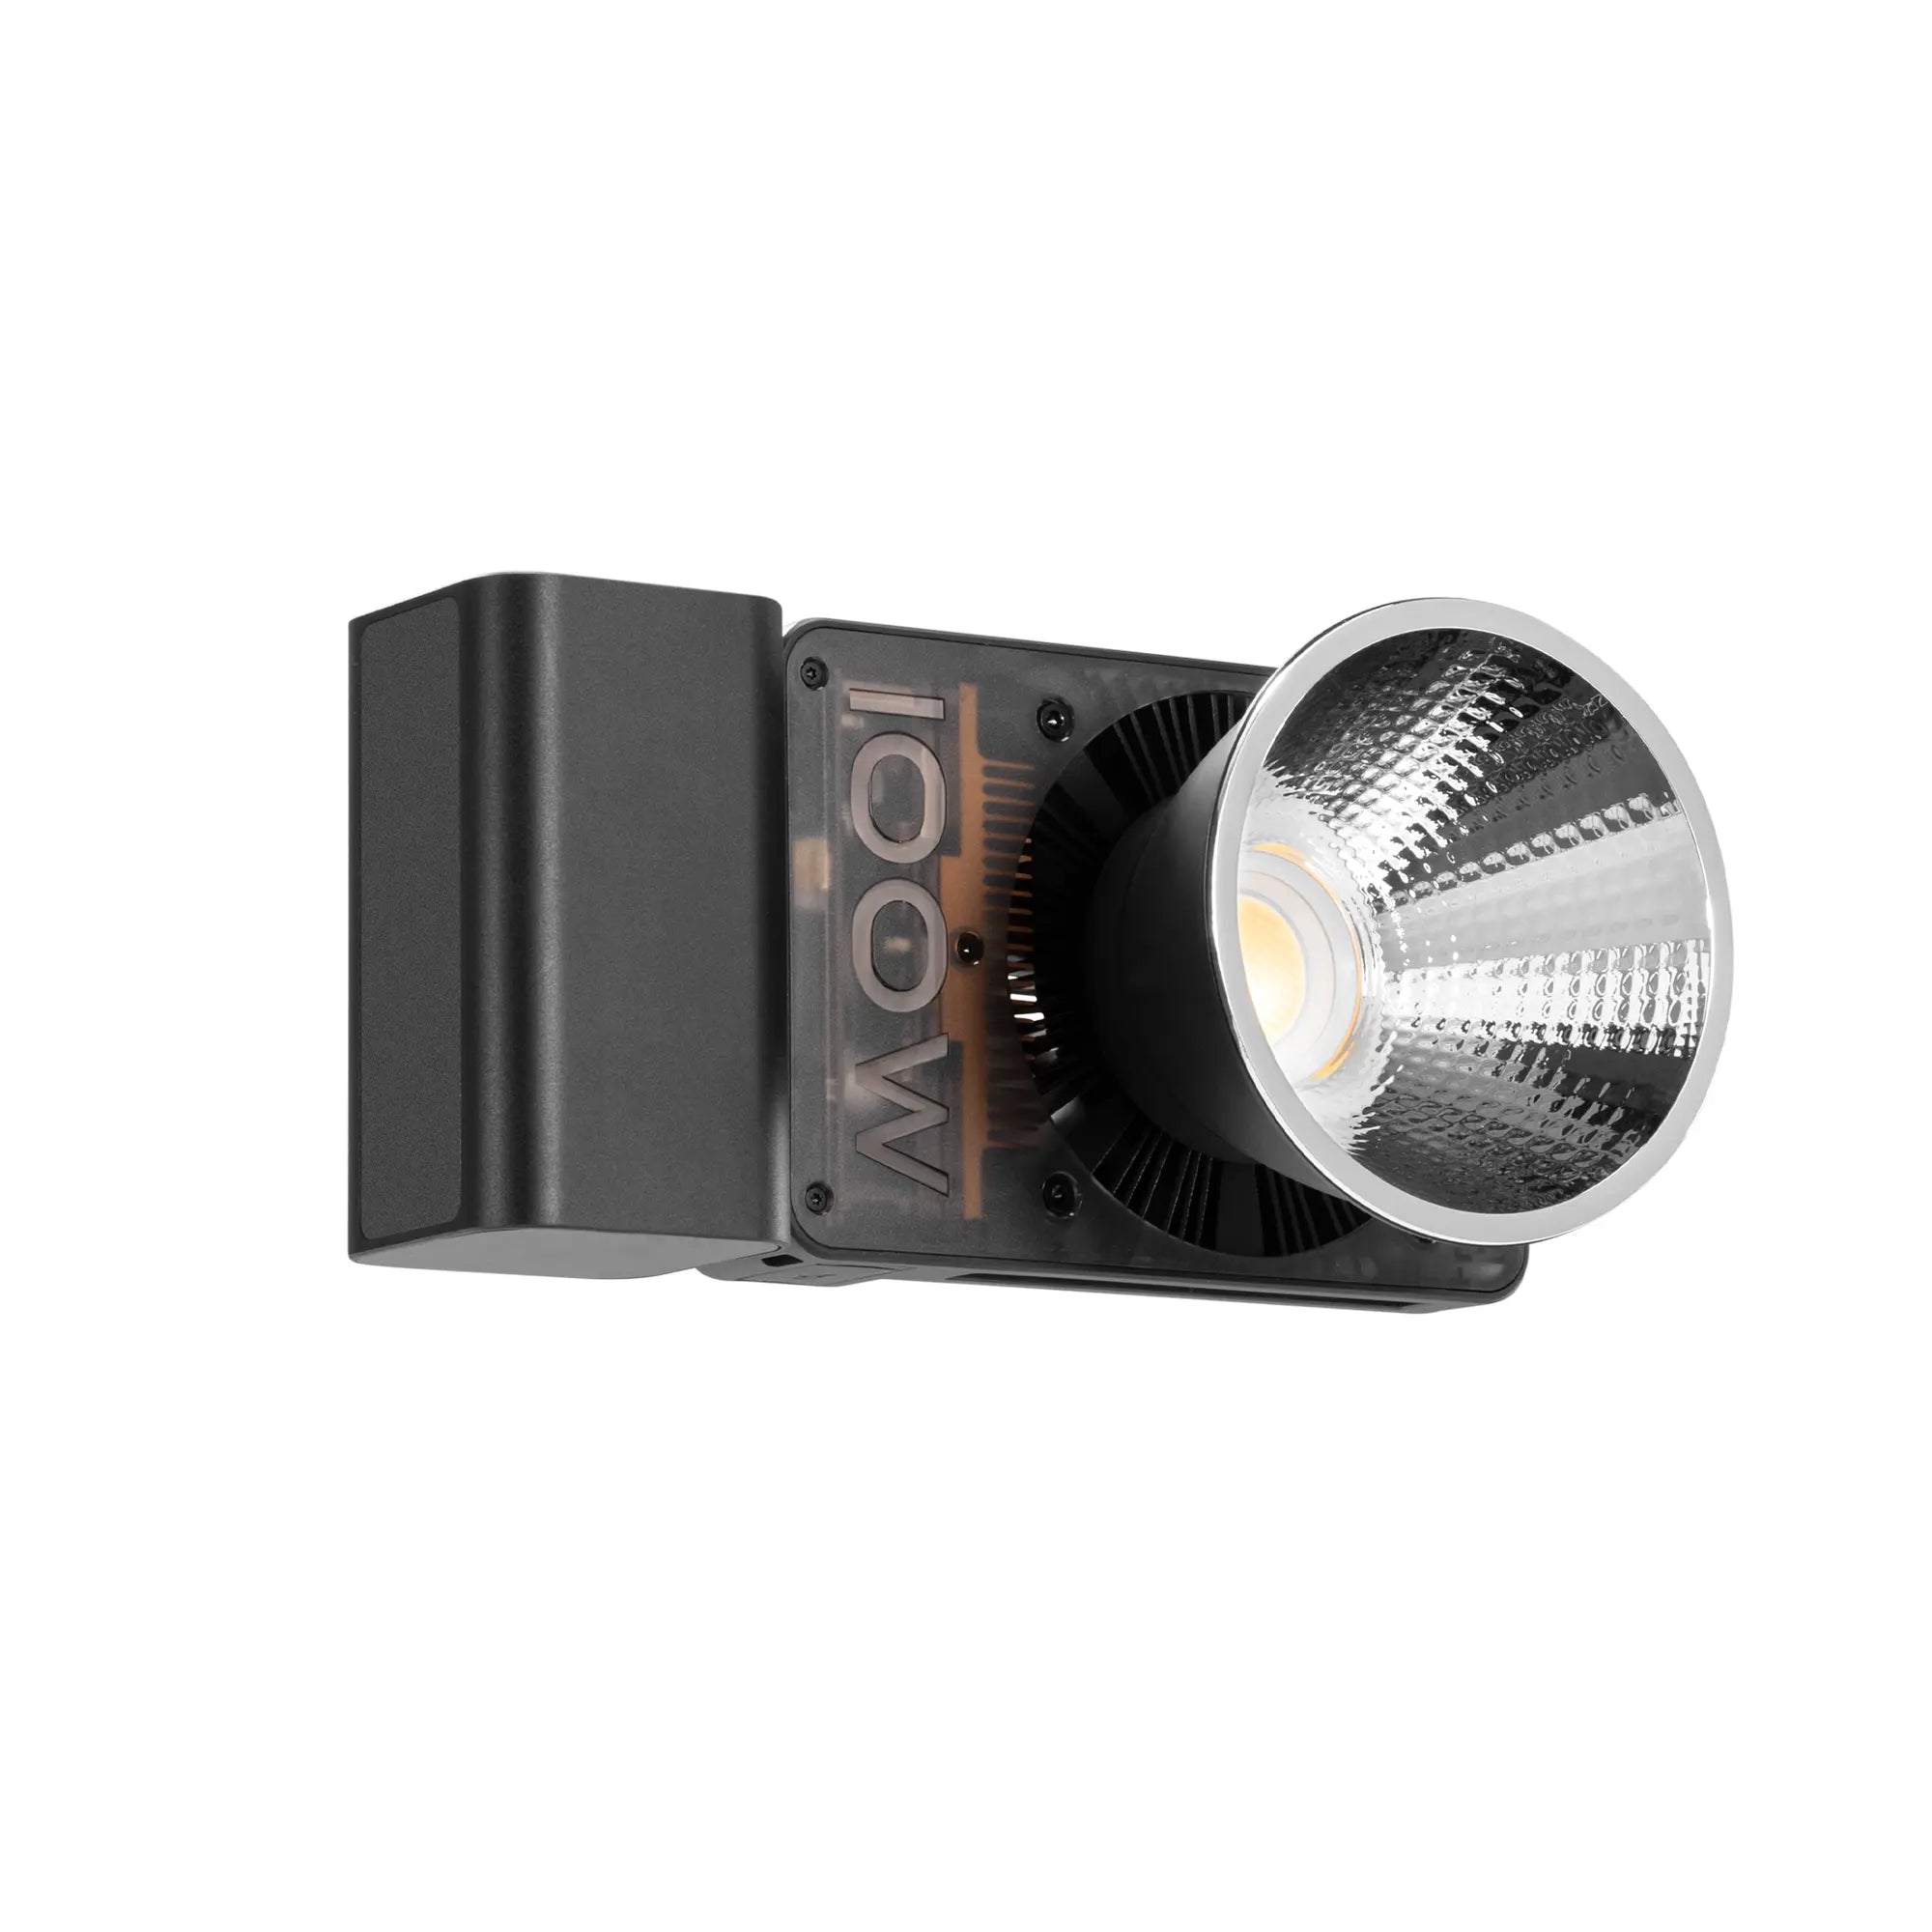
A compact fixture such as the ZHIYUN MOLUS X100 RGB can work as the main photography light in small studios, creator rooms and location interviews.
Before adding the other lights, check:
· Skin exposure
· Highlight detail
· Eye reflections
· Nose-shadow direction
· Shadow depth on the opposite cheek
Adjust the key light first, then build the remaining setup around it.

How to Use Fill Light Without Flattening the Face
The fill light should reduce deep shadows without removing all facial definition.
If the fill becomes as bright as the key, the face may look flat and the image can lose direction.
There are three common fill methods.
Use a second light
Place it on the opposite side of the camera and lower the output until some shadow detail becomes visible.
Use a reflector
A white or silver reflector can redirect part of the key light toward the shadow side of the face. This works well in small rooms or one-light setups.
Bounce light from a wall
A neutral wall or ceiling can create broad, soft fill. Avoid colored surfaces because they may introduce unwanted color onto the skin.
Different content requires different fill levels:
|
Content Type |
Recommended Fill |
|
Beauty and skincare |
Relatively bright |
|
Corporate interview |
Moderate |
|
Cinematic portrait |
Low |
|
Dramatic scene |
Minimal |
The goal is not to eliminate shadows. It is to control them.
How to Add Backlight and Subject Separation
The backlight is positioned behind or above the subject and aimed toward the hair, shoulders or side of the face.
Its main purpose is separation.
A dark-haired subject against a dark background may blend into the scene. A controlled rim or hair light creates a thin highlight around the outline and improves depth.
A useful starting position is:
· Behind the subject
· Slightly above head level
· Pointed downward
· Off to one side
· Outside the camera frame
Avoid making the backlight too strong. Excessive output can remove hair detail or create distracting highlights.
For full-body portraits, larger studios or commercial productions, the ZHIYUN MOLUS X200 RGB can provide greater flexibility when the light must work from a longer distance or through a larger modifier.

How to Use RGB Lighting in the Setup
RGB lighting works best when it supports the visual concept rather than becoming the main distraction.
For interviews, beauty videos and portraits, the facial key light should usually remain neutral. RGB color can then be added to:
· The background
· A wall
· A hair light
· A practical object
· A small edge of the subject
A warm key light can be paired with a subtle blue background. A cool key can be balanced with amber or orange accents.
Lower saturation often looks more professional than highly intense color.
|
Content Style |
Suggested RGB Direction |
|
Technology videos |
Blue, cyan or violet |
|
Beauty content |
Pink, lavender or peach |
|
Product videos |
Brand-color accents |
|
Fashion portraits |
Complementary color contrast |
|
Corporate interviews |
Very subtle background color |
Keep colored light away from the face unless the effect is intentional. Grids, barn doors and careful positioning can help control spill.
A molus x100 rgb is more practical for compact setups and solo creators, while a molus x200 rgb may be better suited to larger modifiers, wider scenes or greater working distances.
Three-Point Lighting for Different Content Types
Portrait photography
Use a soft key at 30–45 degrees, gentle fill from the opposite side and a subtle hair light. Reduce the fill for a more dramatic look.
Talking-head videos
Keep the key slightly above eye level, use moderate fill and place the subject away from the background. This creates depth without requiring a complicated studio.
Beauty videos
Use softer, more frontal lighting. The fill can be relatively bright, but avoid removing all facial shape. Keep the white balance fixed for accurate skin tone.
Product demonstrations
Light the presenter and product separately when necessary. Glossy packaging may reflect the key light, so adjust the product angle or increase diffusion.
Small creator studios
A compact setup may use:
· One key light
· One reflector for fill
· One small backlight or practical lamp
This still provides all three lighting functions without taking up too much space.
X100 RGB vs X200 RGB
The better choice depends on the size of the studio and the required output.
|
Consideration |
MOLUS X100 RGB |
MOLUS X200 RGB |
|
Best for |
Compact and portable setups |
Larger studio and commercial setups |
|
Typical user |
Solo creators and small teams |
Advanced creators and production teams |
|
Common role |
Key, fill or background light |
Stronger key or modifier-based light |
|
Portability |
Higher |
Moderate |
|
Setup scale |
Small to medium |
Medium to larger |
The zhiyun molus x100 rgb is more convenient for small creator rooms, travel work and quick setups.
The zhiyun molus x200 rgb is more suitable when the subject is farther from the light, the modifier is larger or the shooting area needs broader coverage.
Common Three-Point Lighting Mistakes
Making every light equally bright
The key should remain dominant. Equal output from all three lights often creates a flat image.
Placing the backlight in the frame
Check the final camera angle carefully. A small framing change may reveal the light or stand.
Ignoring ambient light
Windows, ceiling lights and practical lamps can change exposure and color. Use them deliberately or reduce their influence.
Mixing color temperatures
Daylight, warm indoor lamps and RGB fixtures can create inconsistent skin tones. Set a fixed white balance and control unwanted light sources.
Overusing RGB color
Strong color does not automatically make an image cinematic. Good contrast and subject separation remain more important.
Three-Point Lighting Checklist
Before filming, confirm:
· The key light creates clear facial shape
· Highlights are not overexposed
· The fill preserves some shadow depth
· The backlight separates the subject
· Skin tone remains natural
· RGB color does not spill unintentionally
· Light stands stay outside the frame
· Reflections in glasses or products are controlled
· Camera white balance is fixed
FAQs
What are the three lights in a three-point setup?
They are the key light, fill light and backlight.
Do I need three physical lights?
No. A reflector, window or practical lamp can perform one of the three functions.
Where should the key light be placed?
Start at 30–45 degrees to one side of the camera and slightly above eye level.
Should the fill be as bright as the key?
Usually not. The fill should be weaker so the face keeps shape and contrast.
Can RGB lights be used for portraits?
Yes. They work especially well for background color, rim light and creative accents.
Final Thoughts
Three-point lighting is useful because it helps creators think about light in separate functions.
The key defines the subject, the fill controls contrast and the backlight adds separation.
Once those functions are understood, the same approach can be adapted to portraits, interviews, beauty videos, product content and creator studios. Equipment matters, but placement, lighting ratio and modifier choice ultimately determine whether the image looks professional.