










Small Studio Lighting Setup for Beauty, Product and Talking-Head Videos
by Marketing Yinqingli on Aug 25, 2026A professional-looking studio does not require a large room. A bedroom corner, office, spare room, home studio, or small commercial space can produce high-quality content when the light placement is planned carefully.
The main challenge in a small studio is control. Walls are close to the subject, ceilings may be low, equipment can enter the frame, and light can bounce around the room. A fixture that looks soft in a large studio may create excessive spill in a small space.
A successful small studio lighting setup uses distance, direction, diffusion, and background separation to make the room feel larger than it is.
Assess the Room Before Placing Any Lights
Begin by identifying:
· Available shooting distance
· Ceiling height
· Wall color
· Natural window light
· Electrical outlets
· Background options
· Ambient noise
· Space for stands
· Safe movement paths
White walls reflect light and can naturally fill shadows, but they may also make it difficult to create contrast. Dark walls absorb more light and may require additional fill.
If the room has a window, decide whether to use it or block it. Changing daylight can create exposure and white-balance inconsistencies during a long recording. For repeatable tutorials and product videos, controlled artificial lighting is often easier.
Place the subject as far from the background as the room permits. Even a small increase in distance can reduce wall shadows and improve separation.
One-Light Setup for Talking-Head Videos
A one-light setup is the simplest place to begin.
Position the key light approximately 45 degrees to one side of the subject and slightly above eye level. Angle it downward gently. Move it close enough to create soft light while keeping it outside the camera frame.
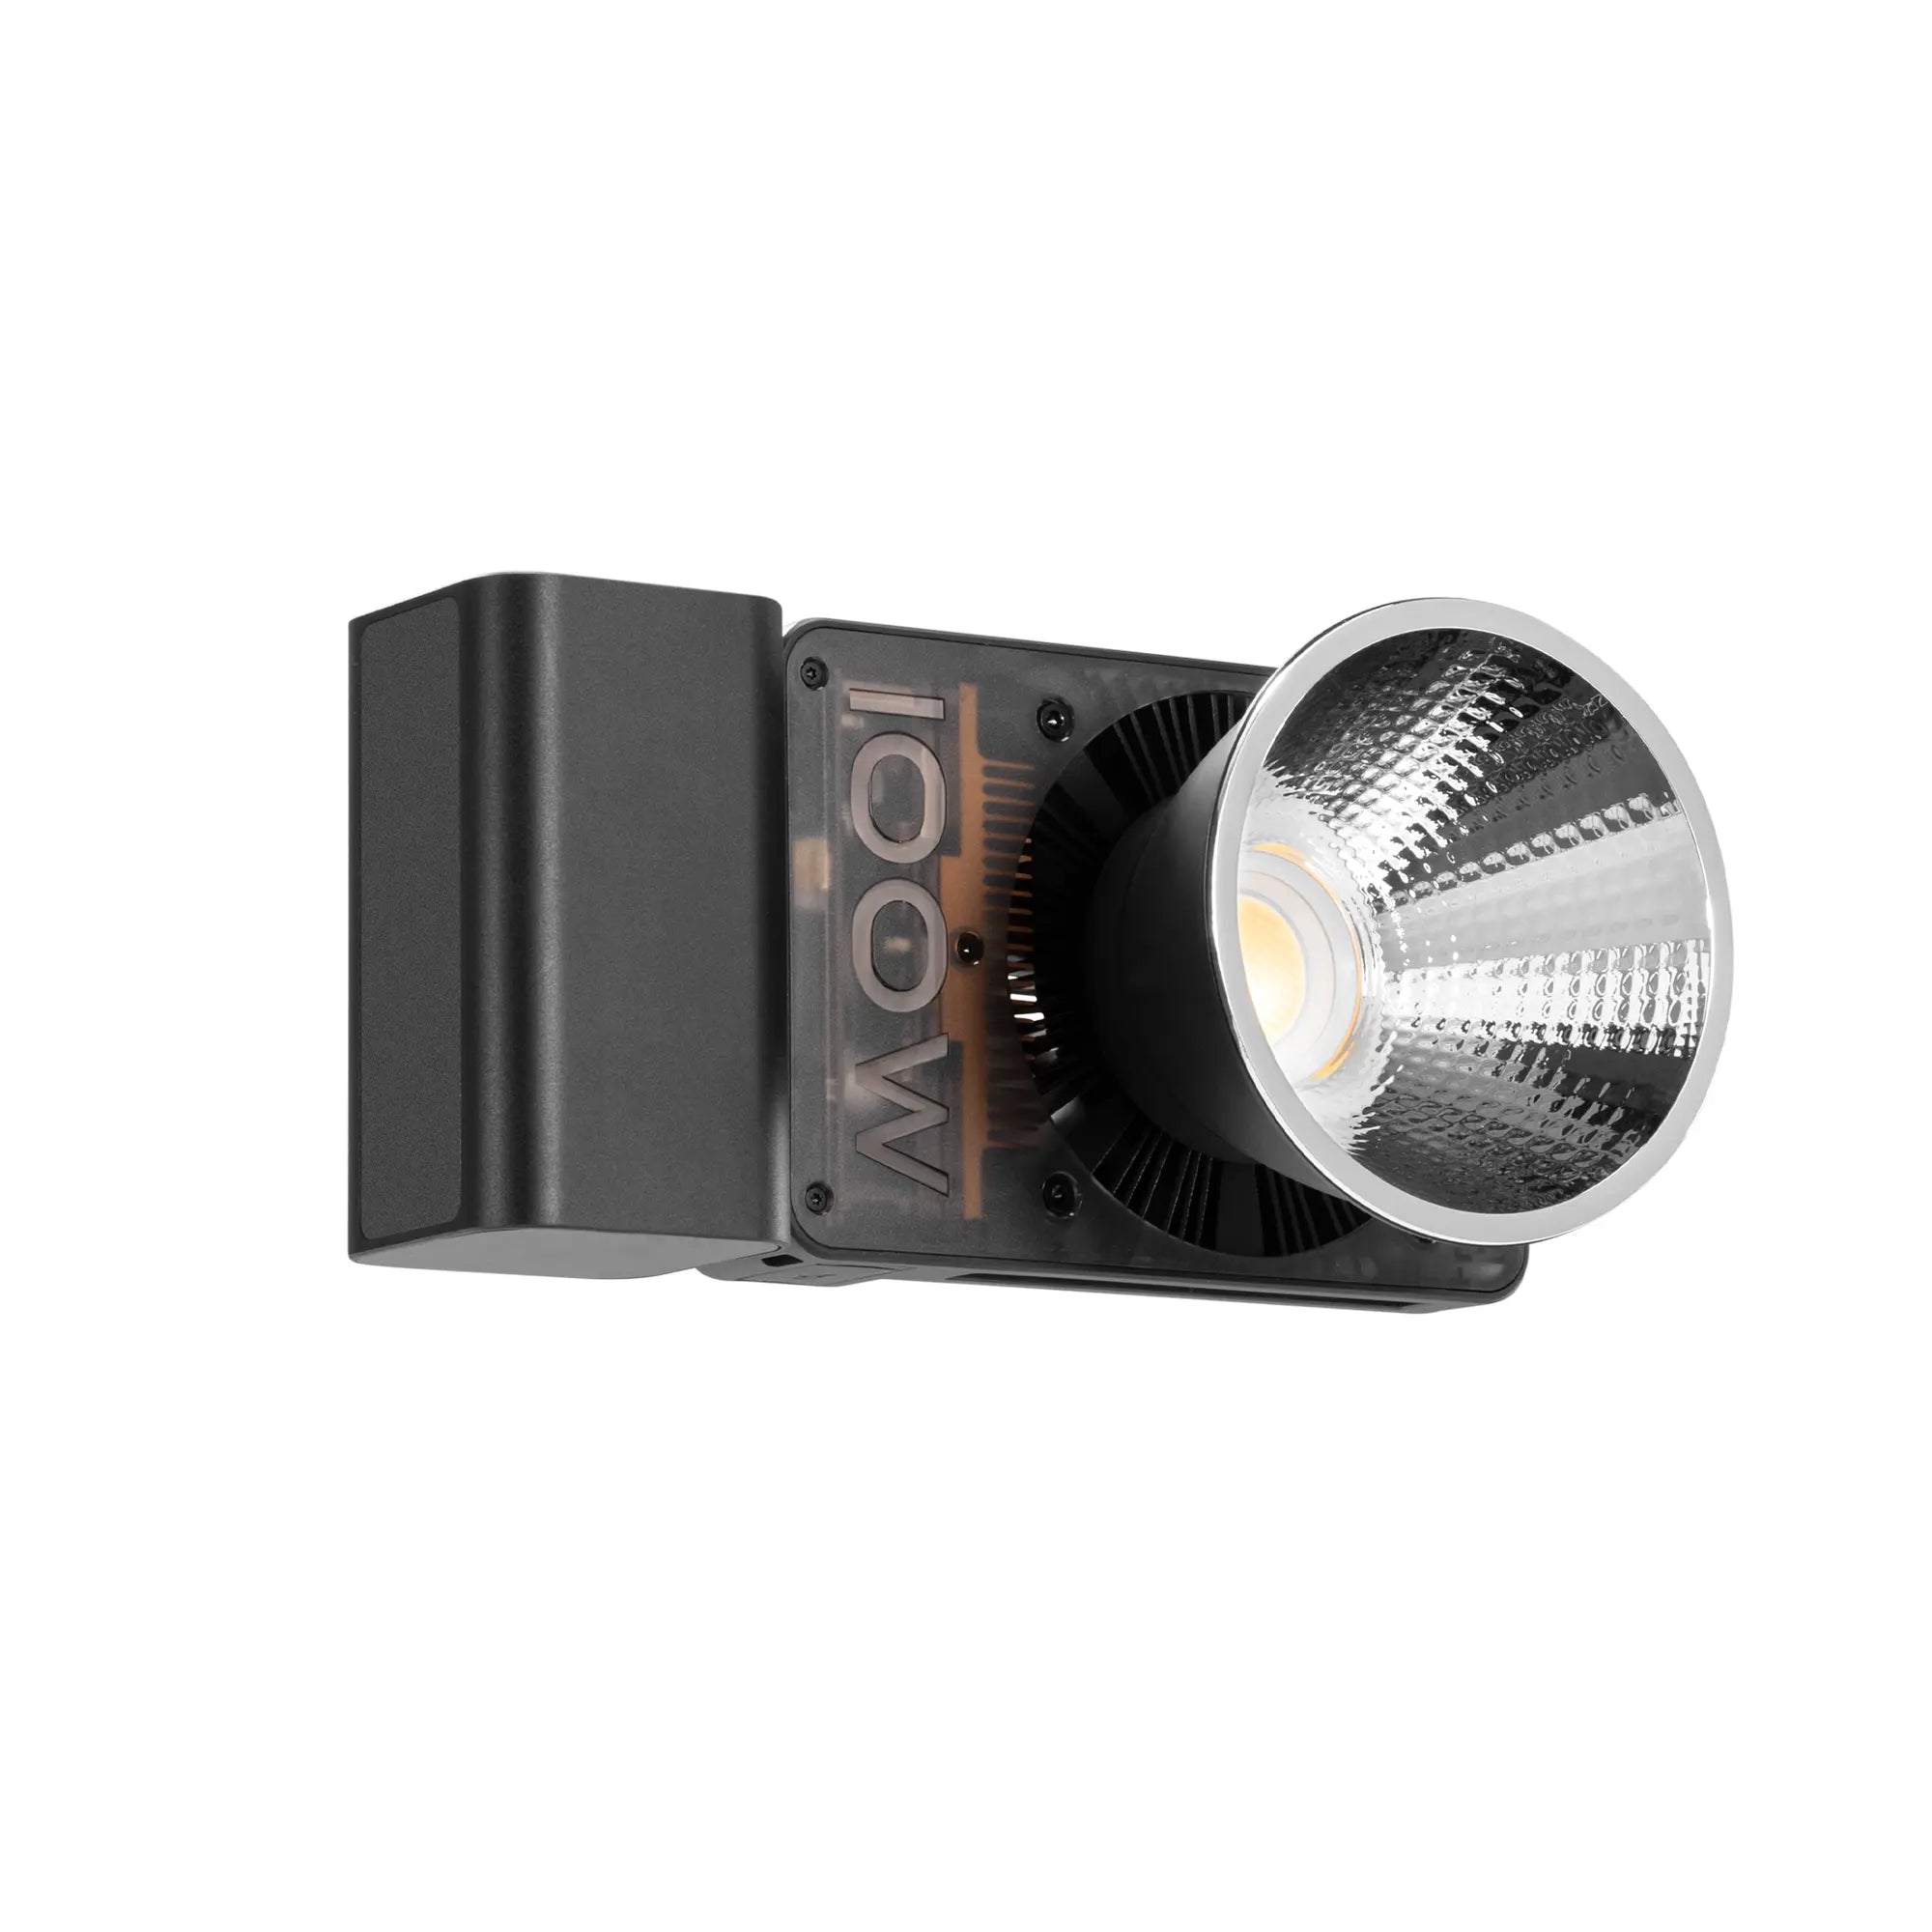
The ZHIYUN MOLUS X100 RGB can form the main source in a compact video studio lighting setup. With appropriate diffusion, it can illuminate the face while preserving dimension.
On the opposite side, use a white wall, reflector, or foam board to return a small amount of light into the shadows.
For a more dramatic look, move the reflector farther away. For a cleaner educational or corporate look, bring it closer.
Avoid placing the key directly above the camera unless a very flat beauty effect is required.

Two-Light Setup for Beauty and Makeup Content
Beauty content usually needs softer, more even facial illumination. The audience must see foundation coverage, eye makeup, skin texture, product color, and blending.
Use one larger soft key light close to the face. Then place a weaker fill light on the opposite side or below the face.
The ZHIYUN FIVERAY M20C can function as compact fill, eye light, background accent, or close-range tabletop light.
A practical setup is:
· MOLUS X100 RGB as the softened key
· M20C as gentle fill or background light
· Neutral white balance for accurate makeup colors
· Clean background with limited RGB spill
· Camera positioned close to eye level
If colored background light is used, keep it away from the front of the face. Beauty viewers need to see accurate product shades.

Product Video Setup for Shape and Texture
Product lighting should reveal form, material, branding, texture, and function.
A single front light often makes a product look flat. Instead, place the main source to one side and use a reflector or second light on the opposite side.
For glossy products, the light source itself may appear as a reflection. Large diffusion creates broader, smoother reflections, while small sources create sharper highlights.
Use black cards to reduce unwanted reflections and white cards to add controlled highlights.
A small product setup can include:
· Soft key light from the side
· White reflector for fill
· M20C for label, edge, or background accent
· Neutral backdrop
· Stable camera
· Manual exposure and white balance
For rotating product shots, check that stands and cables remain outside the frame throughout the movement.
Create Background Separation in a Small Room
Without separation, the subject can appear attached to the wall. Several techniques can create depth:
Move the subject forward.
Use a darker background.
Place a subtle light behind the subject.
Add practical lamps in the background.
Use a wider aperture carefully.
Create a gradient on the wall.
Use foreground objects for framing.
An RGB light can add a controlled color pool behind the subject. Keep the brightness lower than the face unless the background is intentionally the visual focus.
Aim the light at the wall rather than directly toward the camera. Moving the fixture closer creates a smaller concentrated pool. Moving it farther away spreads the color.
Control Spill and Reflections
Small rooms amplify spill. A light aimed at the subject may also illuminate the ceiling, wall, desk, and background.
Use grids or flags to restrict the beam. A piece of black foam board can act as a simple negative-fill tool, reducing reflected light on one side of the face.
For product videos, check shiny screens, bottles, packaging, and metal surfaces. Small changes in the light angle can improve reflections dramatically.
For talking-head videos, watch for glasses glare. Raise the key light or move it farther to the side until the reflection disappears while the eyes remain illuminated.
Save Three Repeatable Studio Presets
A creator can save time by designing three fixed arrangements.
Preset 1: Talking Head
Soft key at 45 degrees, reflector opposite, subtle background light.
Preset 2: Beauty Tutorial
Larger frontal key, gentle fill, clean neutral color, phone or camera near eye level.
Preset 3: Product Demo
Side key, reflector, compact accent light, stable tabletop background.
Record the fixture height, distance, brightness, and color settings. Photograph the setup for future reference.
A small studio becomes efficient when every piece of equipment has a defined position.
With compact lighting solutions from ZHIYUN, creators can build a flexible studio around one main light and one smaller accent fixture. The room may be limited, but the lighting does not need to look limited.


