










Halloween Photoshoot Ideas: Props, Lighting, and Camera Tips
A memorable Halloween photoshoot needs more than a costume and a dark background. A clear concept, purposeful props, controlled lighting, and suitable camera settings can turn a simple portrait into a playful family image or a cinematic scene. This guide covers practical Halloween photography ideas for different subjects, along with planning, lighting, and camera tips.
Halloween Photoshoot Ideas for Different Subjects and Moods
Choose an idea that fits the subject before collecting props or setting up lights. A family session, solo costume portrait, and experimental ghost image each require a different approach.
|
Subject or Mood |
Photoshoot Idea |
Key Props |
Lighting Style |
|
Solo portrait |
Witch, vampire, or haunted mirror |
Mirror, candle, old book |
Side light or underlight |
|
Couples and families |
Pumpkin patch or matching costumes |
Pumpkins, baskets, lanterns |
Soft warm key light |
|
Halloween party |
Photo booth or colorful costume portrait |
Masks, candy, themed backdrop |
Bright RGB accent lighting |
|
Ghostly scene |
Silhouette or motion-blur portrait |
White fabric, fog, doorway |
Backlight and slow shutter |
Solo Costume Portraits

Solo portraits give you greater control over posing, makeup, lighting, and visual storytelling.
-
Haunted Mirror Portrait: Position the subject beside an old mirror and leave part of the reflection in shadow. Include both the face and reflection in the frame, using slightly different expressions or poses to create an unsettling effect.
-
Candlelit Witch Portrait: Build a simple scene with LED candles, an old book, dried flowers, or glass bottles. Place a soft key light above the candles to keep the face visible while preserving the warm glow.
-
Vampire in the Shadows: Turn the subject slightly away from the key light so one side of the face falls into shadow. Add a narrow red backlight to separate dark clothing from the background.
Couples, Families, and Group Photos

Group photos feel more natural when people interact with one another instead of standing in a straight line.
-
Pumpkin Patch Portrait: Arrange pumpkins at different distances to create depth. Shoot near sunset or use a portable light set to a warm color temperature when the available daylight begins to fade.
-
Matching Costume Story: Give the group a simple action related to their costumes. Detectives can examine a clue, witches can gather around a spell book, and superheroes can react to an off-camera threat.
-
Trick-or-Treat Group Shot: Photograph children walking toward the camera, comparing candy, or approaching a decorated doorway. Use a sufficiently fast shutter speed to preserve expressions and costume details.
Playful Halloween Party Photos
Halloween pictures do not always need to look frightening. Bright colors, expressive poses, and recognizable decorations can create cheerful social content and family keepsakes.
-
Halloween Photo Booth: Create a simple backdrop with paper bats, orange fabric, or string lights. Provide a small selection of masks and handheld signs so guests can change poses quickly.
-
Candy and Costume Flat Lay: Arrange candy, masks, makeup, costume details, and small pumpkins on a clean surface. Photograph directly from above and leave enough space between objects to maintain a clear composition.
-
Colorful Party Portrait: Use a neutral key light on the face and add orange, purple, or green light to the background. Leave extra space in the composition when creating happy Halloween images for greeting cards or social posts.
Ghostly Motion and Silhouette Effects.

Simple in-camera techniques can produce convincing supernatural effects without extensive editing.
-
Long-Exposure Ghost: Place the camera on a tripod and use a slow shutter speed while the subject moves gently through the frame. Include stationary objects to make the translucent movement easier to recognize.
-
Backlit Silhouette: Position a light behind the subject and expose for the illuminated background. Pointed hats, capes, raised hands, and other distinctive costume shapes will make the silhouette more readable.
-
Floating Prop Illusion: Suspend lightweight objects with thin thread or photograph them on a removable support. Keep the camera fixed if several exposures will be combined during editing.
How Do You Plan a Halloween Photoshoot?
Planning should connect the subject, setting, props, and intended final use. A simple visual story usually produces stronger photographs than an unrelated collection of decorations.
Choose a Mood and Create a Visual Story
Decide whether the session should feel frightening, cinematic, playful, or family-friendly. Then describe the image in one sentence, such as “a witch discovers a glowing book” or “a family returns from trick-or-treating.” This gives every creative decision a clear purpose.
Match the Costume, Location, and Background
A detailed costume benefits from a simpler background, while plain clothing can work with a more elaborate set. Check whether dark clothing disappears against the backdrop and whether reflective makeup reacts poorly to direct light.
Select Halloween Photography Props With a Purpose
Effective Halloween photography props contribute to the story or composition. Pumpkins establish the season, mirrors create reflections, thin fabric adds movement, and old books introduce narrative detail. Use a few recognizable objects at different depths instead of filling every empty area.
How Should You Light a Halloween Photoshoot?
Understanding photography lighting basics makes it easier to control both light and darkness in Halloween images. The goal is not to make the entire scene dim, but to decide which details viewers notice first.
Use Side or Underlighting to Create Suspense
Side lighting reveals makeup, fabric, and prop texture while preserving controlled shadows across the face. Underlighting creates a more theatrical effect, but keeping the intensity moderate prevents facial features from becoming distorted or difficult to recognize.
Because these setups often place the light near the floor, behind a pumpkin, or just outside the frame, a compact fixture is easier to position than a full-size studio light. The ZHIYUN FIVERAY M60 Ultra delivers 60W output with RGB control and an adjustable 2500K–10000K color-temperature range. It can produce a warm candlelike glow for witch portraits, cool moonlight for silhouettes, or a saturated accent behind props, allowing several Halloween lighting effects to be created with one portable source.
Separate the Subject With Color and Backlight
Place a colored light behind or beside the subject to create an outline around dark costumes. Orange and blue can suggest firelight and moonlight, while purple and green create a more stylized Halloween look.
Keep the main facial light relatively neutral unless colored skin is intentional. Using every available color at once can weaken the composition and make costumes difficult to distinguish.
Combine Continuous Light With Practical Lights
LED candles, string lights, lanterns, and illuminated pumpkins help explain where the light appears to come from, but they are rarely bright enough to expose a portrait by themselves. Keep these practical lights in the frame for atmosphere, then place a continuous key light outside the composition to illuminate the face and costume.
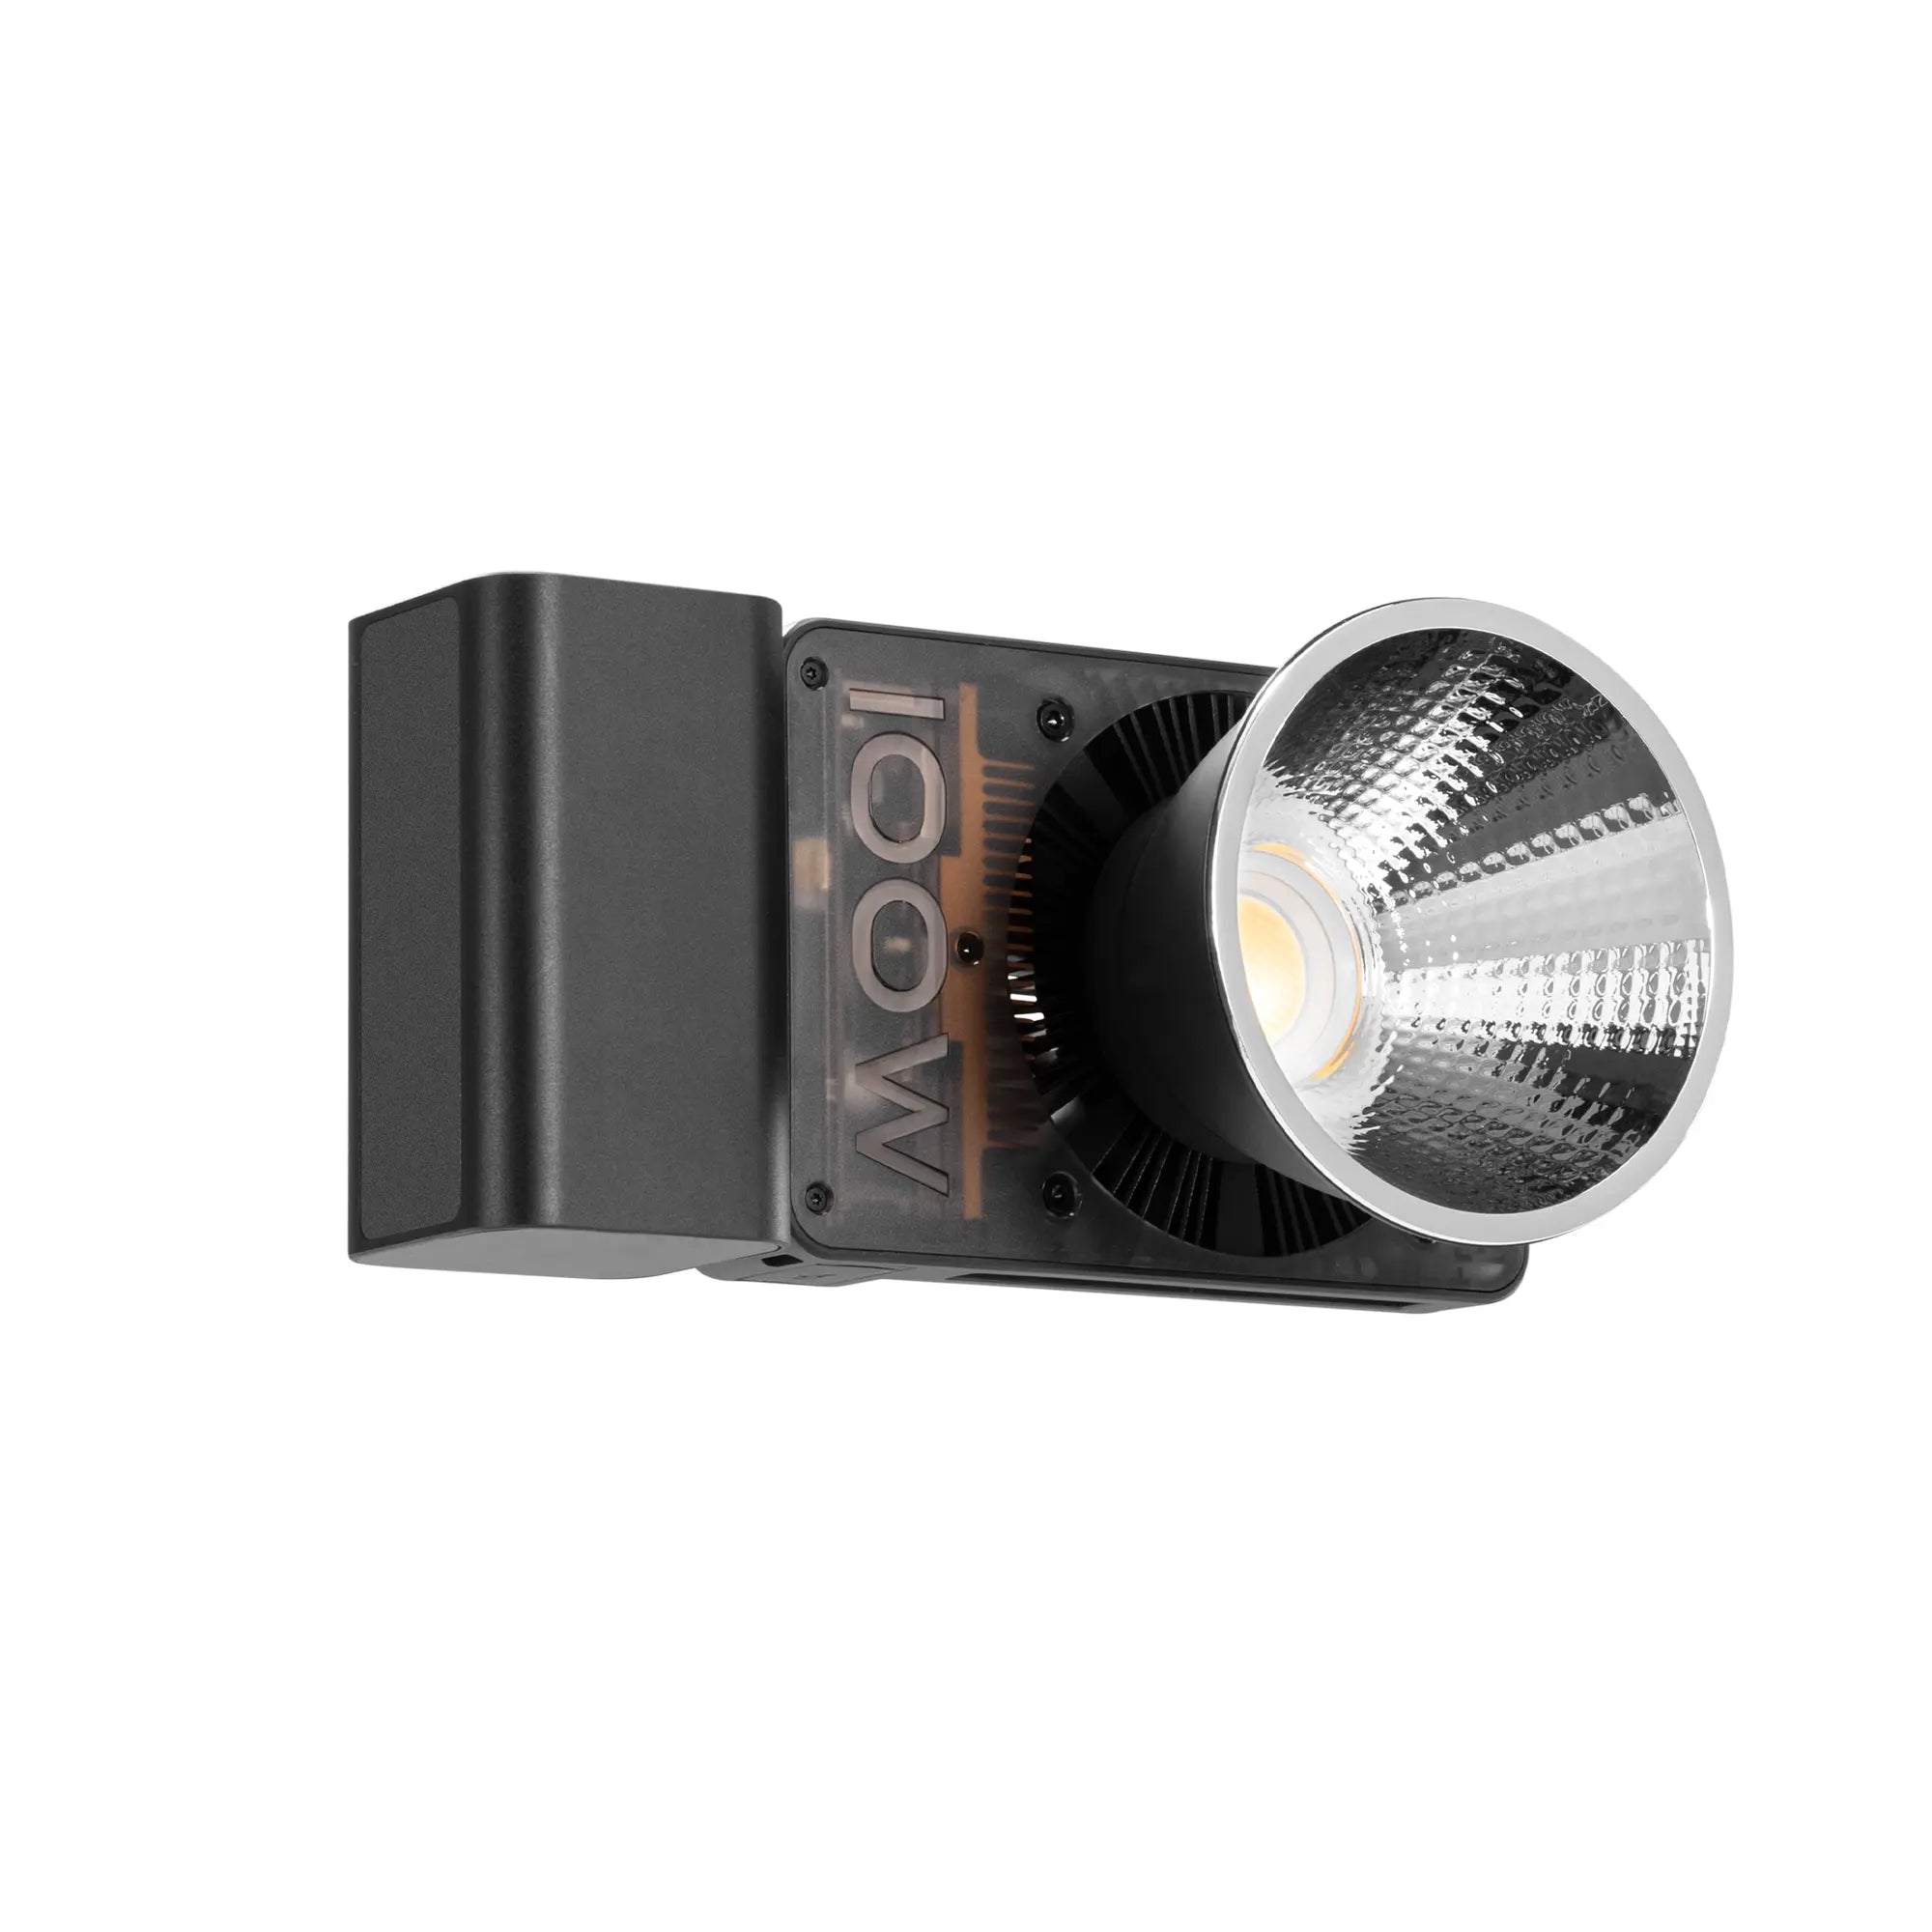
A stronger yet portable source makes this approach easier to control. The ZHIYUN MOLUS X100 RGB delivers 100W full-color output and can be paired with a softbox for more flattering portrait light. Its RGB control can also extend the color of an illuminated pumpkin, add a contrasting tone to the background, or make fog and textured props more visible.
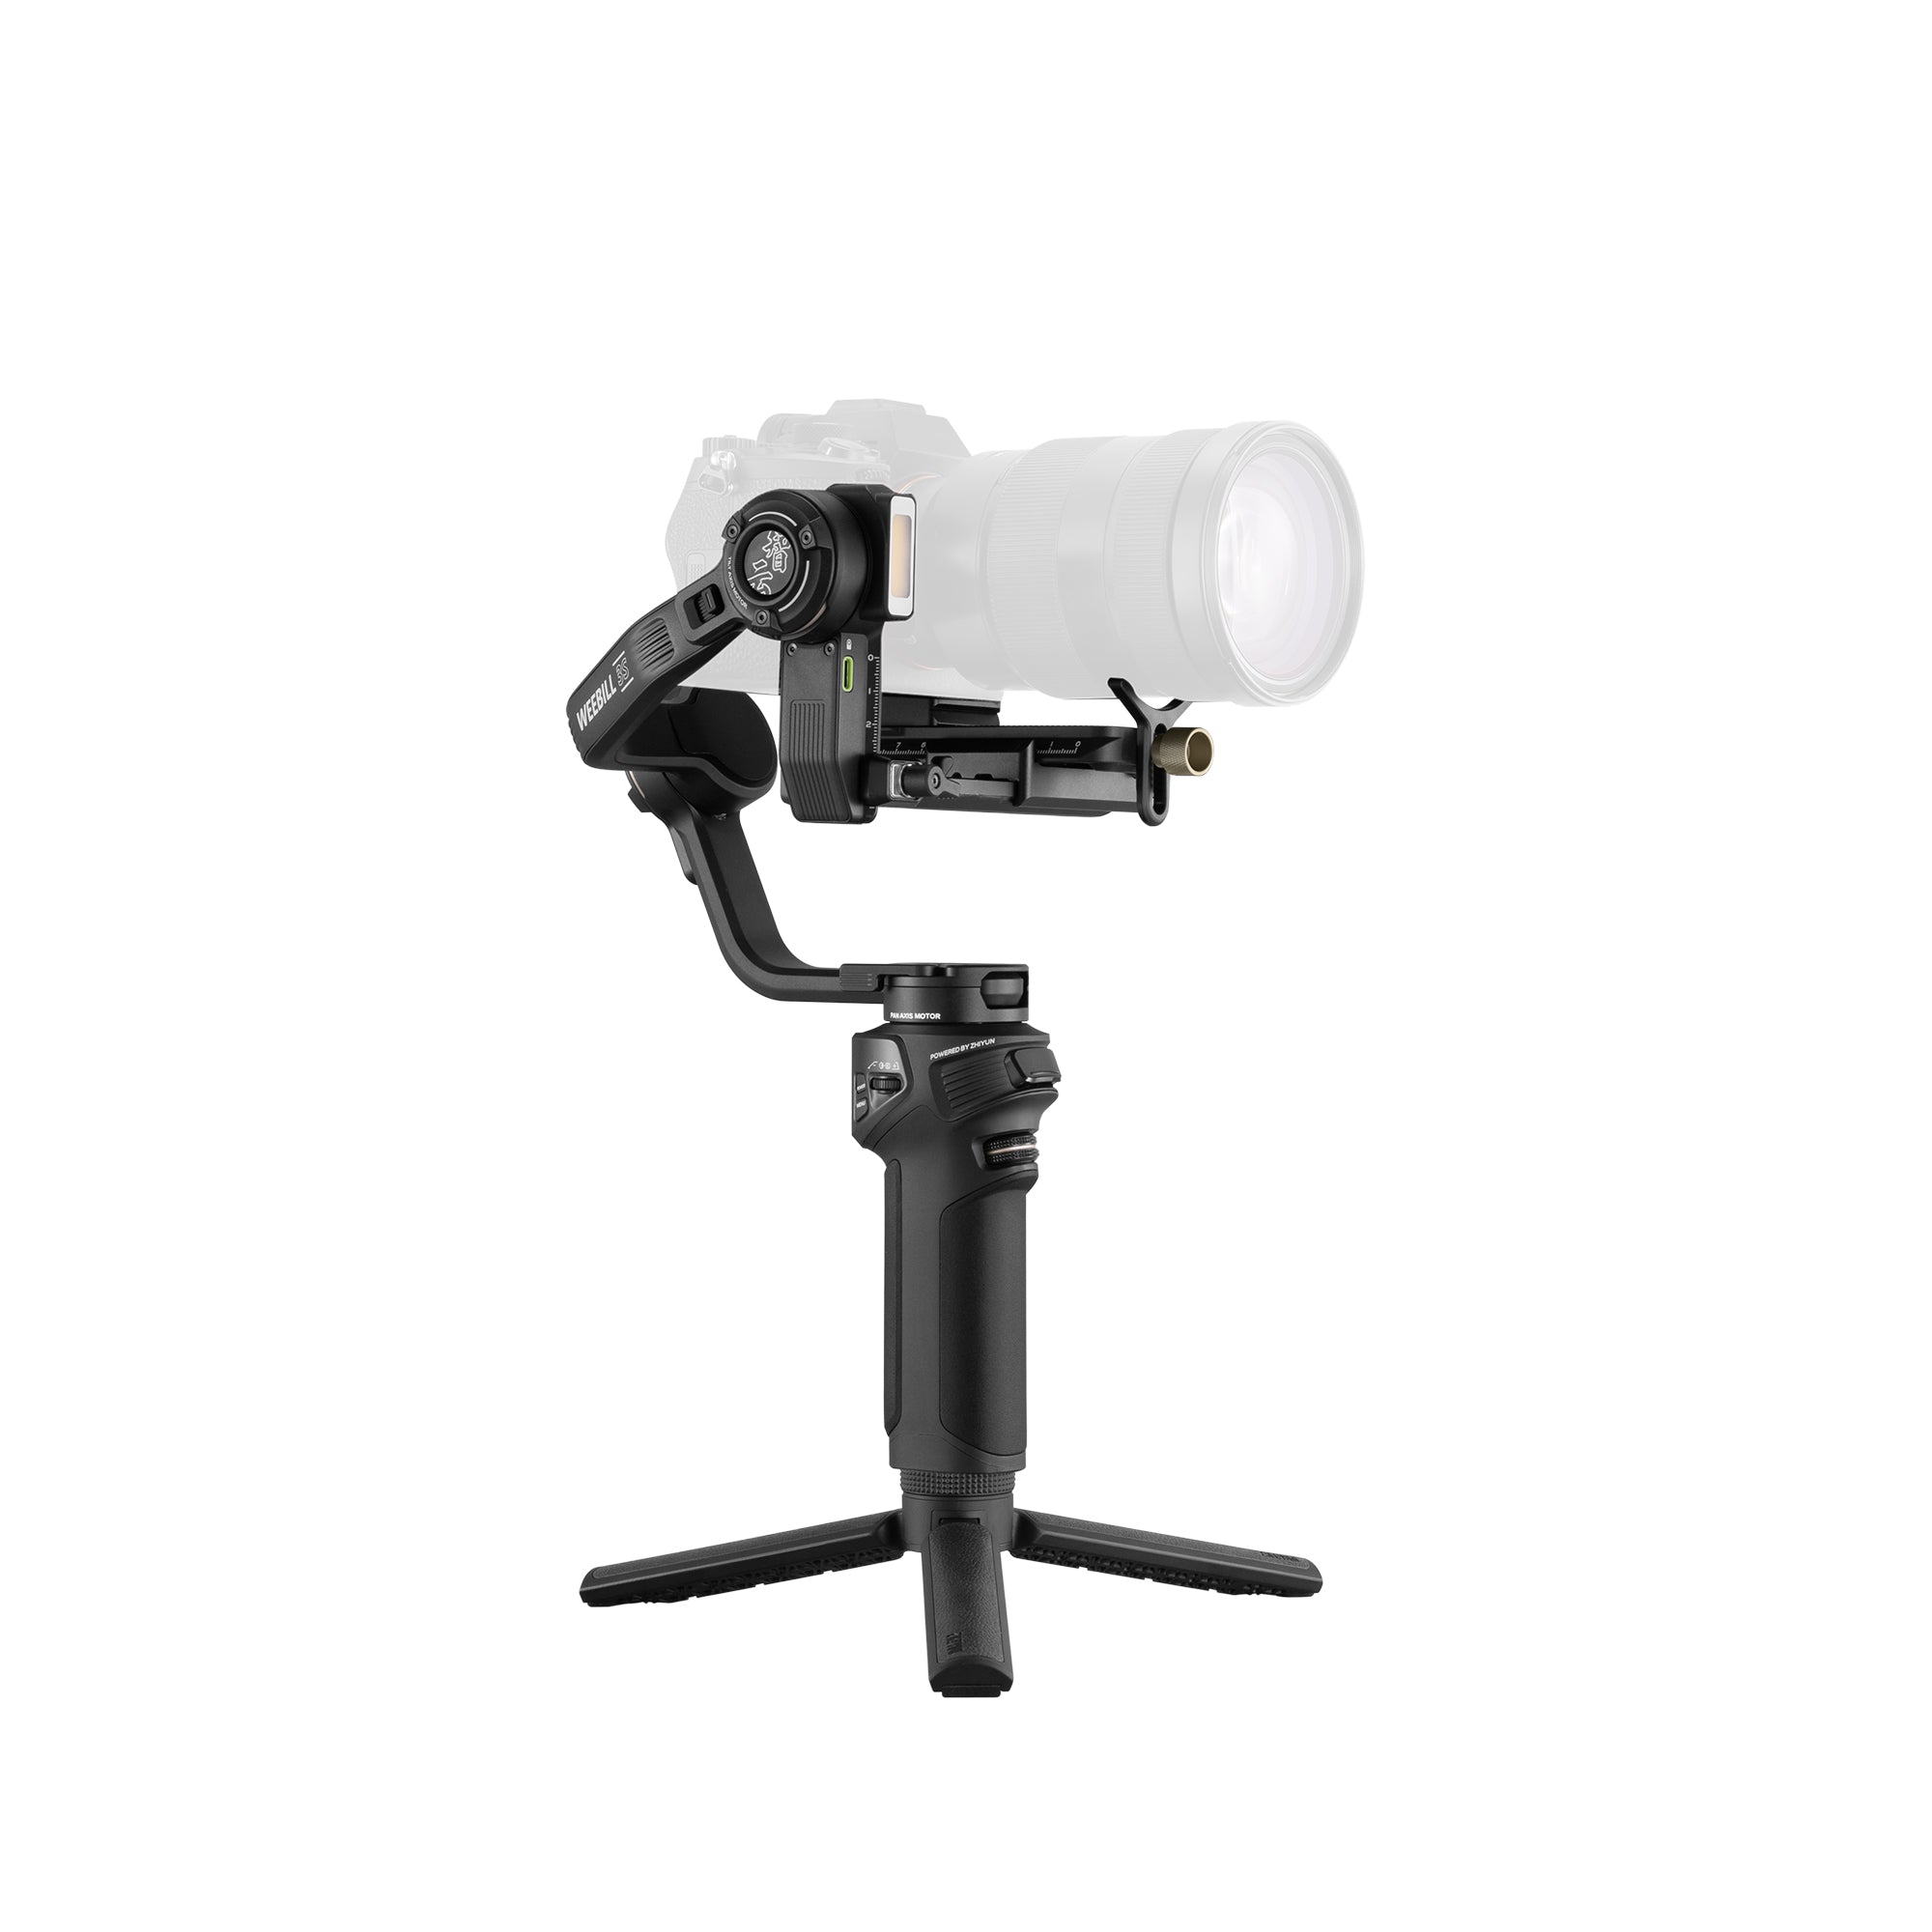
Creators preparing a seasonal setup can find relevant combinations during the ZHIYUN Halloween Wonder Festival: Limits Out, running for U.S. shoppers from 6:00 a.m. on October 25 through midnight on October 31. The event includes savings of up to 35%, additional order-based discounts from $10 to $100, and a prize wheel. Selected creator kits offer up to $80 off, including WEEBILL 5 with M60 Ultra for mobile shooting and X100 RGB or X200 RGB paired with a Spotlight Attachment for more focused, theatrical lighting.
What Camera Settings Work for Halloween Photography?
Dark scenes do not always require extreme settings. Begin with enough light to define the subject, then adjust the exposure while preserving the intended atmosphere.
Set Aperture for the Subject and Background
Use a wider aperture for a solo portrait when background separation is important. For couples and groups, stop down enough to keep every face within the depth of field. Check focus at full size before continuing the session.
Match Shutter Speed to People or Motion Effects
Use a faster shutter speed for children, parties, and moving costumes. Reserve slow shutter speeds for deliberate effects such as ghostly movement, light trails, or flowing fabric, and place the camera on stable support.
Raise ISO Only After Improving the Light
Higher ISO can brighten the image, but effective low light photography depends on balancing brightness against noise and reduced color detail. Before raising the ISO substantially, move the light closer, open the aperture, or stabilize the camera so a slower shutter speed becomes practical.
Check Focus and White Balance Before Shooting
Autofocus may struggle when the face is surrounded by darkness. Use a small temporary light to acquire focus, or switch to manual focus when the subject remains in one position. Setting white balance manually also keeps colored lighting consistent across multiple photographs.
What Halloween Photography Mistakes Should You Avoid?
- Using flat front light that removes shadows and atmosphere.
- Adding too many props without establishing a clear subject.
- Underexposing faces simply to make the photograph appear darker.
- Using a slow shutter speed for moving children or party guests.
- Mixing several colored lights without protecting natural skin tones.
- Allowing dark costumes to disappear into a black background.
- Relying on real candles when safer LED alternatives are available.
- Placing light stands, cables, or fog equipment in walkways.
- Using fog or smoke effects without ventilation and permission.
- Applying heavy editing that hides makeup, costumes, and prop details.
Conclusion
A successful Halloween photoshoot begins with one clear mood and a manageable visual idea. Match the costume to the setting, choose only the props that support the story, and use light to reveal important details without eliminating the shadows. Careful exposure and a simple lighting plan can make even an inexpensive home setup feel deliberate and cinematic.
FAQ
What Are Some Creative Ideas for a Photoshoot at Home?
Try a haunted mirror portrait, a candlelit reading scene, a doorway silhouette, a Halloween photo booth, or a floating-object illusion. Use one room, a limited color palette, and a few household objects to keep the setup manageable.
What Are Some Good Prop Ideas for a Photo Shoot?
Useful props include pumpkins, mirrors, masks, old books, lanterns, LED candles, thin fabric, dried flowers, candy, picture frames, and artificial cobwebs. Select props that reinforce the subject rather than filling empty space.
What Lens Works Best for Halloween Portraits?
A moderate portrait lens works well for close portraits because it limits background distortion. A standard or wider lens is more suitable when the costume, decorated room, or group interaction needs to remain visible.
Can You Use LED Lights With Fog or Smoke Effects?
Yes, backlighting fog can reveal light beams and create depth. Use only approved fog products in ventilated spaces, protect electrical equipment from moisture, and confirm that fog is permitted at the location.
How Can You Create a Ghost Effect Without Editing?
Mount the camera on a tripod, select a slower shutter speed, and ask the subject to move gently during the exposure. Include stationary objects in the composition so the subject’s translucent motion remains visually clear.