










Cave Photography Tips: Lighting and Exposure Settings
Successful cave photography depends on stabilizing the camera, protecting bright highlights, and placing photography lights at an angle instead of pointing them directly at the scene. These cave photography tips for lighting and exposure settings explain how to prepare, select practical camera settings for caves, and create depth with controlled cave lighting. This guide applies to permitted, land-based locations.
How Should You Prepare for a Cave Photoshoot?
Preparation affects both image quality and safety. Before entering, confirm what equipment is permitted and reduce the amount of gear that must be managed in the dark.
Check Photography and Equipment Rules
Photography policies vary by location. A cave may allow handheld cameras but prohibit tripods, light stands, flash, or commercial equipment. Some guided tours also limit where visitors can stop.
Confirm the rules before planning the shot. If the location requires a permit for staged lighting or a professional cave photoshoot, obtain it in advance. Never block a trail or delay a tour while adjusting equipment.
Pack for Darkness, Moisture, and Limited Space
Carry only the equipment required for the planned images. A camera with a wide-angle lens, spare batteries, lens cloths, a protective cover, and a compact light will handle many situations. A separate headlamp should remain available for navigation rather than serving as the only photographic light.
Caves can be damp, cold, and slippery. Keep batteries and memory cards protected, avoid changing lenses in dusty or wet areas, and use a padded strap that keeps the camera close to the body.
Protect the Cave and Keep the Route Clear
Rock formations can be fragile even when they appear solid. Do not touch them, lean equipment against them, or place stands outside designated areas.
Position the camera and lights on durable surfaces without obstructing walkways. Pack out every accessory, battery, tape strip, and piece of packaging. The scene should look unchanged when the shoot is complete.

What Camera Settings Should You Use for Cave Photography?
There is no universal exposure for an underground scene. The appropriate settings depend on available light, subject movement, camera support, and whether supplemental lighting is permitted.
Start With RAW and Manual Mode
RAW files retain more highlight and shadow information than compressed image files, giving you greater flexibility when correcting exposure and white balance. Manual mode also keeps the exposure from changing unexpectedly as the frame moves between dark rock and bright artificial lights.
When a guided tour moves too quickly for manual adjustments, aperture priority with a minimum shutter speed and controlled Auto ISO can be more practical.
Choose an Aperture for the Required Depth of Field
Use the aperture to decide how much of the scene must appear sharp. A setting around f/5.6 to f/11 can provide useful depth for a tripod-mounted cave landscape. Handheld shots or portraits may require f/2.8 to f/4 to admit more light.
A wider aperture reduces the required ISO or exposure time, but it also narrows the depth of field. Focus placement therefore becomes more important.
Set Shutter Speed for Camera and Subject Movement
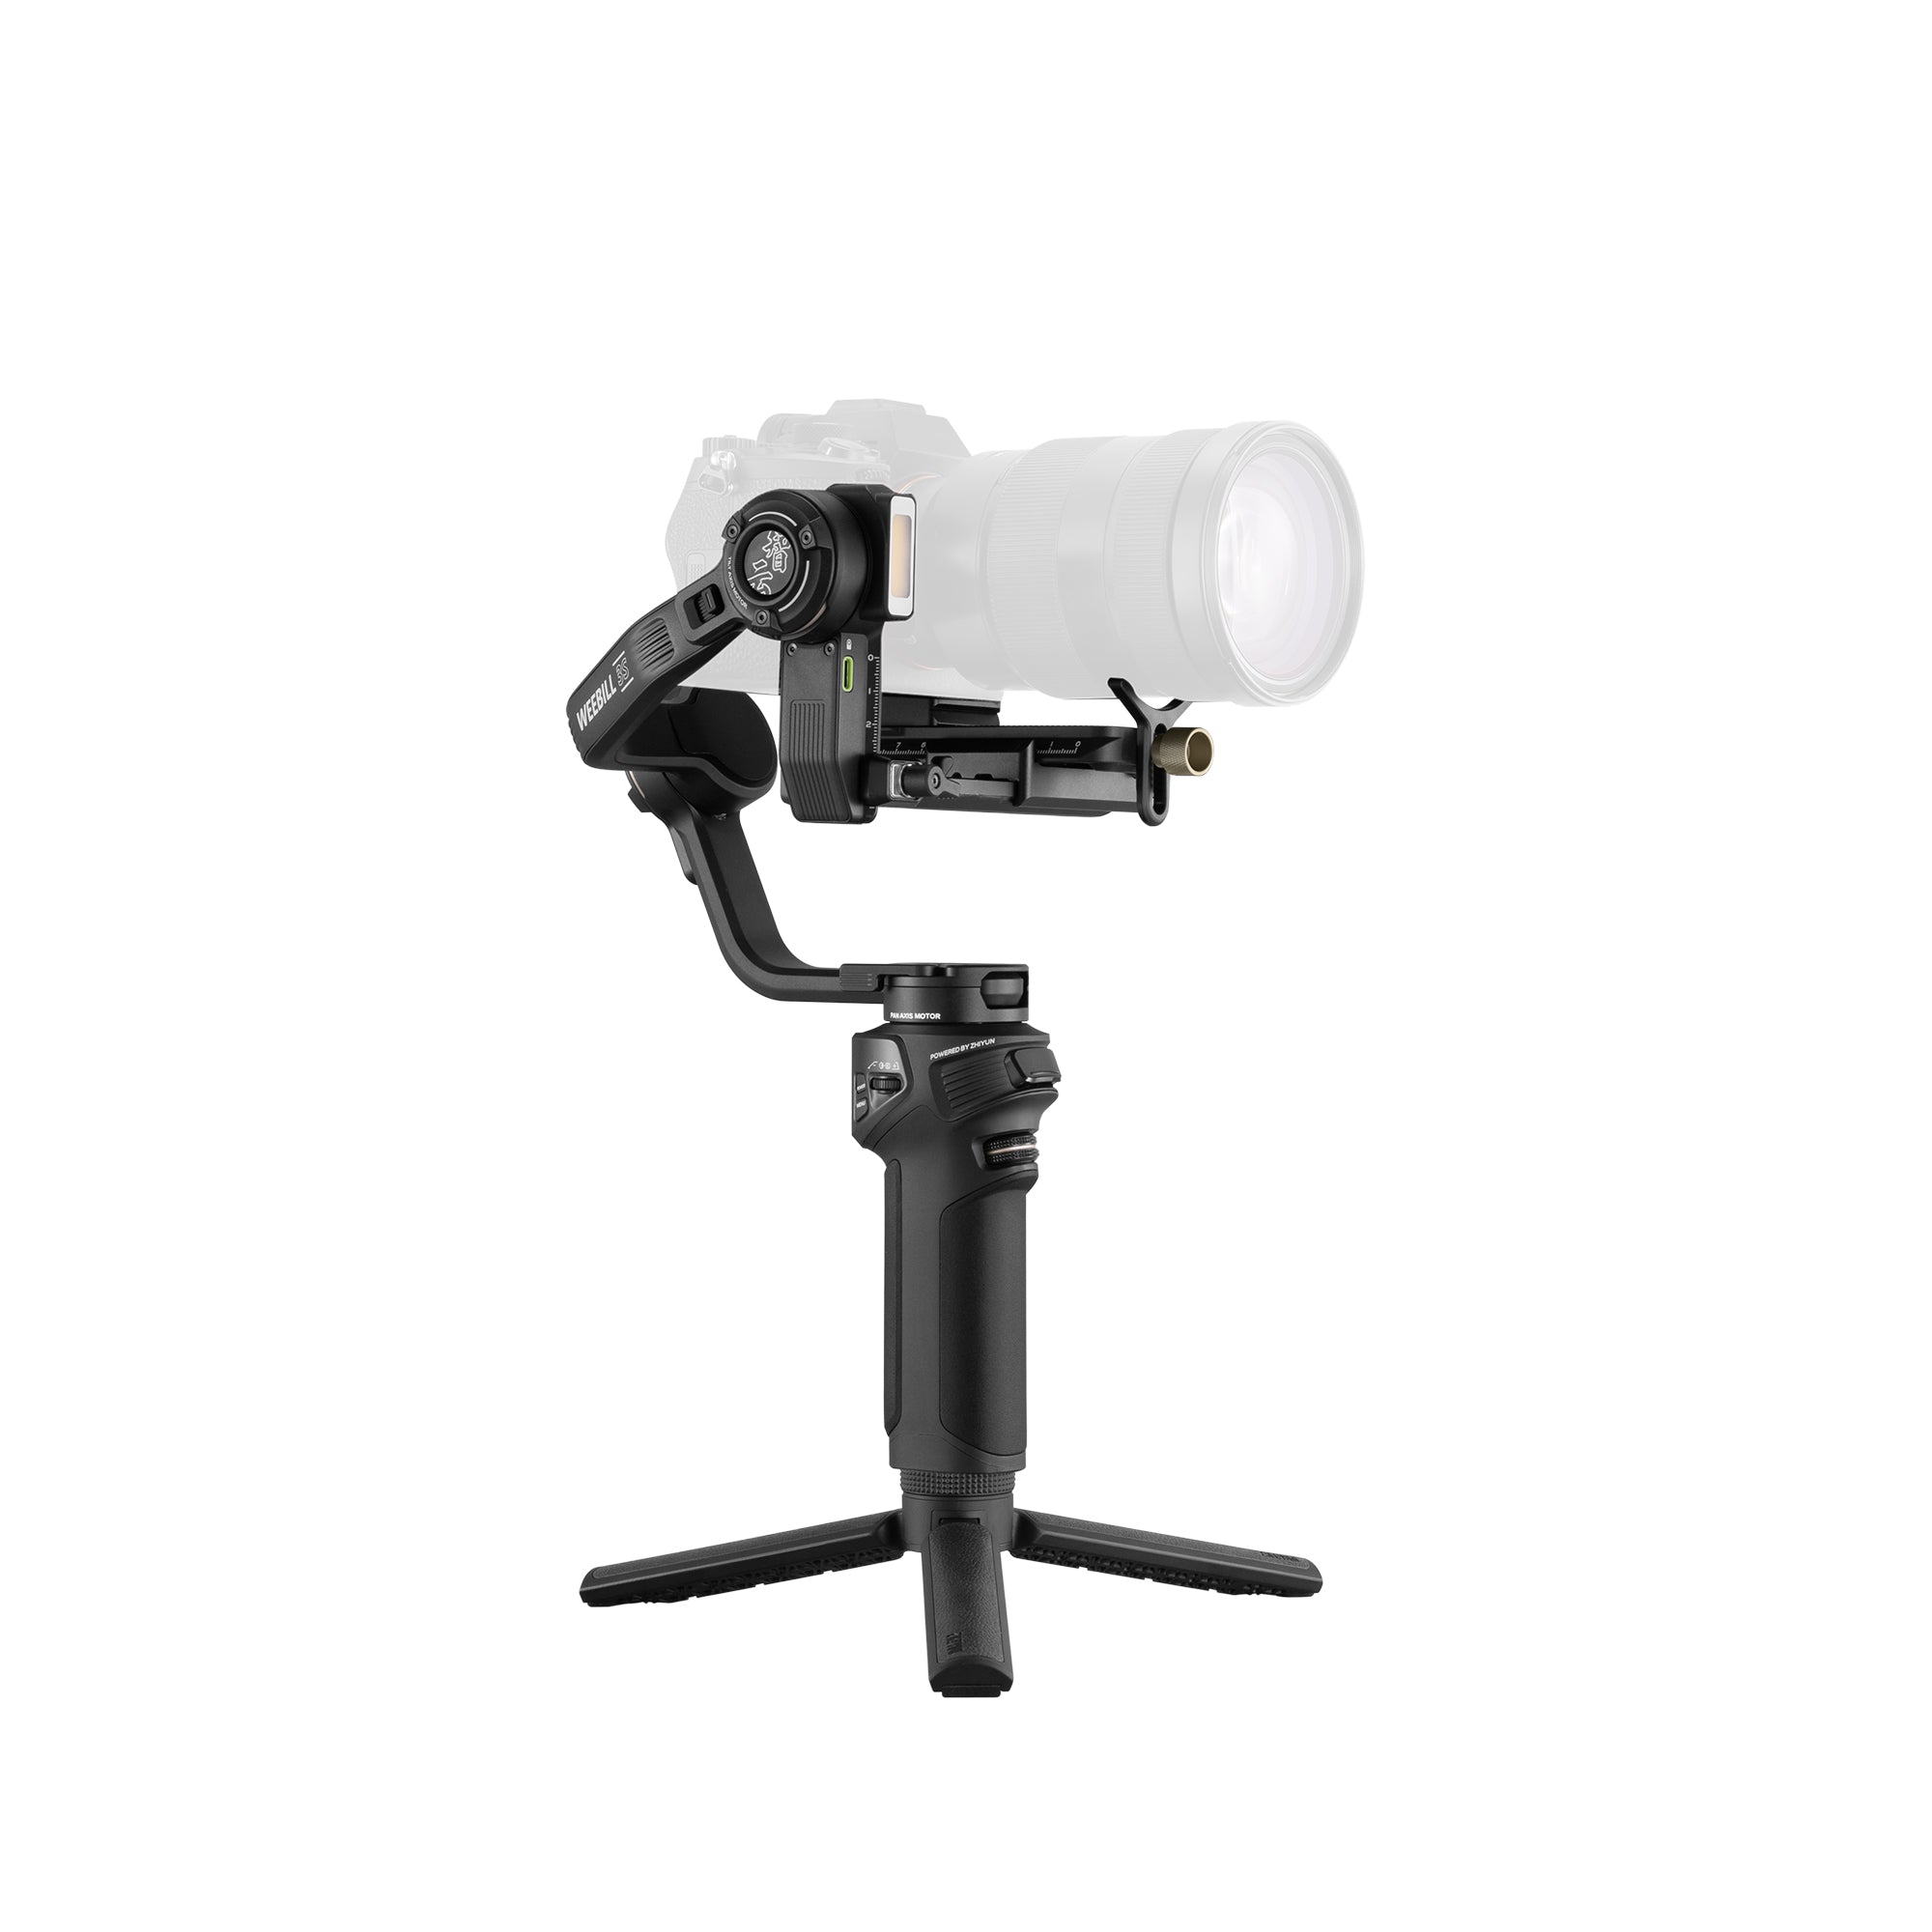
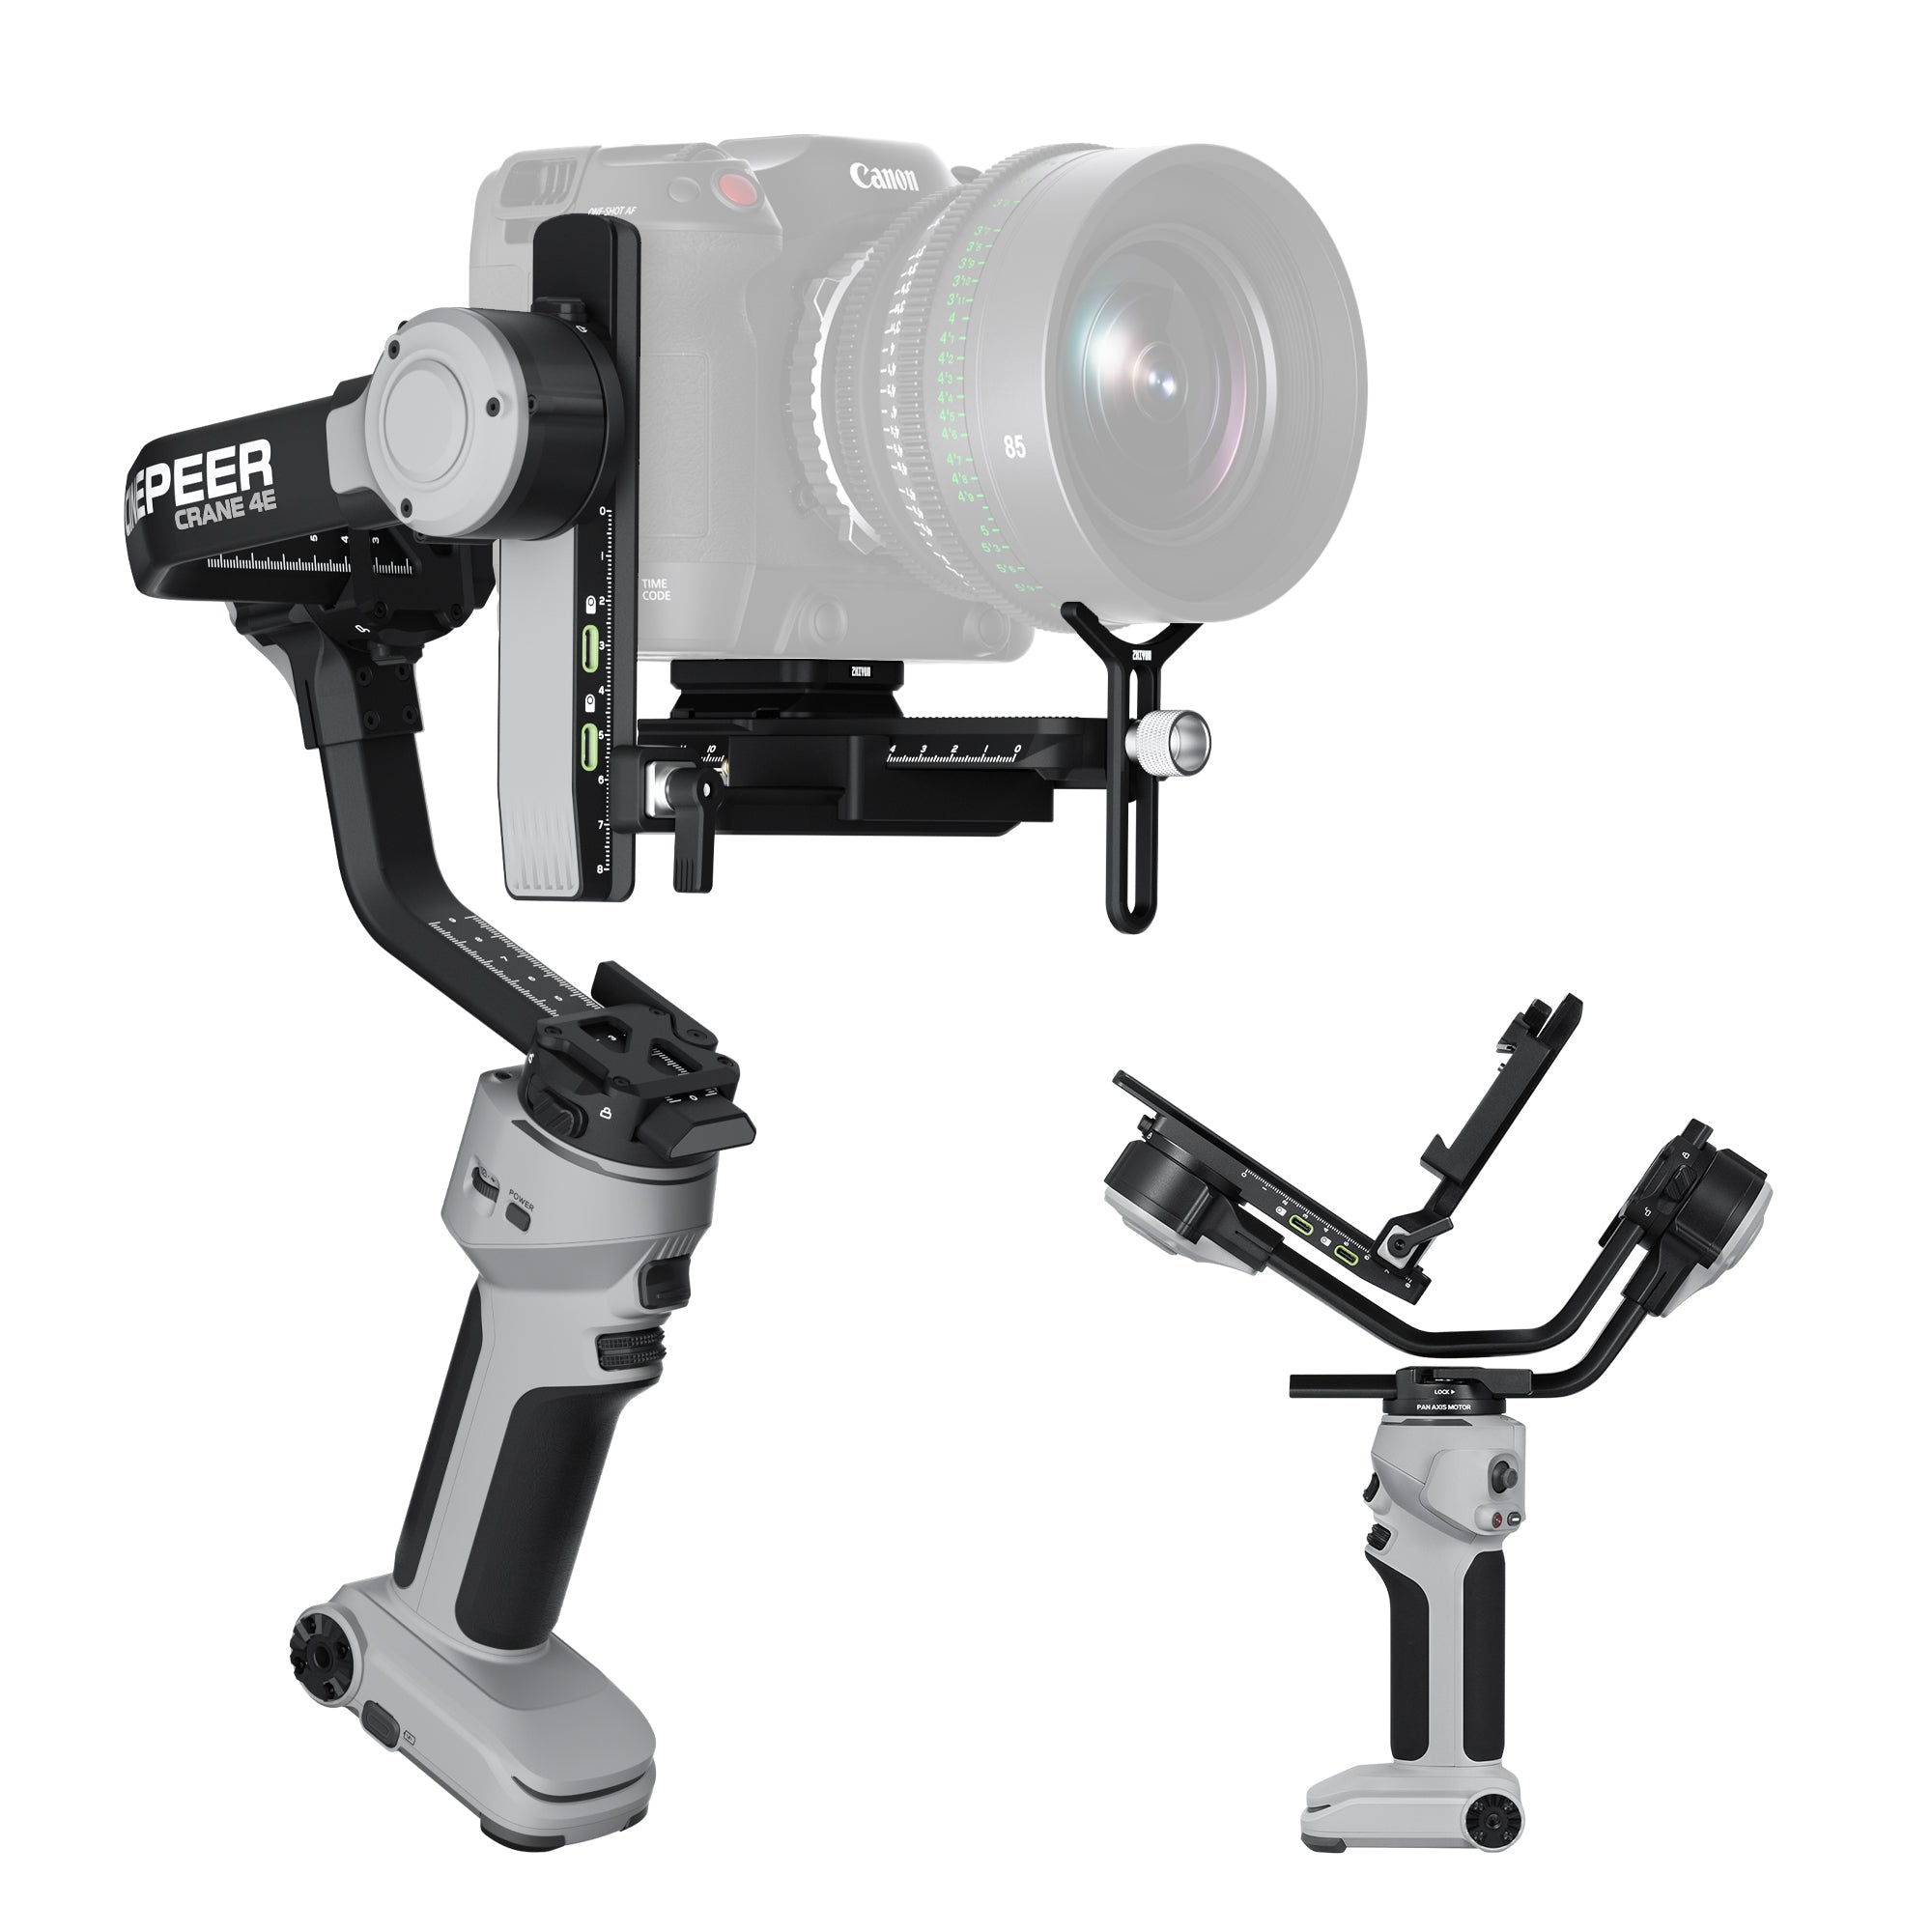
A static cave can be photographed with an exposure lasting several seconds when the camera is securely supported. If the camera is handheld, use a shutter speed that accounts for focal length, stabilization, and personal technique. When filming in areas where it is permitted, a camera gimbal can help keep the frame steadier as you move, but it cannot compensate for unsafe footing on wet or uneven ground.
People introduce another limitation. A subject standing carefully may remain sharp around 1/60 to 1/125 second, while walking or gesturing may require 1/125 to 1/250 second. Added light can help maintain those speeds without excessive ISO.

Increase ISO Only as Much as Needed
After selecting the aperture and shutter speed required by the shot, raise ISO until the exposure is usable. Balancing noise against shutter speed and subject motion is a core challenge in low-light photography. A moderately noisy image is usually more useful than one blurred by camera or subject movement.
Check the histogram and highlight warnings rather than relying only on the rear screen. Illuminated formations can lose color and texture long before the surrounding darkness appears bright.
|
Shooting Scenario |
Camera Support |
Starting Aperture |
Starting Shutter Speed |
Starting ISO |
Lighting Method |
What to Adjust First |
|
Illuminated tourist cave |
Handheld |
f/2.8–f/4 |
1/60–1/125 sec |
800–3200 |
Existing cave lights |
ISO or shutter speed |
|
Static cave landscape |
Tripod |
f/5.6–f/11 |
1–15 sec |
100–800 |
Ambient or continuous light |
Shutter speed |
|
Portrait with continuous light |
Tripod or handheld |
f/2.8–f/5.6 |
1/60–1/125 sec |
400–1600 |
Off-camera LED |
Light position and output |
|
Portrait with flash |
Tripod or handheld |
f/5.6–f/8 |
1/60–1/200 sec |
200–800 |
Off-camera flash |
Flash power and distance |
|
Light-painted cave scene |
Tripod |
f/5.6–f/11 |
10–30 sec or Bulb |
100–400 |
Moving continuous light |
Light path and exposure time |
These values are starting points. Review the first image and adjust for the actual cave, camera, lens, and subject.
How Should You Set Up Cave Lighting?
Effective cave lighting creates depth rather than making every surface equally bright. These photography lighting basics—direction, distance, beam spread, and color—are usually more important than maximum output alone.
Use Side Lighting to Reveal Texture and Depth
Light placed beside the camera creates shadows across ridges, cracks, and mineral formations. Moving the source farther to the side emphasizes texture, while placing it closer to the lens produces a flatter appearance.
Continuous lighting works well in this situation because you can see where the shadows fall and refine the angle before taking the photograph. In caves where supplemental lighting is permitted, the ZHIYUN FIVERAY M60 Ultra provides 60W output in a compact 430 g body with a built-in battery, making it easier to reposition in confined spaces. Its 2500K to 10000K color-temperature range can match existing cave lights or create a controlled warm-to-cool contrast. It is best used to illuminate a nearby person, foreground formation, or section of textured wall rather than an entire chamber, and it should always be protected from moisture.
Separate the Subject From the Background
A person lit only from the front may blend into the darkness behind them. Move the key light to one side, then direct a lower-powered light behind the subject or toward the background. This creates visible separation while preserving the atmosphere of the cave.
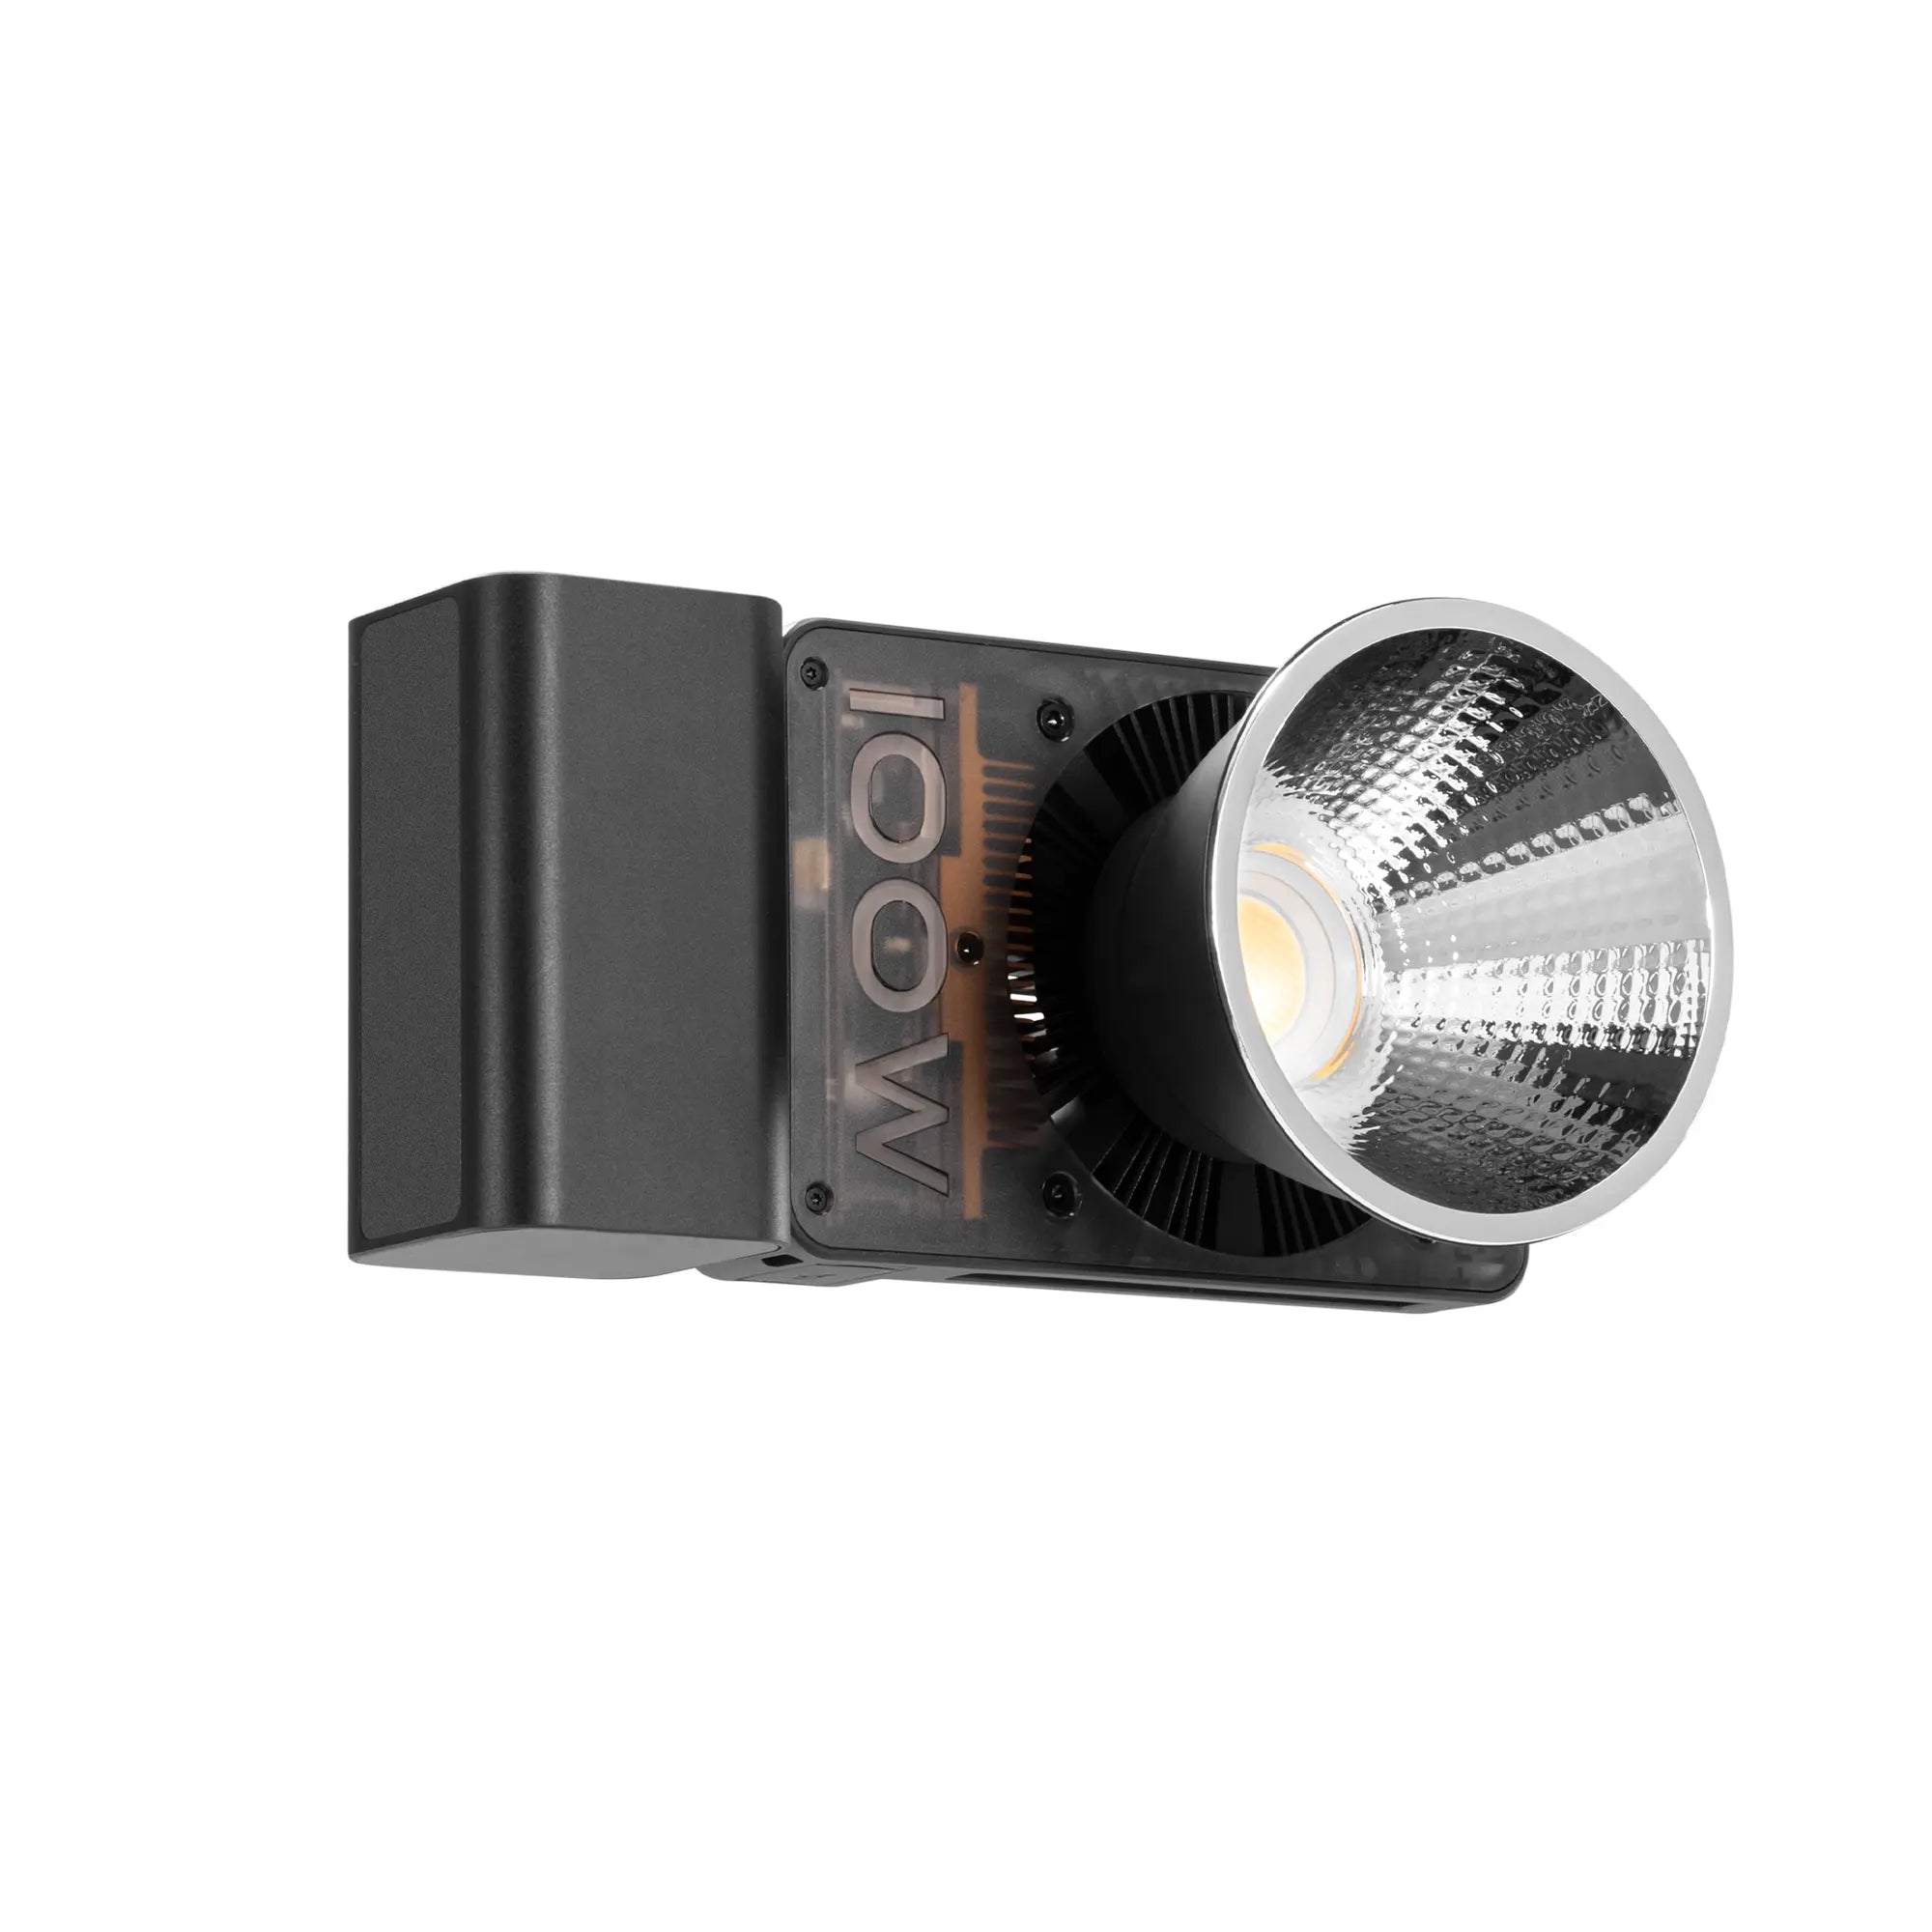
When a portrait requires a broader, more controlled key light, additional output provides room to soften or shape the beam without leaving the subject underexposed. For a permitted, carefully staged cave shoot, the ZHIYUN MOLUS X100 RGB delivers 100W output in a lightweight 384 g body. Its CRI 95 or higher and TLCI 97 or higher help reproduce skin tones and natural rock colors accurately, while full-color control can match existing cave lights or add subtle contrast behind the subject. Compatible modifiers also make it easier to soften facial shadows and prevent unwanted light from spilling across the entire scene.
Choose Between Continuous Light, Flash, and Light Painting
Continuous light shows the result in real time, making it easier to position the subject and control shadows. Flash delivers more light within a short exposure and can freeze movement, but placement must usually be checked through test images.
Light painting works differently. With the camera secured and the shutter open, move a continuous light across selected parts of the scene. Keep the source out of the frame and overlap each pass gently to avoid obvious bright patches.
Match Color Temperature Across the Scene
Tourist caves may contain warm lamps, cool LEDs, and colored accent lighting in the same chamber. Adding another light with a different color temperature can create uneven skin tones and distracting color patches.
Set a fixed white balance that suits the main source and record RAW files. Matching the added light to the existing illumination creates consistency, while a deliberate warm or cool contrast can separate the subject when used carefully.
How Do You Capture a Well-Exposed Cave Photo?
Once the camera and lights are ready, follow the same sequence for each composition. A repeatable process reduces unnecessary adjustments and helps identify what improved or weakened the image.
Compose for Scale Before Adjusting Exposure
Caves often look smaller in photographs because the viewer has no familiar reference. Include a person, path, railing, or recognizable object when permitted to communicate scale.
Use foreground rock to lead the eye toward the main subject, but check the frame edges for distorted formations. Wide-angle lenses exaggerate objects close to the camera.
Stabilize the Camera and Confirm Focus
Use a tripod when permitted. Otherwise, brace the camera against the body, use image stabilization, or position yourself near an approved railing without placing equipment on fragile surfaces.
Illuminate the subject temporarily, select a precise autofocus point, and magnify the live-view image to confirm sharpness. Once focus is established, switching to manual focus can prevent the lens from searching in darkness.
Take a Test Shot and Read the Histogram
Review the histogram, bright formations, shadow detail, and focus after the first frame. If the highlights are clipped, reduce the exposure or lower the light output aimed at those surfaces.
Change one element at a time. Adjust light position before adding another fixture, shutter speed before raising ISO for a static scene, and exposure only after confirming that the composition and focus are correct.
Bracket High-Contrast Scenes When Necessary
A bright cave entrance surrounded by dark rock may exceed the range a camera can record in one exposure. If the camera is stable and nothing important is moving, capture several exposures for later blending.
Bracketing is less effective when people move between frames or when water changes position. In those situations, expose for important highlights and use added light to raise the darker areas.
What Cave Photography Mistakes Should You Avoid?
Small errors become more visible in a dark environment. Avoid these common problems during a cave photoshoot:
- Using the same exposure settings in every cave
- Overexposing illuminated rock formations
- Pointing the main light directly at the subject and flattening texture
- Raising ISO before improving camera stability or light placement
- Mixing color temperatures without checking white balance
- Placing tripods or lights where they block a walkway
- Touching formations or moving beyond designated routes
- Assuming flash and tripods are permitted
- Expecting one portable light to illuminate an entire chamber
Conclusion
The most reliable cave photography tips begin with preparation, stable camera support, protected highlights, and light placed to reveal depth. Treat camera settings for caves as adjustable starting points, then refine the exposure by reviewing the histogram and changing one variable at a time. Careful technique produces stronger images while protecting both the photographer and the cave.
FAQ
What Are the 5 Basic Camera Settings?
Five essential settings are aperture, shutter speed, ISO, white balance, and focus mode. Aperture, shutter speed, and ISO control exposure, while white balance manages color and focus mode determines how the camera acquires and maintains sharpness.
How Can You Prevent Condensation on Camera Gear?
Place the camera in a sealed bag before moving between cold cave air and a warmer, humid environment. Allow it to reach the new temperature before opening the bag. Carry silica-gel packets and avoid changing lenses while condensation is forming.
What Lens Is Best for Cave Photography?
A wide-angle lens is useful for showing the size of a chamber, while a moderately fast maximum aperture helps with handheld shooting. A standard zoom can be more practical in narrow areas where changing lenses is difficult. The best choice depends on the cave, permitted shooting position, and intended composition.
How Do You Focus a Camera in a Dark Cave?
Use a headlamp or photography light to illuminate the intended focus point. Select single-point autofocus, confirm sharpness with magnified live view, and switch to manual focus if the camera begins searching. Do not move the camera after focus is locked.
What Are 7 Basic Tips for Taking Good Photographs?
Confirm the rules, shoot in RAW, stabilize the camera, protect highlights, use directional light, include a sense of scale, and evaluate a test image before changing several settings. These principles apply broadly, but they are especially important when photographing a dark, high-contrast cave.