










Photography Lighting Basics: A Beginner’s Guide to Better Photos
著者: yuanxiaobin に Oct 03, 2026Better photos begin with better control of light, not a more expensive camera. The essential photography lighting basics are direction, quality, intensity, color, and the tools used to shape them. This guide explains how those elements affect an image and how to build a simple, repeatable studio lighting setup.
What Is Photography Lighting?
Photography lighting is the use of natural or artificial light to control how a subject appears in an image. Effective lighting does more than make the subject visible. It determines where shadows fall, how colors appear, and whether the photograph feels soft, dramatic, warm, or neutral.
At its core, lighting in photography is about making intentional choices. A bright image is not automatically well lit, and a dark image is not necessarily poorly lit. The light should support the subject and the intended mood.
What Are the Basics of Photography Lighting?
Photography lighting basics are the fundamental principles and tools used to control how light falls on a subject and how the camera records it. They explain where the light comes from, how hard or soft it appears, how bright and colorful it is, and how it can be modified to achieve a specific result. These basics include:
- Light Direction and Placement: Determine where highlights and shadows appear.
- Light Quality and Shadow Control: Describe whether shadows look hard, soft, defined, or gradual.
- Intensity, Distance, and Exposure: Affect subject brightness, contrast, and the camera settings required.
- Color Temperature and White Balance: Control whether colors appear warm, cool, or neutral.
- Natural Light, Continuous Light, and Flash: Offer different levels of output, consistency, and creative control.
- Softboxes, Umbrellas, and Reflectors: Modify the light’s spread, softness, and direction.

How Does Light Shape a Photograph?
Light gives a two-dimensional photograph a sense of form and depth. Its position, apparent size, brightness, and color influence both technical quality and visual style.
Direction Creates Shape and Depth
Front lighting reduces visible shadows and creates an even appearance, but it can make a subject look flat. Side lighting reveals shape and texture, while backlighting can create an outline or separate the subject from the background.
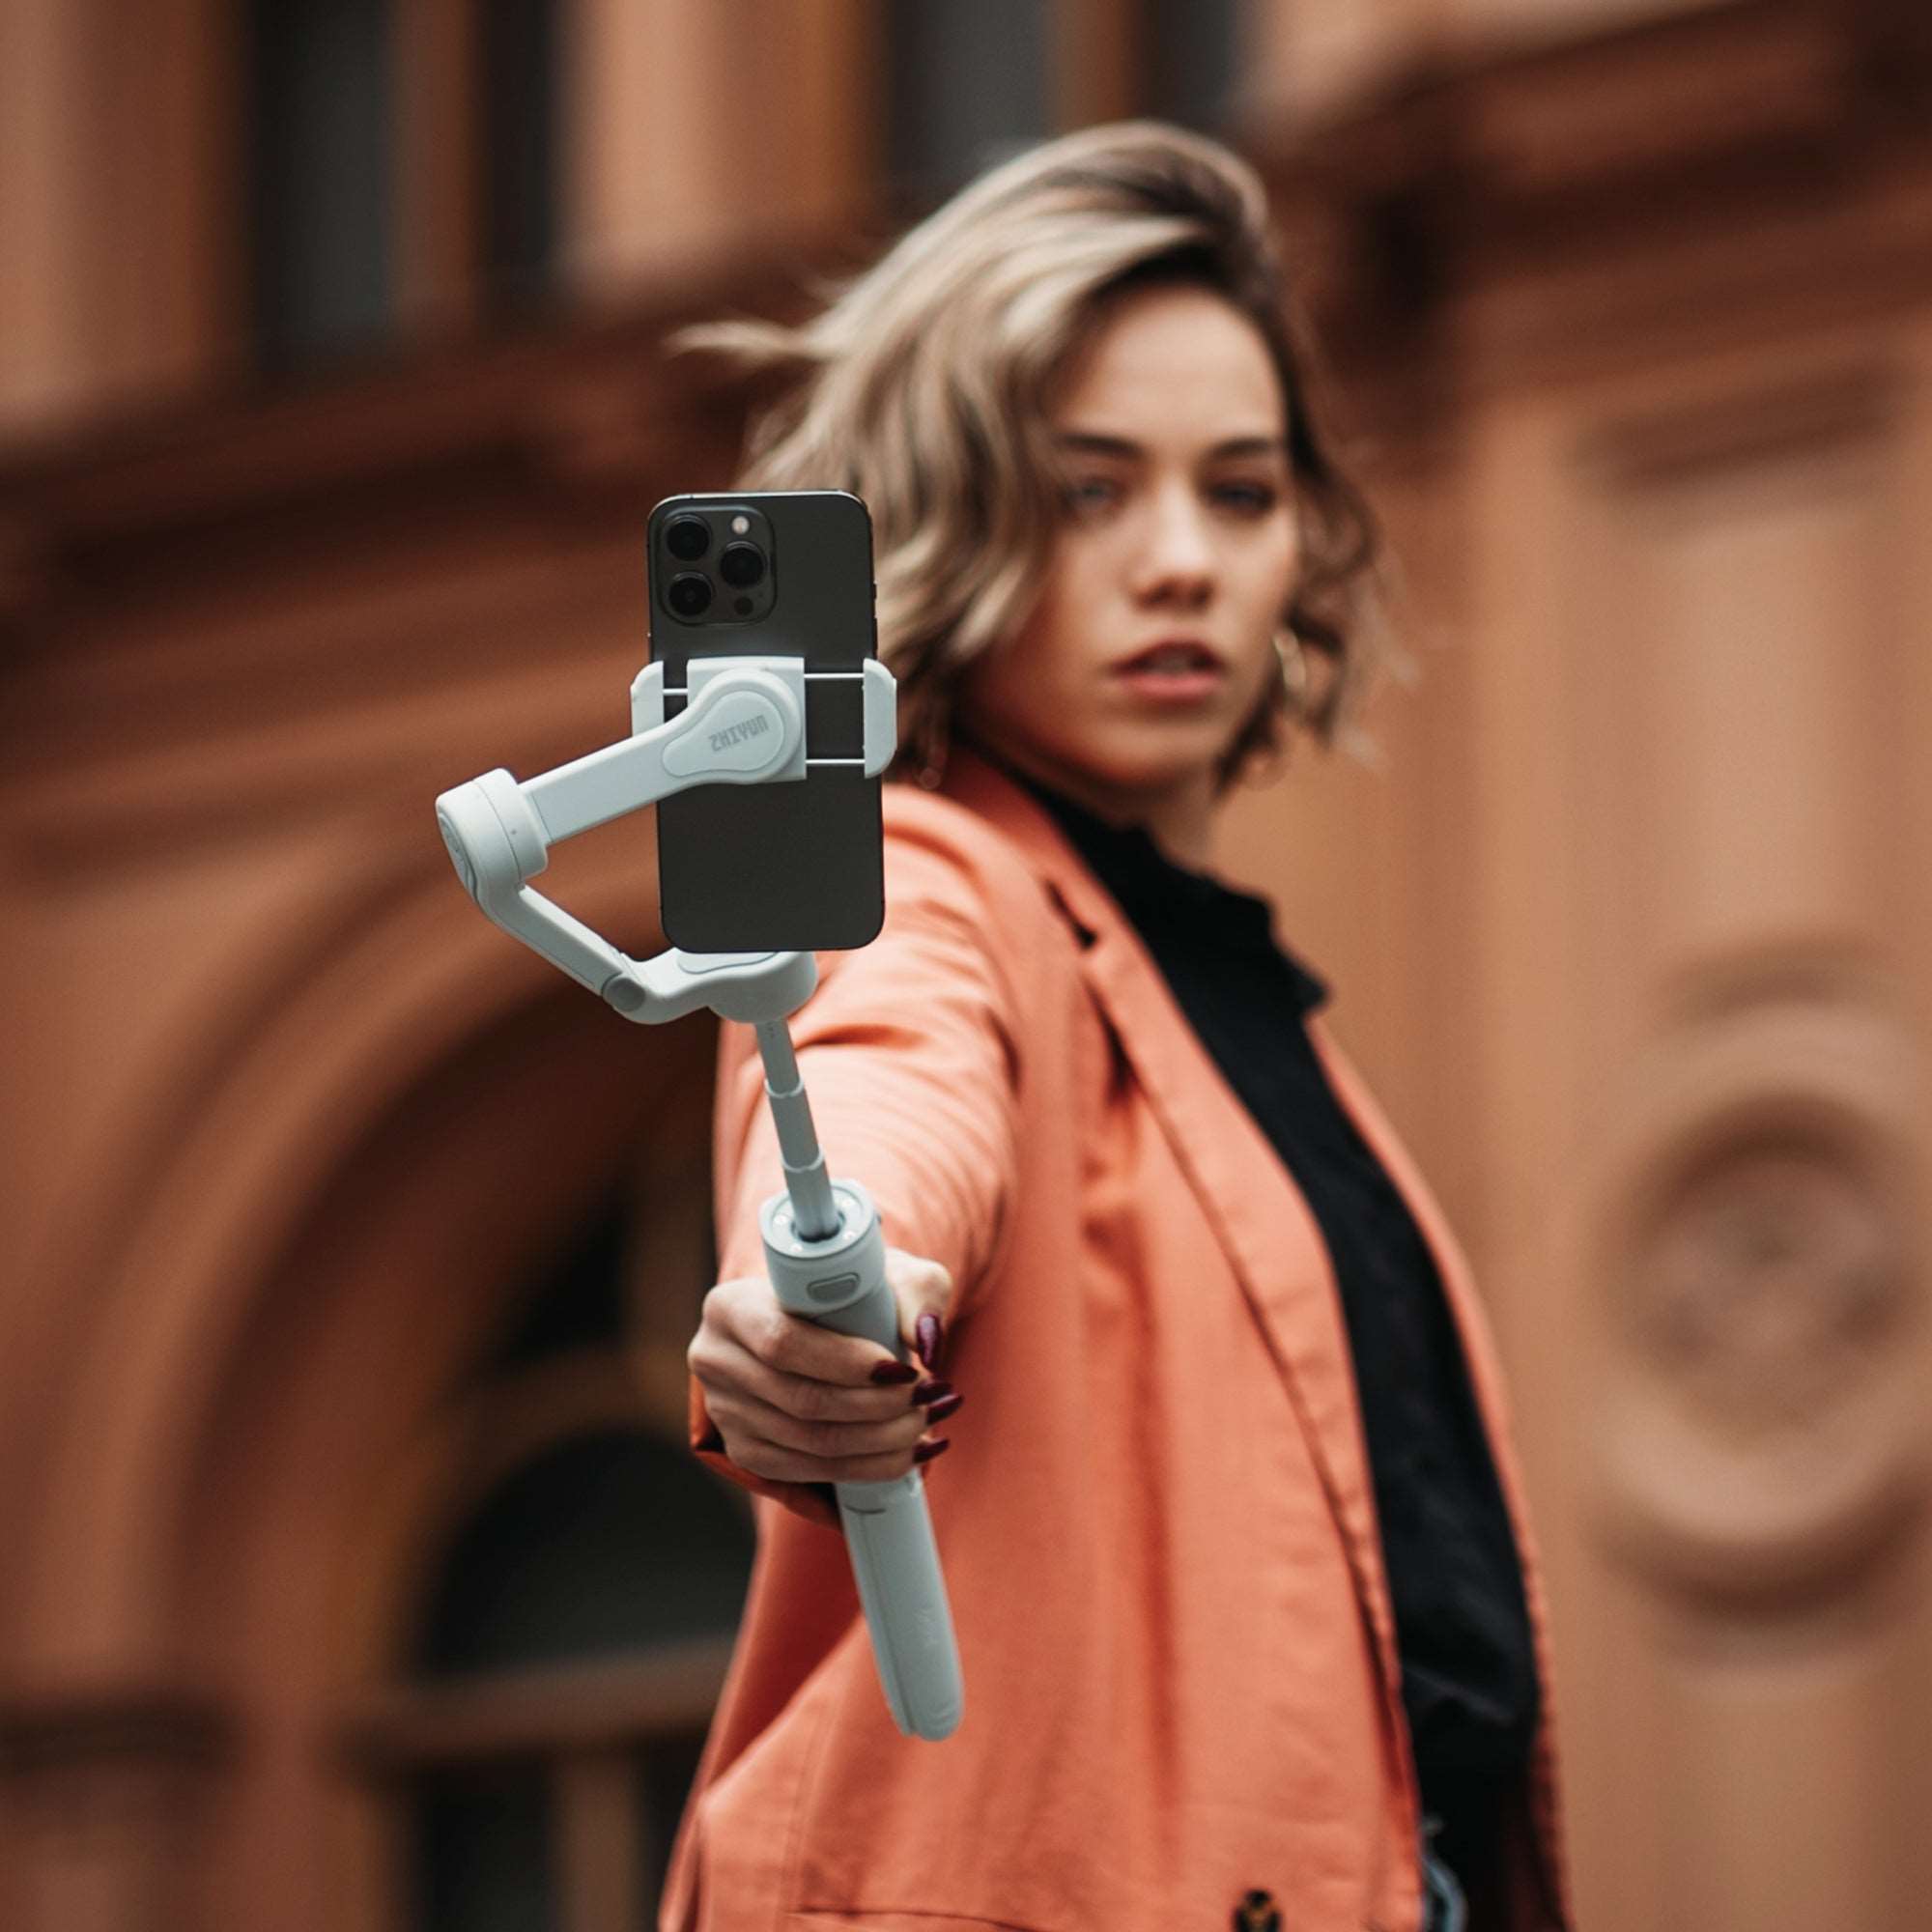
In portrait photography lighting, placing the key light slightly above eye level and about 30 to 45 degrees from the face is a practical starting point for anyone learning how to take better selfies. This position creates enough shadow to define the features without leaving one side of the face excessively dark.
Source Size and Distance Control Shadow Softness
A large light source relative to the subject produces softer shadow transitions. A small or distant source produces harder, more defined shadows.
Moving a softbox closer usually makes the light appear softer while increasing its intensity. Moving it farther away reduces its apparent size and can produce stronger shadow edges. Distance should therefore be adjusted for both softness and exposure.
Intensity and Color Set Exposure and Mood
Light intensity affects how bright the subject appears and which aperture, shutter speed, or ISO setting is practical. Increasing power can help at smaller apertures or faster shutter speeds, but additional brightness will not correct poor placement.
Color also affects the mood. Warm light can feel inviting, while cooler light may appear clean or restrained. Mixed color temperatures can create unwanted orange, blue, or green areas that are difficult to correct consistently.
How Can You Choose and Shape Your Light?
The right source depends on the subject, available space, movement, and the amount of control required. Start with the simplest option that can produce the result you need.
Choose Between Natural Light, Continuous Light, and Flash
Natural light is accessible and can be highly flattering near a large window or in open shade. Its limitation is consistency because direction, color, and intensity change with the weather and time of day. In low-light photography, a controllable source makes it easier to maintain consistent exposure and color.
Continuous light remains on during the shot, allowing you to see shadows and reflections before taking the picture. Flash delivers a brief, powerful burst that can freeze movement, but its effect usually requires a test image or modeling light to evaluate.
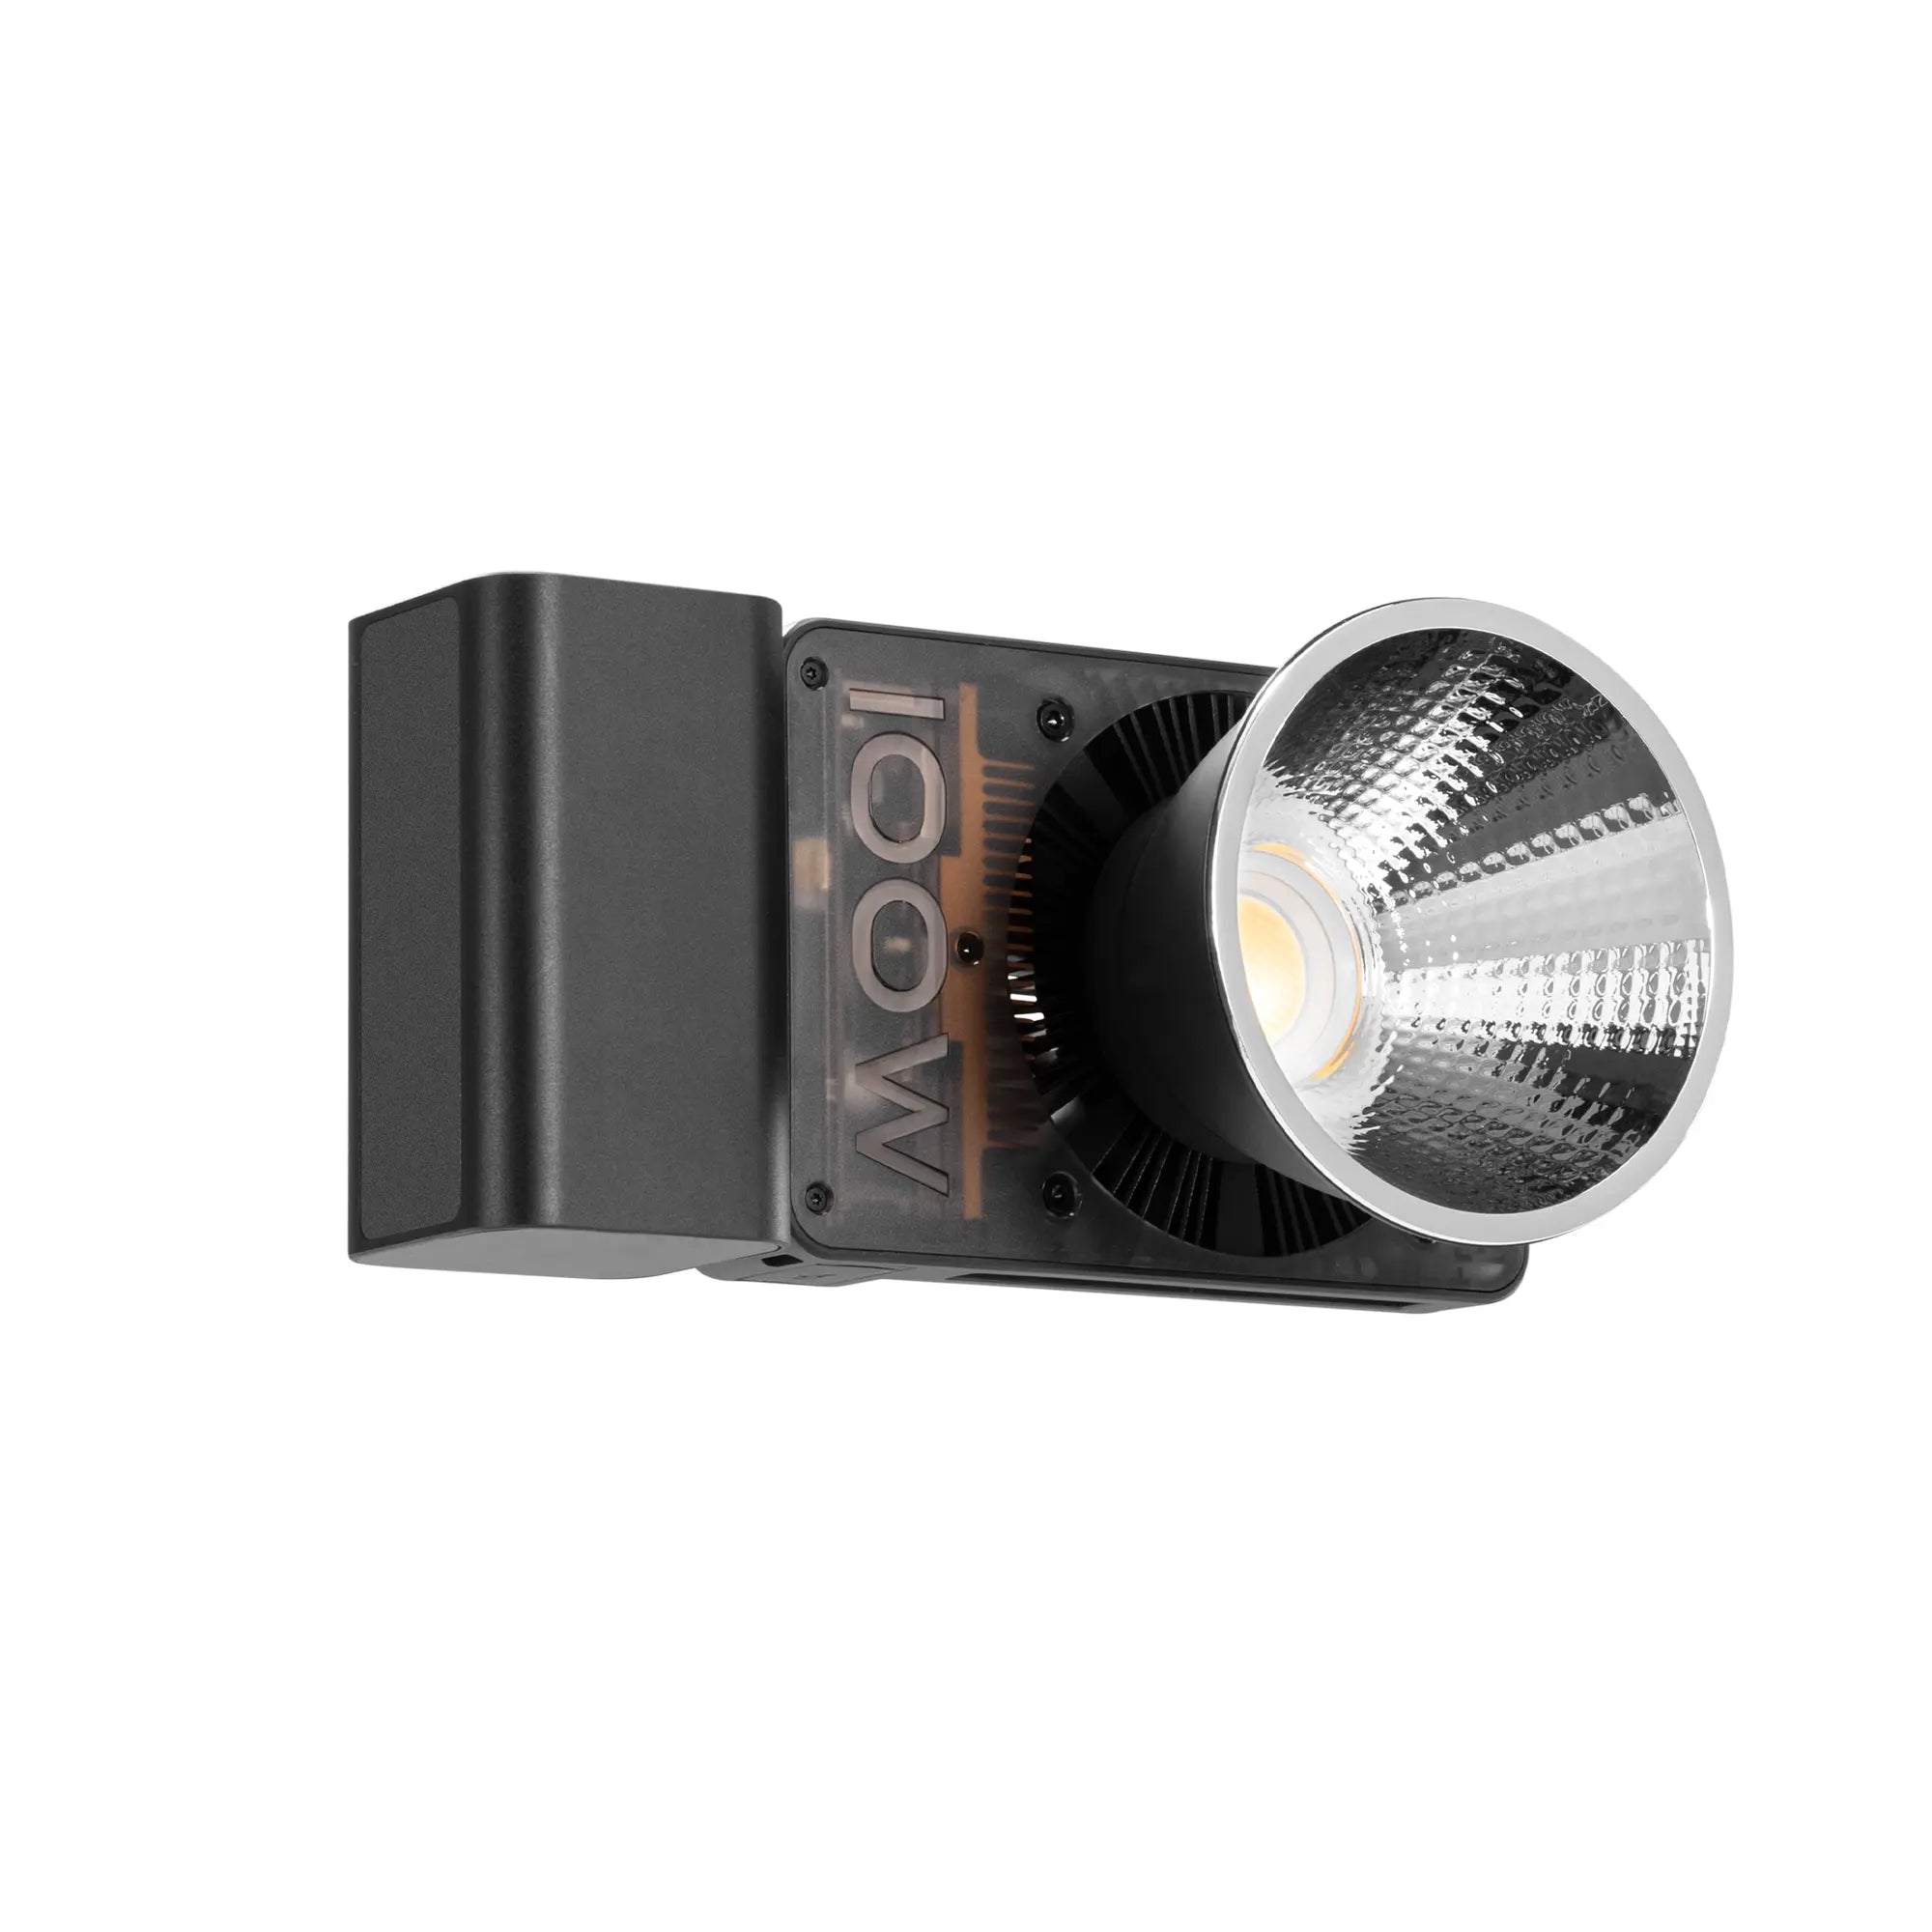
Continuous lighting is especially useful for learning because every change in angle, shadow, and color is visible before the shutter is pressed. For portraits, product shots, or a compact home studio, the ZHIYUN MOLUS X100 RGB delivers 100W full-color output in a lightweight, portable body. It works well as a key light, while its adjustable color range and modifier support provide room to experiment with softer, more creative lighting as your skills develop.

Shape the Light With Softboxes, Umbrellas, and Reflectors
For studio photoshoot lighting, the modifier can be as important as the lamp. It determines how broadly the light spreads, how soft the shadows appear, and how much spill reaches the background.
|
Modifier |
Effect on Light |
Best Uses |
Main Limitation |
|
Softbox |
Soft, controlled light with defined coverage |
Portraits, products, headshots |
Requires more setup space |
|
Umbrella |
Broad, soft light that fills a larger area |
Groups and beginner setups |
Offers less spill control |
|
Reflector |
Redirects existing light into shadows |
Window light and portrait fill |
Requires another light source |
The best photography lighting setups do not use every available tool. They use the fewest lights and modifiers needed to solve a visible problem.
How Can You Use Lighting to Take Better Photos?
The most useful photography lighting tips follow a consistent order. Evaluate the existing light, position the subject, establish one key light, and add equipment only when the image shows a clear need.
Start With Window Light or One Key Light
The best lighting for indoor photography is often a large window with indirect light. Position the subject near the window and turn the face gradually until the shadows add depth without hiding the eyes.
When window light is unavailable or inconsistent, use one continuous light as the key. Place it slightly above the subject and off to one side, then adjust its distance before adding another fixture.
Position the Subject Before Adjusting Camera Settings
Moving the subject can improve the light more effectively than changing exposure. Turn the face toward the source, increase the distance from the background, and check whether overhead room lights are creating unwanted shadows or color casts.
Once the placement looks intentional, set the camera exposure. Camera settings control how the light is recorded, but they cannot change an unflattering lighting direction.
Take a Test Shot and Change One Element at a Time
Review the face, catchlights, shadow detail, background brightness, and reflective surfaces. If several settings are changed at once, it becomes difficult to identify which adjustment improved the image.
Begin with light position, then adjust distance, diffusion, power, and camera exposure. This sequence makes the process easier to repeat during future shoots.
Add Fill or Background Light Only When Needed
After positioning the key light, check what the image still needs. Deep facial shadows may call for gentle fill, while a subject blending into the background may benefit from a rim light or a small pool of background color.
These adjustments rarely require another full-size fixture. The ZHIYUN FIVERAY M60 Ultra combines 60W RGB output with a compact, lightweight design, making it easy to reposition as a fill, rim, or background light. Its adjustable brightness and color also help it match the key light or create a controlled contrast without taking over the setup.

What Should You Watch Out for When Using Photography Lights?
Small setup problems can affect both image quality and safety. Check the entire shooting area before the subject steps onto the set.
- Avoid mixing daylight, household bulbs, and studio lights unless their colors are intentionally balanced.
- Do not assume that brighter light will improve poor placement or harsh shadows.
- Check reflective products, glasses, and glossy skin for distracting highlights.
- Keep softboxes and other modifiers far enough from the frame and subject.
- Secure light stands, especially when using large modifiers or extending a light overhead.
- Route power cables away from walkways and moving equipment.
If a photograph looks wrong, identify whether the problem is direction, softness, brightness, or color before adding another light.
Conclusion
Strong photography lighting begins with observation. Learn to recognize direction, shadow quality, intensity, and color, then practice with a window or one controllable key light. Once these photography lighting basics become familiar, more advanced setups become easier to build and repeat.
FAQ
What Is the 20-60-20 Rule in Photography?
The term does not have one universal definition. It may describe a shooting workflow in which the first 20 percent of the session captures safe images, the next 60 percent explores creative variations, and the final 20 percent is reserved for experimentation. It should not be treated as a fixed lighting formula.
What Are the 7 Basics of Photography?
Lists vary, but a practical framework includes exposure, focus, composition, lighting, color, perspective, and timing. These elements work together. Good lighting cannot compensate for missed focus, just as accurate exposure cannot correct weak composition.
What Are the 8 Types of Lighting Used in Photography?
There is no single standardized list. Eight commonly discussed portrait approaches are flat, broad, short, split, backlighting, rim, butterfly, and loop lighting. Each describes either the direction of the light or how it shapes the subject.
What Is the Golden Rule of Photography?
Photography does not have one universal golden rule. The rule of thirds and golden ratio are useful composition tools, but they are not requirements. A more practical principle is to keep the subject clear and make every lighting and framing decision support that subject.
What Are the Basic Principles of Lighting?
The main principles are direction, quality, intensity, color, and the relationship between the light, subject, and background. The best lighting for photography is the lighting that supports the intended subject and mood while remaining consistent enough to control.


